
There is something truly magical about mastering the Classic Vanilla Ice Cream Recipe that brings a cozy, nostalgic smile with every creamy spoonful. This timeless dessert is more than just sweet frozen goodness; it’s the perfect balance of rich, velvety cream, fragrant vanilla, and just the right touch of sweetness that makes it an all-time favorite. Whether you’re enjoying it on its own or pairing it with your favorite pie or warm brownie, this recipe invites you to savor the pure delight of homemade ice cream crafted from scratch.
Ingredients You’ll Need
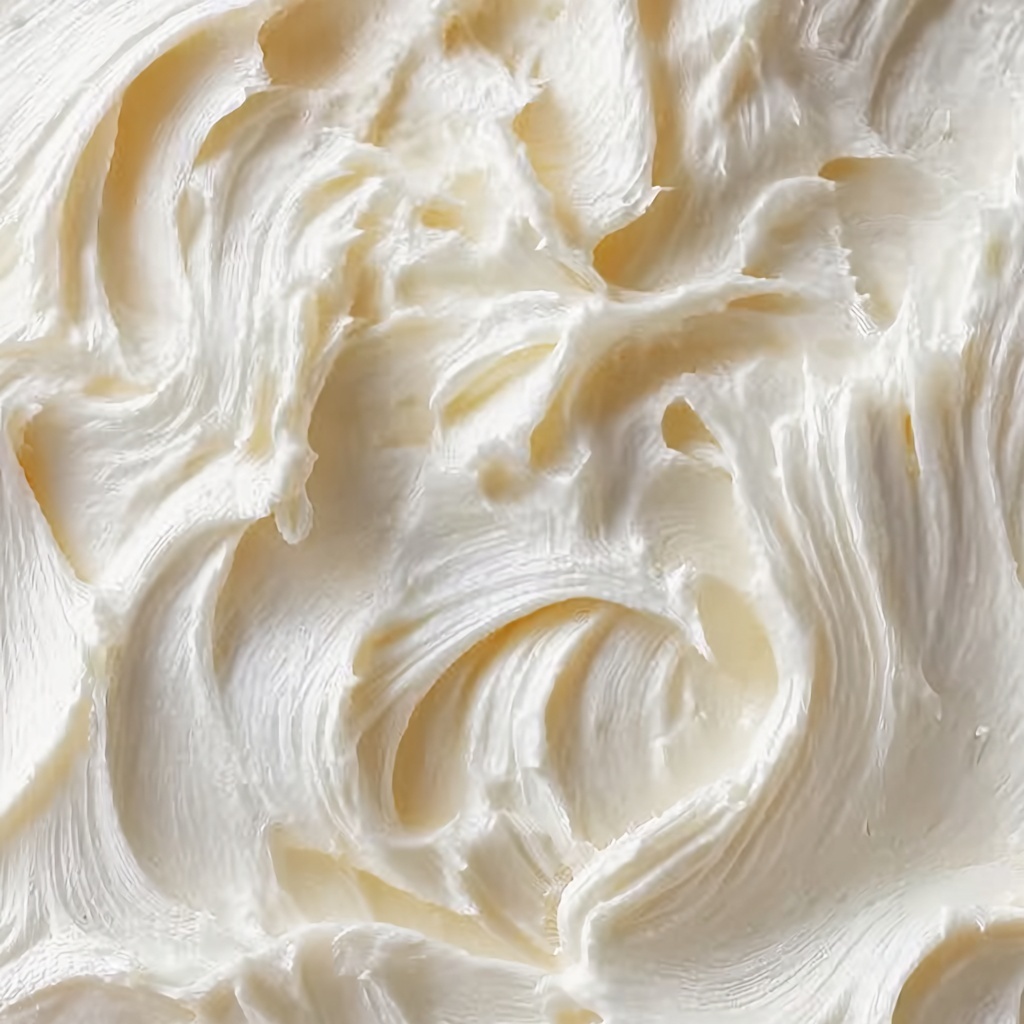
The beauty of this ice cream lies in its simplicity—each ingredient is chosen carefully to create that luxurious, smooth texture and the unmistakable vanilla flavor. These basics come together in harmony, making this recipe approachable yet incredibly satisfying.
- Heavy cream (2 cups/500 ml): Provides the rich, creamy base essential for smooth texture and luscious mouthfeel.
- Whole milk (1 cup/250 ml): Balances the creaminess and lightens the custard slightly for a perfect scoop.
- Granulated sugar (3/4 cup/150 g): Sweetens the custard gently while helping with the freezing process to prevent iciness.
- Vanilla bean (1) or pure vanilla extract (2 tsp): The star ingredient that infuses the ice cream with that warm, fragrant vanilla aroma and taste.
- Large egg yolks (4): Key for creating a silky custard that thickens nicely and lends richness.
How to Make Classic Vanilla Ice Cream Recipe
Step 1: Prepare the Vanilla
If you’re using a vanilla bean, carefully split it lengthwise and scrape out the tiny seeds—the treasure trove of flavor! Add both seeds and pod into a saucepan with the cream and milk. Using a vanilla bean elevates your ice cream to a whole new level of aromatic depth, but if you prefer vanilla extract, save it for later in the process.
Step 2: Heat the Milk and Cream
Pour the heavy cream, whole milk, and half of your sugar into the saucepan with the vanilla mixture. Warm it slowly over medium heat, stirring gently until the mixture reaches a simmer. Be careful not to let it boil; you want the ingredients to mingle quietly to bring out their best flavors.
Step 3: Whisk the Egg Yolks
While your dairy heats up, whisk together the egg yolks and remaining sugar in a separate bowl. You’re aiming for a pale, slightly thickened mixture that will lend your ice cream that perfect custard richness and creamy mouthfeel.
Step 4: Temper the Eggs
This is a critical step for avoiding scrambled eggs! Slowly pour about half a cup of the hot milk and cream mixture into the yolks while whisking vigorously. This gradual warming ensures your eggs combine smoothly without cooking prematurely. Then, pour the tempered yolk mixture back into the saucepan.
Step 5: Cook the Custard
Return the pot to low heat and gently stir the custard constantly. You’re aiming to thicken the mixture without boiling, reaching a temperature between 170°F and 175°F (77°C to 80°C). The custard should coat the back of a spoon. Once thickened, remove from heat immediately—this step locks in that silky texture you’ll love.
Step 6: Add Vanilla Extract
If you opted for vanilla extract instead of the bean, stir it in now. It brings in the sweet, fragrant notes that make this recipe undeniably comforting and familiar.
Step 7: Chill the Custard
Strain your custard into a clean bowl to remove the vanilla pod and any cooked egg bits. Cover it tightly with plastic wrap, pressing the wrap directly onto the surface to prevent a skin from forming. Let the custard chill for at least four hours or overnight—this step is essential for flavors to meld and for the base to become perfectly cold before churning.
Step 8: Churn the Ice Cream
Once chilled, pour your custard into your ice cream maker and follow the manufacturer’s instructions. If you don’t have an ice cream maker, no worries! Pour the mixture into a shallow dish and freeze it, stirring vigorously every hour for 3 to 4 hours to mimic the churning process. This hands-on method delivers delightfully creamy results.
Step 9: Freeze and Serve
Transfer the churned ice cream to an airtight container and freeze for two or more hours to firm up. When you scoop your homemade vanilla ice cream, get ready to enjoy the creamy texture and that pure, classic flavor you worked so lovingly to create.
How to Serve Classic Vanilla Ice Cream Recipe

Garnishes
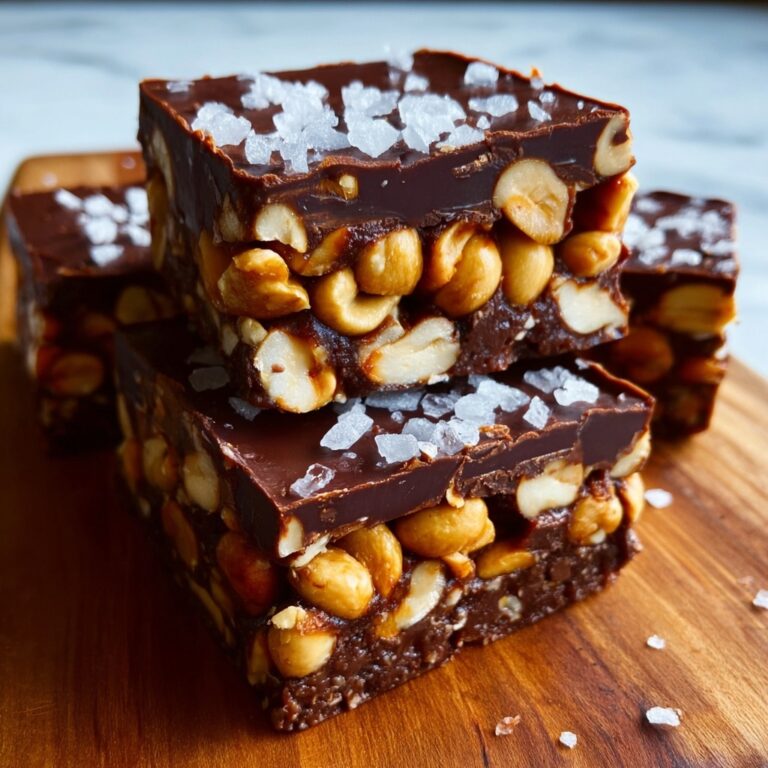
Top your vanilla ice cream with fresh berries, a drizzle of caramel or chocolate sauce, or a sprinkle of toasted nuts for texture. A few shards of homemade chocolate bark or a tiny pinch of sea salt can also do wonders, enhancing its lovely balance of sweet and creamy.
Side Dishes
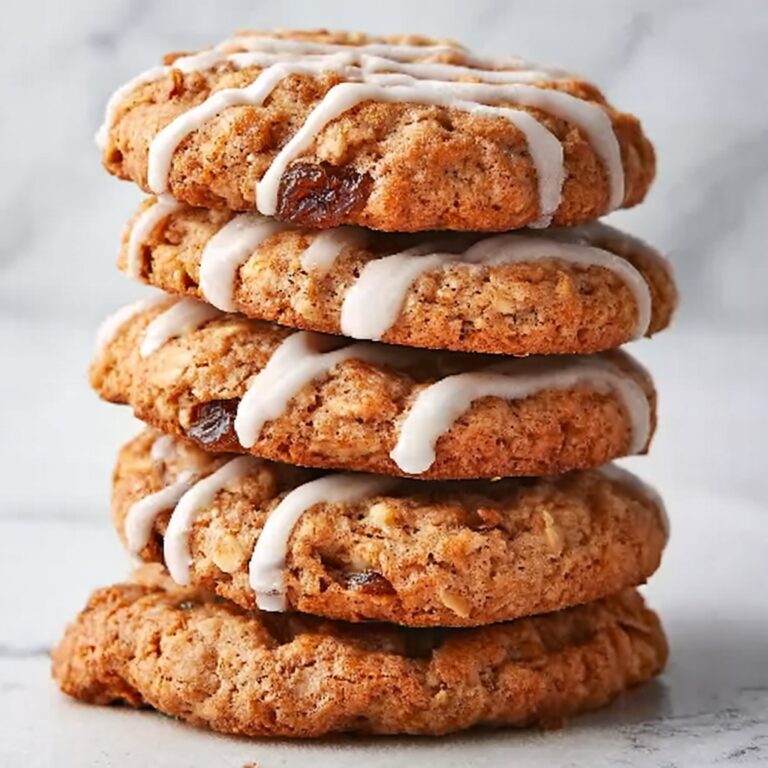
This ice cream is a perfect companion to warm desserts like apple pie, molten brownies, or freshly baked cookies. Its simple, rich flavor complements fruit crisps, tarts, and even pancakes for a breakfast treat that feels extra special.
Creative Ways to Present
Try serving your classic vanilla ice cream in waffle cones for a fun handheld treat or swirl it into milkshakes and floats. You can even layer it with berries and whipped cream in parfait glasses for an elegant presentation that wows guests!
Make Ahead and Storage
Storing Leftovers
Keep any leftover ice cream in a well-sealed container to avoid freezer burn and preserve its creamy texture. It’s best enjoyed within one to two weeks for optimal freshness and flavor.
Freezing
This ice cream freezes beautifully; just make sure your container is airtight. If a bit of ice forms on the surface, let the ice cream soften in the fridge for 10 to 15 minutes before scooping to bring back that smooth consistency.
Reheating
Unlike savory dishes, you never want to “reheat” ice cream. Instead, allow it to soften naturally at room temperature or in the fridge to make scooping effortless without compromising texture or taste.
FAQs
Can I make Classic Vanilla Ice Cream Recipe without an ice cream maker?
Yes! You can still enjoy delicious homemade ice cream by freezing the mixture in a shallow dish and stirring it every hour for a few hours. This method mimics churning and reduces ice crystals, resulting in creamy texture.
What if I don’t have a vanilla bean—can I only use vanilla extract?
Absolutely. Vanilla extract works perfectly well, especially pure vanilla extract. Just add it after cooking the custard to preserve its delicate flavor notes.
Why do you have to temper the eggs?
Tempering warms the egg yolks slowly with the hot milk mixture, preventing them from scrambling. This step is essential for a smooth, creamy custard base that’s free from lumps.
Can I use low-fat milk instead of whole milk or heavy cream?
For the best texture and richness, use whole milk and heavy cream. Skimping on fat may lead to icy or less creamy results, but you can experiment if needed by adjusting ratios.
How long can I store homemade vanilla ice cream in the freezer?
For the freshest flavor and texture, enjoy your ice cream within two weeks, but it can be kept frozen up to a month if stored properly in an airtight container.
Final Thoughts
Making the Classic Vanilla Ice Cream Recipe from scratch is such a rewarding experience. It fills your kitchen with the most inviting aroma and delivers that silky, creamy taste that feels like a gentle hug on a warm day. Whether you’re an ice cream novice or a dessert enthusiast, this recipe invites you to create a timeless treat that never goes out of style. So go ahead, dive in, and share your love of homemade ice cream with those you care about—it’s absolutely worth every spoonful!
Print
Classic Vanilla Ice Cream Recipe
- Prep Time: 15 minutes
- Cook Time: 15 minutes
- Total Time: 4 hours 30 minutes (including chilling time)
- Yield: 6 servings
- Category: Dessert
- Method: Stovetop
- Cuisine: American
Description
This classic vanilla ice cream recipe creates a rich and creamy dessert using a traditional custard base with real vanilla. The process involves gently heating cream and milk with sugar and vanilla, tempering egg yolks to make a smooth custard, chilling the mixture, and churning it to perfection. Whether you use an ice cream maker or opt for a no-churn method, you’ll enjoy a smooth, velvety homemade treat with a pure vanilla flavor.
Ingredients
Dairy and Eggs
- 2 cups (500 ml) heavy cream
- 1 cup (250 ml) whole milk
- 4 large egg yolks
Sweeteners and Flavoring
- 3/4 cup (150 g) granulated sugar
- 1 vanilla bean (or 2 tsp pure vanilla extract)
Instructions
- Prepare the Vanilla: If using a vanilla bean, split it lengthwise and scrape out the seeds. Add both the seeds and the pod to a saucepan containing the heavy cream and whole milk. If using vanilla extract instead, you will add it later in the process.
- Heat the Milk and Cream: Place the saucepan with cream, milk, and half of the granulated sugar over medium heat. Stir continuously until the mixture begins to simmer. Do not let it boil to prevent curdling.
- Whisk the Egg Yolks: In a separate bowl, whisk together the egg yolks with the remaining sugar until the mixture is pale and has thickened slightly.
- Temper the Eggs: Gradually pour about 1/2 cup of the hot milk and cream mixture into the egg yolks while continuously whisking. This step helps raise the temperature of the yolks without cooking them too quickly. Then, pour the tempered yolk mixture back into the saucepan.
- Cook the Custard: Return the saucepan to low heat and stir constantly. Heat the mixture gently until it thickens and reaches between 170°F to 175°F (77°C to 80°C) on a thermometer. Do not boil. Once thickened, remove immediately from heat to prevent scrambling.
- Add Vanilla Extract: If you used a vanilla bean in the beginning, remove the pod now. Stir in the vanilla extract if you are using it instead of the bean for flavor.
- Chill the Custard: Strain the custard through a fine mesh sieve into a clean bowl to remove any cooked egg bits or vanilla pod remnants. Cover the surface directly with plastic wrap to prevent a skin from forming. Chill in the refrigerator for at least 4 hours or preferably overnight for best flavor and texture.
- Churn the Ice Cream: Pour the chilled custard base into your ice cream maker and churn according to the manufacturer’s instructions until it reaches a soft-serve consistency. If you do not have an ice cream maker, pour the custard into a shallow dish and freeze, stirring vigorously every hour for 3 to 4 hours to break up ice crystals and mimic churning.
- Freeze and Serve: Transfer the churned ice cream into an airtight container and freeze for an additional 2 or more hours to firm up. Scoop and serve your creamy homemade vanilla ice cream as desired.
Notes
- Use fresh, high-quality vanilla bean or pure vanilla extract for the best flavor.
- Be careful not to boil the custard to avoid curdling.
- If you lack an ice cream maker, the no-churn method with stirring works well but take care to stir thoroughly.
- Cover custard with plastic wrap touching the surface to prevent a skin from forming while chilling.
- Chilling the custard overnight greatly improves texture and flavor development before churning.


