Garlic Parmesan Cheeseburger Bombs Recipe
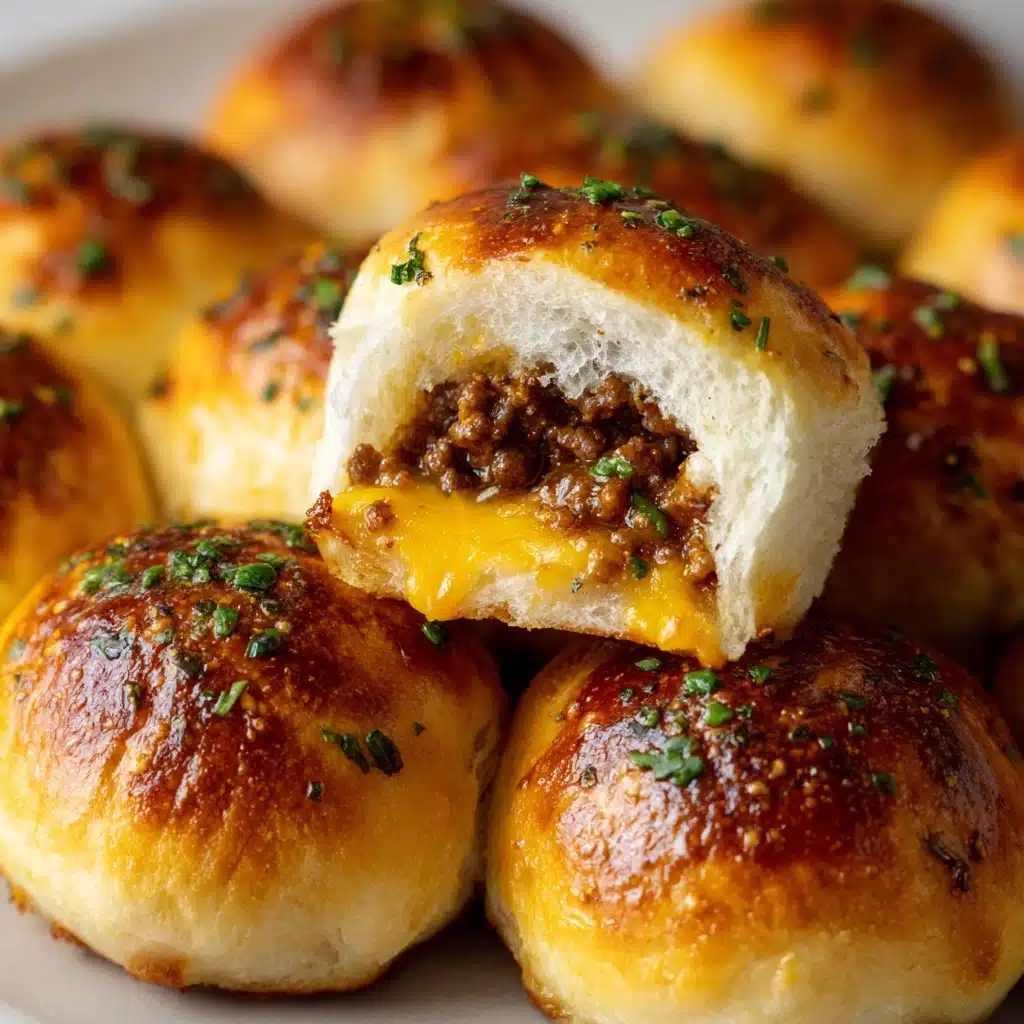
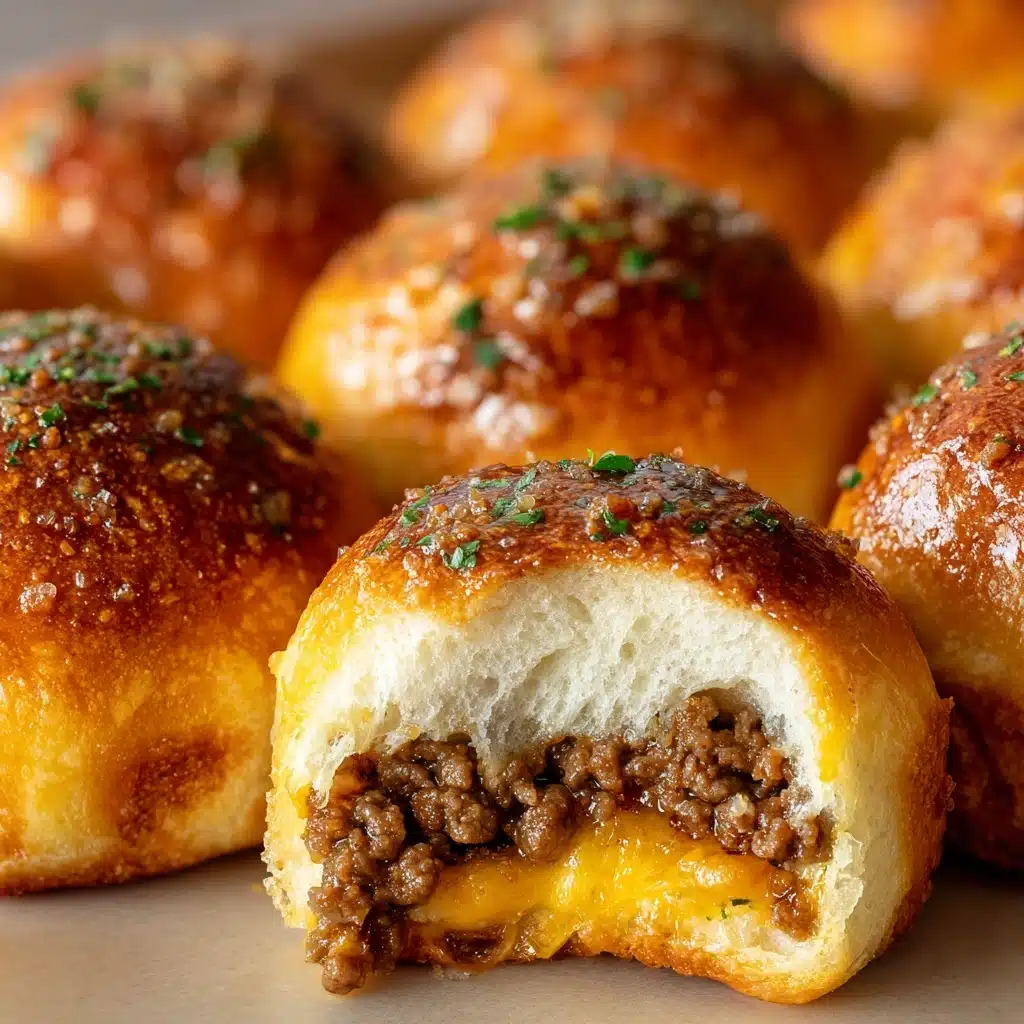
If you’re in the mood for a seriously satisfying, bite-sized twist on classic comfort food, Garlic Parmesan Cheeseburger Bombs are about to change the way you think about cheeseburgers and party snacks forever. These golden beauties wrap seasoned beef and melty cheddar in pillowy biscuit dough, then finish with a drizzle of garlicky, buttery Parmesan magic that’s absolutely irresistible. Every bite explodes (in the best way!) with flavor, making this dish perfect for game day, family movie night, appetizer spreads, or even a fun weeknight dinner. Trust me—the hype is real, and you’re going to want to make Garlic Parmesan Cheeseburger Bombs part of your regular rotation!
Ingredients You’ll Need
The ingredient list for Garlic Parmesan Cheeseburger Bombs is short and sweet, but every item packs a punch. Each component brings a distinct flavor, creates texture, or adds color, making these little bombs so crowd-pleasing. Plus, you probably already have most of these at home!
- Ground Beef: The hearty, juicy base of every cheeseburger bomb.
- Salt and Pepper: Essential seasoning to highlight the savory beef flavors.
- Garlic Powder: Adds a delicious depth and warmth to the meat filling—don’t skip it!
- Cheddar Cheese: Melts perfectly for a gooey, cheesy center; swap for other cheeses if you like variety.
- Refrigerated Biscuit Dough: Provides a soft, fluffy wrap that turns golden when baked.
- Unsalted Butter: The base for our decadent garlic-Parmesan topping.
- Fresh Garlic: Infuses every bite with bold, aromatic flavor that’s the heart of this dish.
- Grated Parmesan Cheese: Brings a nutty, savory finish to each bomb—absolutely essential for that crave-worthy crust.
- Chopped Fresh Parsley: A pop of color and freshness to make everything look (and taste) brighter!
How to Make Garlic Parmesan Cheeseburger Bombs
Step 1: Brown the Beef
Start by warming up your skillet over medium heat, then add the ground beef, sprinkling in the salt, pepper, and garlic powder. Stir and break up the meat as it cooks, coaxing out all those savory aromas. Cook until the beef is browned and cooked through, then transfer the mixture to a plate and let it cool slightly—this makes assembly much easier, and it’ll help the cheese keep its shape inside the bombs.
Step 2: Prep the Biscuit Dough
Grab your can of refrigerated biscuit dough and separate the biscuits. On a lightly floured surface, flatten each round into about a 4-inch circle with your hands or a rolling pin. Don’t worry about making them perfect; a little unevenness adds to the charm, and they’ll stretch out to hold all the cheesy-meaty goodness inside.
Step 3: Fill and Shape the Bombs
Place a generous spoonful of your cooled beef mixture in the center of each biscuit round, then top with a quarter-slice of cheddar. Now comes the fun part: gather up the edges and pinch them together to completely enclose the filling, forming a neat little ball. Set each seam-side-down on your parchment-lined baking sheet so they hold their structure beautifully while baking.
Step 4: Make the Garlic Parmesan Topping
In a small bowl, whisk together the melted butter, minced garlic, grated Parmesan, and chopped parsley. This mixture is pure heaven—it’s what takes these bombs from good to unforgettable. Brush half of this garlicky butter gold over the tops of the bombs before they go in the oven. The rest you’ll save for a finishing flourish once they’re baked.
Step 5: Bake to Golden Perfection
Slide your tray into a preheated 375°F (190°C) oven and bake for 15 to 18 minutes, watching as the tops turn irresistibly golden brown. As soon as they’re done, brush them with the remaining garlic butter for that shiny, fragrant, and ultra-savory finish. Wait just a minute before digging in—if you can!
How to Serve Garlic Parmesan Cheeseburger Bombs
Garnishes
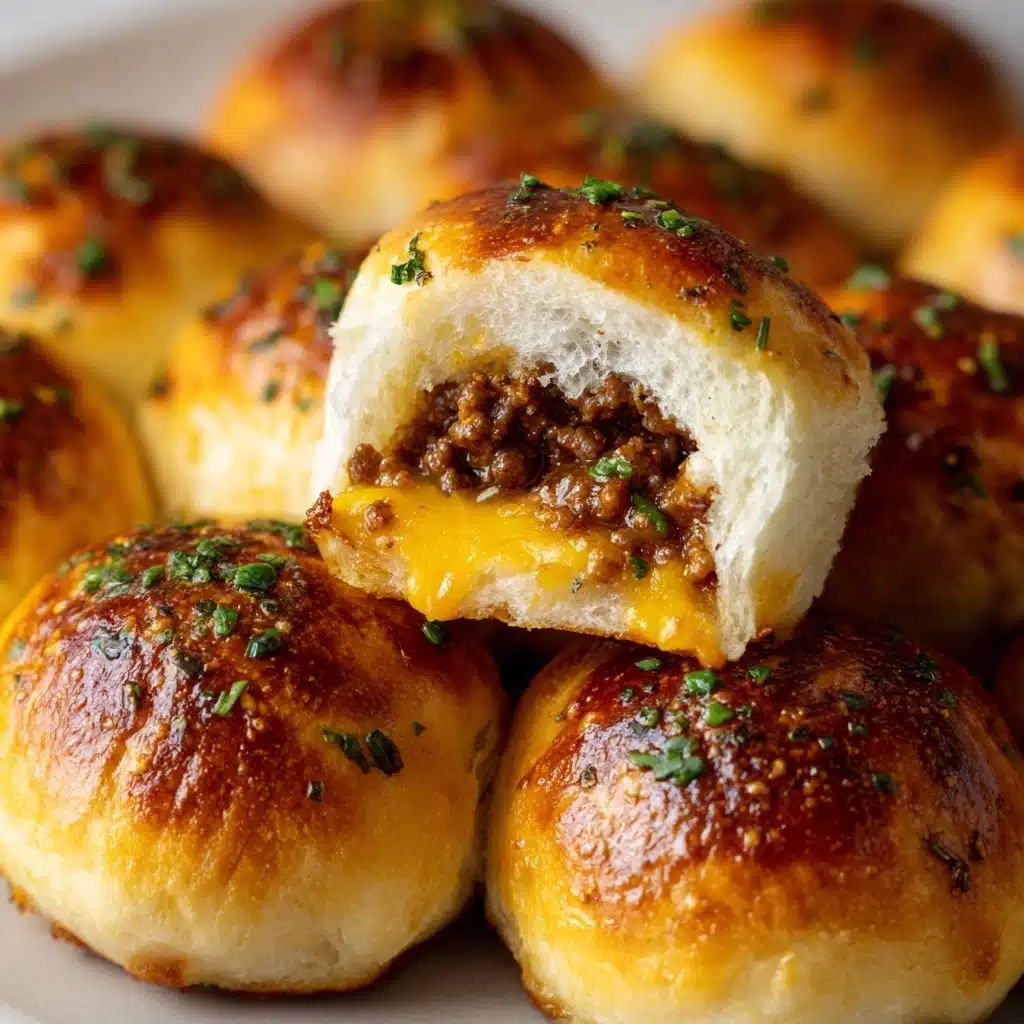
Pile your Garlic Parmesan Cheeseburger Bombs high and scatter a little extra chopped parsley or a sprinkle of grated Parmesan over the tops for that restaurant-style look. If you want to get really fancy, a drizzle of garlic butter just before serving adds more gloss and flavor that nobody can resist.
Side Dishes
These cheesy bombs are fantastic with classic picnic sides like crisp coleslaw, pickles, or even a simple green salad. For a heartier meal, serve alongside oven-baked fries, sweet potato wedges, or even grilled veggies. And don’t forget the dipping sauces—ketchup, burger sauce, or ranch all work magic here!
Creative Ways to Present
For parties, toothpick each Garlic Parmesan Cheeseburger Bomb and pile them onto a wooden board with ramekins of dipping sauces. If you’re serving family-style, try stacking them in a big basket lined with a checkered napkin—everyone will love grabbing their own! They also make super fun “mini sliders” when split and filled with a bit of lettuce, tomato, and extra cheese.
Make Ahead and Storage
Storing Leftovers
If you’ve got leftovers, wrap them tightly or pop them in an airtight container in the fridge. Garlic Parmesan Cheeseburger Bombs stay fresh for up to 3 days—just keep them away from moisture so the bread stays as fluffy as possible.
Freezing
These bombs freeze like a dream! Once fully cooled, freeze them on a baking sheet until solid, then move to a freezer-safe bag. They’ll keep for up to 2 months, and you can reheat straight from the freezer for a quick snack or party bite whenever cravings strike.
Reheating
When you’re ready for round two, just pop the bombs in the oven at 350°F (177°C) for 10-12 minutes, or until heated through. A quick brush of extra garlic butter after reheating works wonders to refresh their flavor and soft, shiny crust. The microwave works in a pinch, though the oven gives best results for texture.
FAQs
Can I use a different type Appetizer, Main Course
Absolutely! Mozzarella, pepper jack, or gouda bring their own charm. Try mixing things up based on your cravings or whatever you’ve got on hand. Each cheese gives the Garlic Parmesan Cheeseburger Bombs a new twist!
What can I substitute for canned biscuit dough?
If biscuit dough isn’t your thing or isn’t available, pizza dough works great for a slightly chewier, more rustic vibe. You can even use homemade bread dough if you’re up for the challenge!
Can Garlic Parmesan Cheeseburger Bombs be made ahead of time?
Yes! You can assemble the bombs and refrigerate (unbaked) for up to 4 hours, covered well. Bake just before serving for that golden, fresh-from-the-oven magic.
Are these suitable for kids?
Kiddos love them! They’re like mini cheeseburger “surprises” wrapped in bread. If you want to tone down the garlic a bit for sensitive palates, you can—but most kids go crazy for the cheesy center and soft crust.
What dipping sauces go best with these?
Ketchup and ranch are classics, but burger sauce, honey mustard, or even a spiced-up aioli work wonders with Garlic Parmesan Cheeseburger Bombs. Set out a variety so everyone can find their perfect pairing!
Final Thoughts
Making Garlic Parmesan Cheeseburger Bombs is about more than just baking—it’s about serving up joy in every bite. Whether you’re feeding a crowd, shaking up your dinner routine, or just looking for a new reason to gather around the table, these flavor-packed treats never disappoint. Give them a try, and get ready to watch them disappear faster than you can say “cheeseburger bomb!”
Print
Garlic Parmesan Cheeseburger Bombs Recipe
- Total Time: 33 minutes
- Yield: 8 cheeseburger bombs 1x
- Diet: Non-Vegetarian
Description
These Garlic Parmesan Cheeseburger Bombs are savory, cheesy, and perfect for a party appetizer or a fun twist on a burger night at home. Fluffy biscuit dough stuffed with seasoned ground beef, gooey cheddar cheese, and a garlic Parmesan butter topping, these little bombs are bursting with flavor!
Ingredients
Ground Beef Mixture:
- 1 pound ground beef
- 1/2 teaspoon salt
- 1/4 teaspoon black pepper
- 1/2 teaspoon garlic powder
Cheese Filling:
- 4 slices cheddar cheese, cut into quarters
Biscuit Dough:
- 1 can refrigerated biscuit dough (8 large biscuits)
Garlic Parmesan Butter Topping:
- 4 tablespoons unsalted butter, melted
- 2 cloves garlic, minced
- 1/4 cup grated Parmesan cheese
- 1 tablespoon chopped fresh parsley
Instructions
- Preheat Oven: Preheat oven to 375°F (190°C) and line a baking sheet with parchment paper.
- Cook Ground Beef: In a skillet over medium heat, cook ground beef with salt, pepper, and garlic powder until browned and fully cooked. Drain excess fat and let cool slightly.
- Prepare Dough: Flatten each biscuit into a 4-inch circle. Place a spoonful of beef mixture and a piece of cheddar cheese in the center of each biscuit. Fold dough around filling, pinching edges to seal, and place seam-side down on the baking sheet.
- Make Garlic Parmesan Butter: In a small bowl, combine melted butter, minced garlic, Parmesan cheese, and parsley. Brush half of the mixture over the tops of the bombs.
- Bake: Bake for 15–18 minutes until golden brown. Brush with remaining garlic butter mixture before serving.
Notes
- You can use mozzarella or pepper jack cheese for a different flavor twist.
- These are great served with ketchup, burger sauce, or ranch dressing for dipping.
- Prep Time: 15 minutes
- Cook Time: 18 minutes
- Category: Appetizer, Main Course
- Method: Baking
- Cuisine: American
Nutrition
- Serving Size: 1 bomb
- Calories: 280
- Sugar: 3 g
- Sodium: 670 mg
- Fat: 16 g
- Saturated Fat: 8 g
- Unsaturated Fat: 8 g
- Trans Fat: 0 g
- Carbohydrates: 23 g
- Fiber: 1 g
- Protein: 12 g
- Cholesterol: 45 mg
