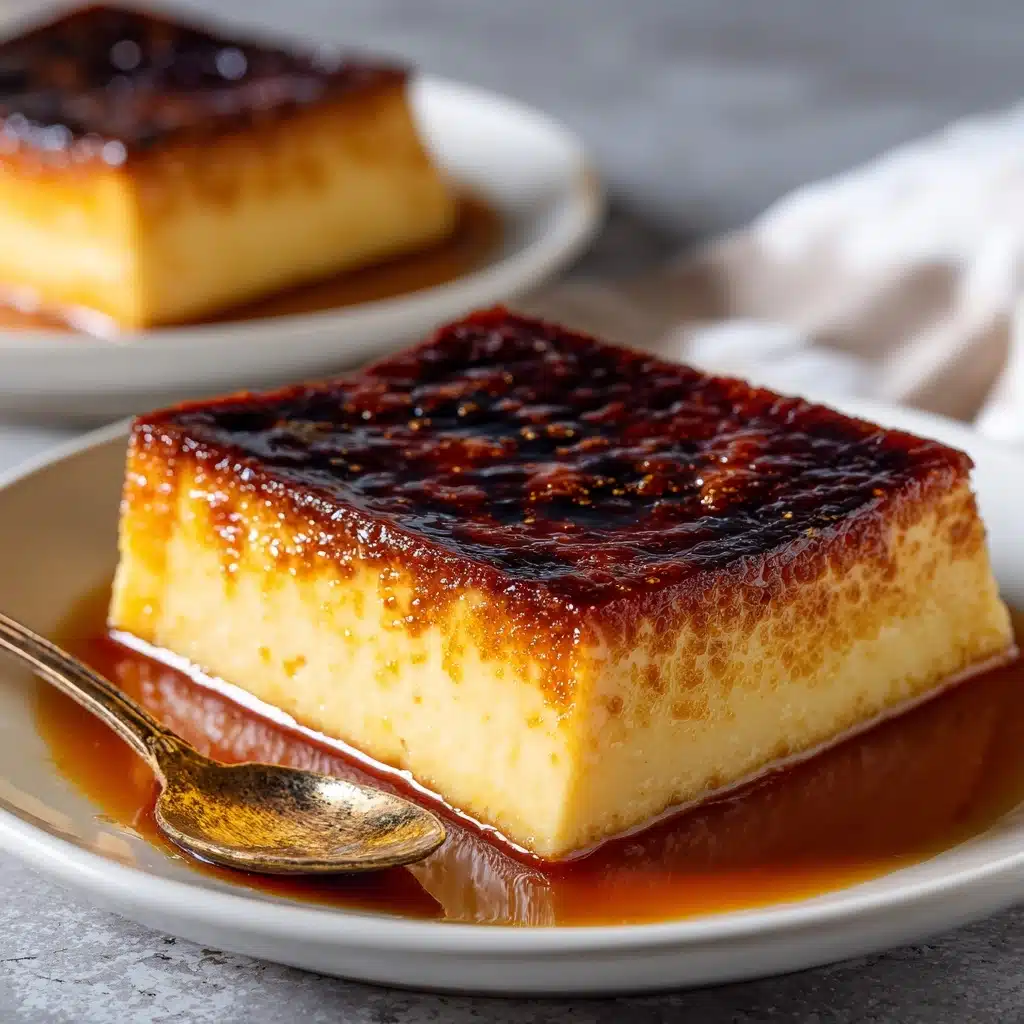
Fail-Proof Egg Custard Recipe
Get ready to fall in love with a classic made easy: Fail-Proof Egg Custard. This silky, creamy dessert is my personal go-to when I want something sweet but simple, and it’s a true crowd-pleaser for every occasion. Gentle notes of vanilla, the delicate wobble, and that iconic hint of spice make this custard a nostalgic favorite that never fails to impress. Whether you’re hosting a cozy family dinner or just craving a homemade treat, nothing beats the satisfaction of mastering this timeless dish—especially when it turns out perfect every time!
Ingredients You’ll Need
The beauty of this recipe is in its simplicity. Each ingredient was carefully chosen to create that classic texture and flavor—creamy, sweet, and gently set with a hint of warmth from vanilla and nutmeg. These staples come together to form a dessert that tastes far greater than the sum of its parts!
- Whole milk: Brings rich creaminess to the custard, giving you that velvety smooth texture that’s impossible to resist.
- Large eggs: The foundation of any custard, eggs provide structure and that signature custardy jiggle.
- Granulated sugar: Sweetens the deal and balances the flavors without overpowering the natural custard taste.
- Vanilla extract: Adds depth and warmth, making every bite fragrant and inviting.
- Salt: Just a pinch magnifies all the sweet and savory notes, bringing everything into balance.
- Ground nutmeg (optional): A gentle sprinkle on top adds a classic touch and hints at nostalgia in each spoonful.
How to Make Fail-Proof Egg Custard
Step 1: Gently Warm the Milk
Start by preheating your oven to 325°F (160°C) and placing a medium saucepan over medium heat. Warm the milk just until it feels hot to the touch but isn’t bubbling or simmering. This step is crucial for a seamless custard, helping blend the flavors and ensuring a smooth mix later.
Step 2: Whisk Together Eggs, Sugar, Vanilla, and Salt
While the milk warms, grab a mixing bowl and whisk together the eggs, granulated sugar, vanilla extract, and salt. You’re aiming for a uniform, pale mixture that ensures a beautifully even custard. Don’t rush this step—it sets the stage for velvety results.
Step 3: Combine Milk and Egg Mixture—Slowly!
Here’s where the magic happens. Slowly pour the warm milk into your egg mixture, continuously whisking. This gentle process tempers the eggs, preventing accidental scrambling and guaranteeing your Fail-Proof Egg Custard bakes up nice and smooth.
Step 4: Strain for Extra-Smooth Perfection
For that ultimate silky texture, pour your custard through a fine-mesh sieve into a large measuring cup or bowl. Straining eliminates any stray egg threads, resulting in a creamier and more refined dessert.
Step 5: Prepare the Water Bath and Bake
Divide the custard evenly among six ramekins (or use a single 1.5-quart baking dish). Place these into a larger baking pan and carefully add hot water to the outer pan until it reaches halfway up the sides of the ramekins—this gentle water bath ensures even cooking and prevents the custard from curdling.
Step 6: Add Nutmeg and Bake Until Set
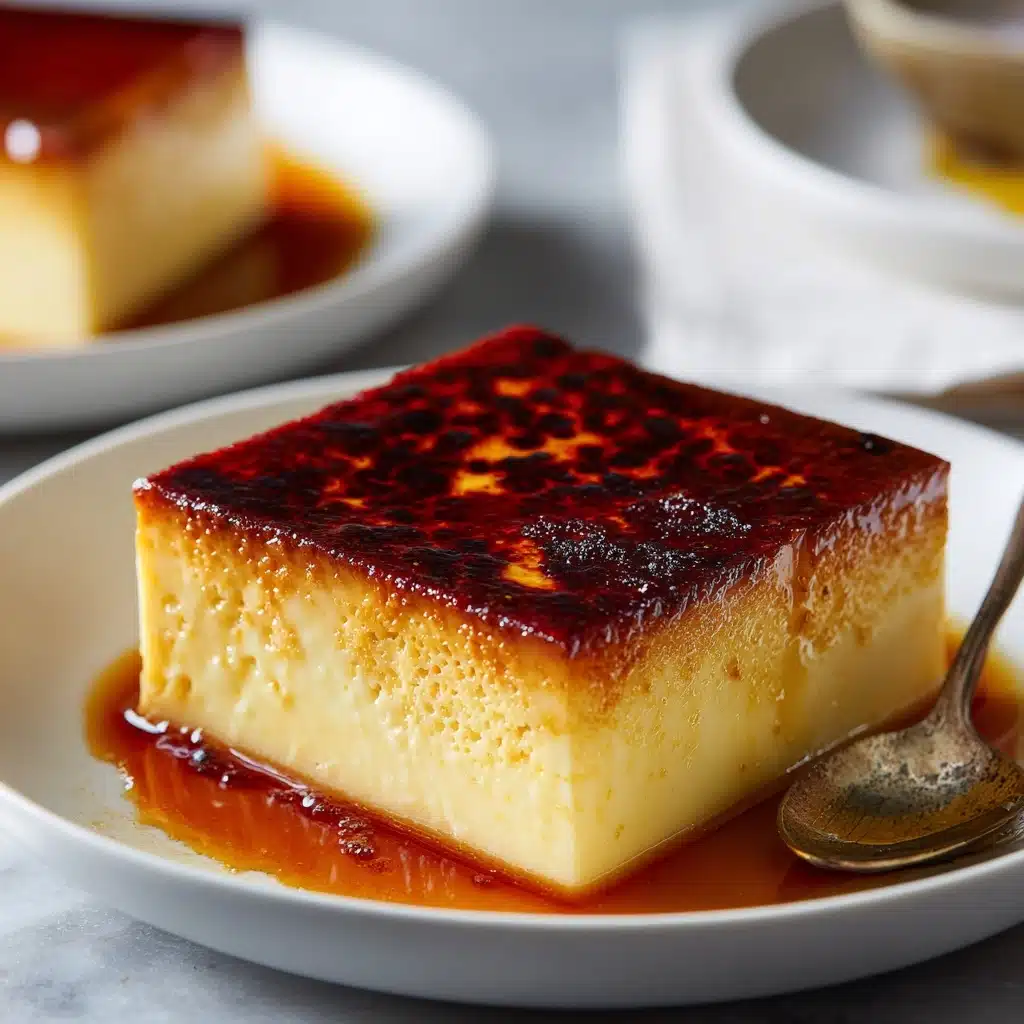
Sprinkle the tops with ground nutmeg if you love that classic touch. Pop everything in the oven and bake for 45 to 50 minutes. You’ll know it’s ready when the custard looks just set but still jiggles slightly in the center—trust your instincts!
Step 7: Cool, Chill, and Savor
Once baked, remove the custards from their water bath and let them cool to room temperature. Pop them into the fridge for at least two hours—this patience pays off with the creamiest result. Then comes the best part: dig in and enjoy your homemade Fail-Proof Egg Custard.
How to Serve Fail-Proof Egg Custard

Garnishes
A light dusting of freshly grated nutmeg is the classic way to finish Fail-Proof Egg Custard, but you can also try shaved chocolate or a dollop of whipped cream for extra flair. The subtle spice and creamy topping add visual appeal and a layer of sophistication.
Side Dishes
This dreamy custard pairs wonderfully with simple sides like crisp butter cookies, fresh berries, or a handful of toasted pistachios. These accompaniments provide texture and contrast, transforming your dessert table into a feast for all senses.
Creative Ways to Present
Elevate your Fail-Proof Egg Custard by serving it in vintage tea cups, espresso glasses, or even little mason jars. For a fun twist, layer it with fruit compote or serve on a tray adorned with edible flowers—perfect for brunches, showers, or anytime you want to impress!
Make Ahead and Storage
Storing Leftovers
Simply cover any leftover custard tightly with plastic wrap and store it in the refrigerator for up to three days. The flavor actually deepens with time, making each spoonful even more irresistible on day two!
Freezing
While Freeze-Proof Egg Custard is not a thing (unfortunately!), you can freeze portions if you wrap them securely. Be aware that the texture may change slightly upon thawing, but a slow overnight defrost in the fridge helps retain that signature silkiness.
Reheating
For the best experience, enjoy your custard cold or at room temperature. If you prefer it slightly warm, let it sit out for a bit, or very gently heat in the microwave at half power for 10–15 seconds—just don’t let it get hot, or you risk curdling the delicate texture.
FAQs
Why does my Fail-Proof Egg Custard have bubbles or a tough texture?
Bubbles or toughness in your custard usually mean the eggs cooked too rapidly—often the result of an overheated oven or skipping the water bath. Always bake low and slow and use the water bath for perfectly tender custard.
Can I make Fail-Proof Egg Custard with non-dairy milk?
You can, but the results will be different. Coconut or almond milk work fairly well, but the custard may not be as creamy as the original. Experiment to find your perfect plant-based alternative!
How do I know when my Fail-Proof Egg Custard is done baking?
You’ll want to gently nudge the ramekin; the edges should be set while the center should wobble just a little. Overbaking can lead to cracks or a rubbery consistency, so keep a close eye toward the end of baking time.
What size ramekins work best for this recipe?
Standard 6-ounce ramekins are perfect, but this recipe is forgiving! If you use a larger baking dish instead, you may need to adjust the baking time—just use the jiggle test to check doneness.
Can I double the recipe for a crowd?
Absolutely. Simply double all ingredients and use a larger baking dish (or more ramekins). The signature traits of Fail-Proof Egg Custard remain—you’ll just want to add a little more time in the water bath to ensure even cooking.
Final Thoughts
Trust me, once you whip up your first batch of Fail-Proof Egg Custard, you’ll reach for this recipe again and again. It’s one of those comfort desserts that’s secretly impressive and always hits the spot. Promise yourself an extra spoonful—you’ve earned it!
Print
Fail-Proof Egg Custard Recipe
- Total Time: 1 hour
- Yield: 6 servings 1x
- Diet: Vegetarian, Gluten-Free
Description
Indulge in this fail-proof egg custard recipe that yields a creamy and comforting dessert. Perfect for any occasion, this classic custard is easy to make and guarantees a smooth and delicious treat.
Ingredients
Main Ingredients:
- 2 cups whole milk
- 3 large eggs
- ½ cup granulated sugar
- 1 teaspoon vanilla extract
- ⅛ teaspoon salt
Topping:
- Ground nutmeg for topping (optional)
Instructions
- Preheat oven: Preheat oven to 325°F (160°C).
- Prepare the custard mixture: Heat milk in a saucepan. Whisk eggs, sugar, vanilla, and salt. Slowly combine warm milk with egg mixture.
- Strain and pour: Strain mixture and pour into ramekins. Place ramekins in a water bath.
- Bake: Sprinkle with nutmeg and bake for 45–50 minutes until set but slightly jiggly.
- Cool and refrigerate: Let cool, then refrigerate for at least 2 hours before serving.
Notes
- For extra-smooth custard, strain the mixture before baking.
- Whole milk yields a creamier result than 2% milk.
- Serve chilled or at room temperature.
- Prep Time: 10 minutes
- Cook Time: 50 minutes
- Category: Dessert
- Method: Baking
- Cuisine: American
Nutrition
- Serving Size: 1 ramekin
- Calories: 170
- Sugar: 18g
- Sodium: 90mg
- Fat: 6g
- Saturated Fat: 3g
- Unsaturated Fat: 2g
- Trans Fat: 0g
- Carbohydrates: 21g
- Fiber: 0g
- Protein: 6g
- Cholesterol: 140mg