If you are craving a dessert that beautifully combines rich chocolate, luscious cherries, and fluffy whipped cream all in a perfectly sized treat, this Black Forest Cake Mini Dessert Cups Recipe is a dream come true! It takes the classic flavors of Black Forest cake and turns them into adorable, easy-to-eat cups that everyone will adore. Whether you’re serving these at a party or simply want a special homemade snack, this recipe is as delightful as it is straightforward, capturing all the essence of a traditional dessert with a fun and modern twist.
Ingredients You’ll Need
These ingredients are simple yet essential to create the vibrant layers and rich flavors characteristic of this Black Forest Cake Mini Dessert Cups Recipe. Each element plays a key role, from tender chocolate cake crumbs to the bright cherry filling and silky whipped cream that ties everything together.
- 2 cups Chocolate Cake Scraps: Use moist, dark chocolate cake scraps to provide the deep chocolate base and texture.
- 1/4 cup Simple Syrup: Brush on the cake scraps to keep them wonderfully moist and enhance sweetness.
- 1 cup Heavy Cream: Whipping cold cream yields a light, airy texture that’s essential for the whipped layers.
- 2 tablespoons Powdered Sugar: Adds just the right amount of sweetness to the whipped cream without overpowering.
- 1 can Canned Cherry Pie Filling: Brings a sweet-tart kick and gorgeous color, playing star to the cake’s richness.
- 1/2 cup Additional Whipped Cream: For topping each cup with a creamy flourish.
- 12 pieces Fresh Cherries: The perfect fresh garnish, adding a pop of color and natural sweetness.
How to Make Black Forest Cake Mini Dessert Cups Recipe
Step 1: Prepare the Cake Base
Start by generously brushing your chocolate cake scraps with the simple syrup. This critical step ensures that every crumb stays moist and flavorful, avoiding dryness in your dessert cups. Let the cake sit for a few minutes so the syrup can soak in deeply.
Step 2: Whip the Cream
Pour the heavy cream and powdered sugar into a chilled mixing bowl. Whip them together until firm peaks form—this means when you lift the whisk, the cream holds its shape perfectly. This whipped cream will add that gorgeous light texture and subtle sweetness that contrasts so well with the rich chocolate crumbs and tart cherries.
Step 3: Assemble the Layers
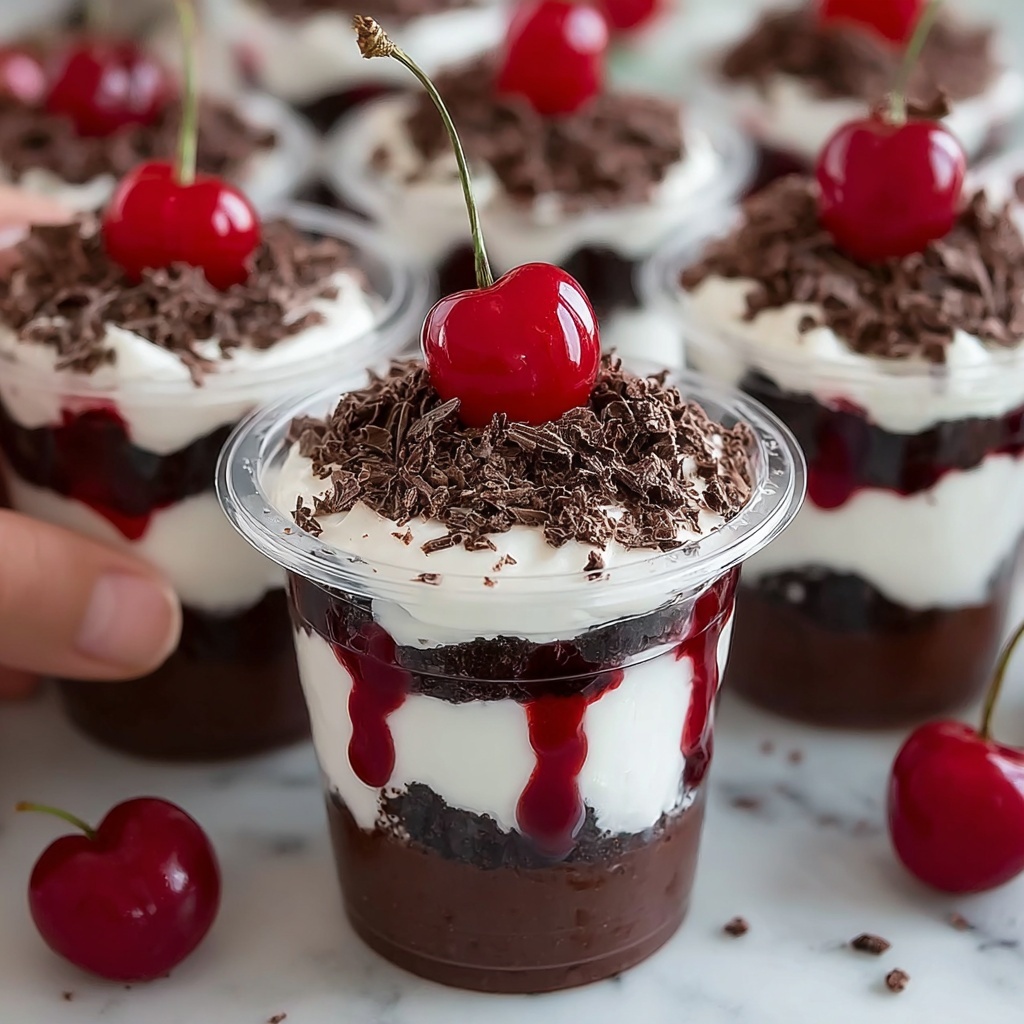
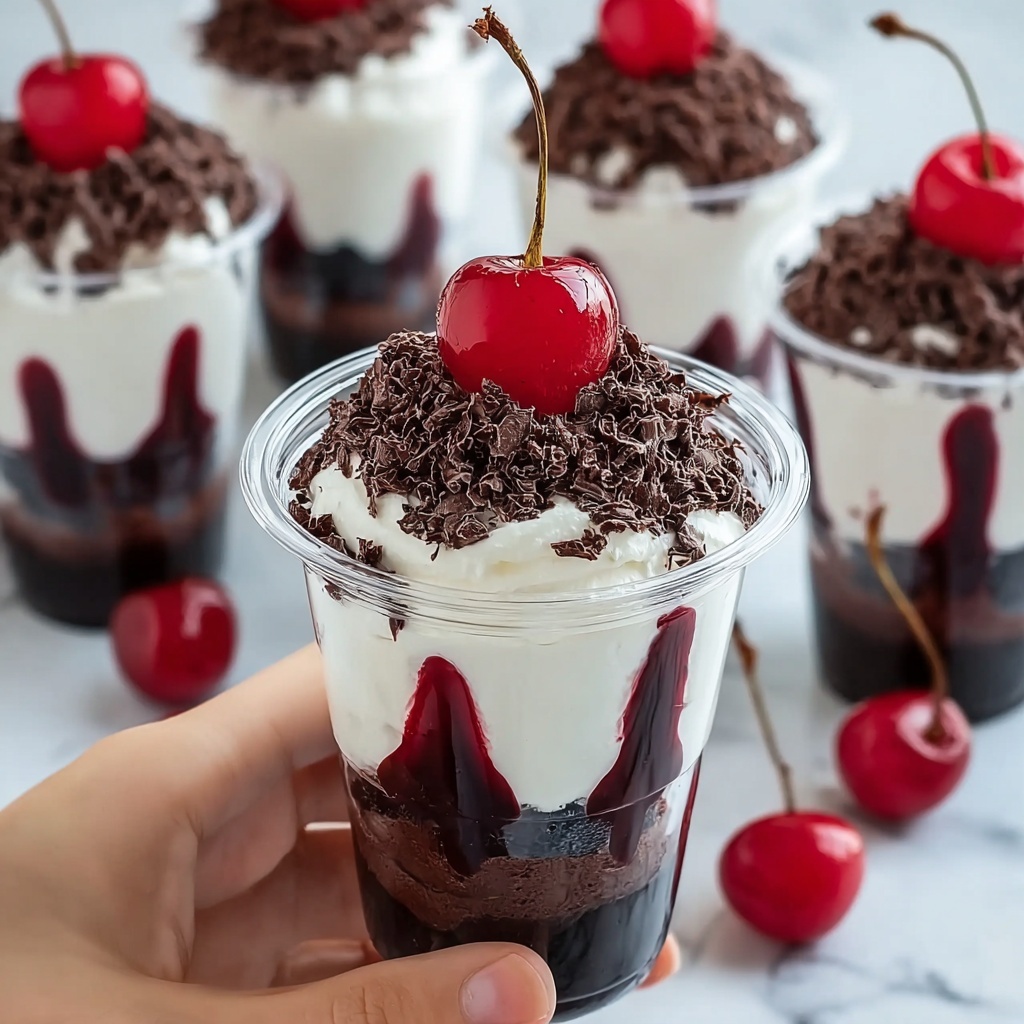
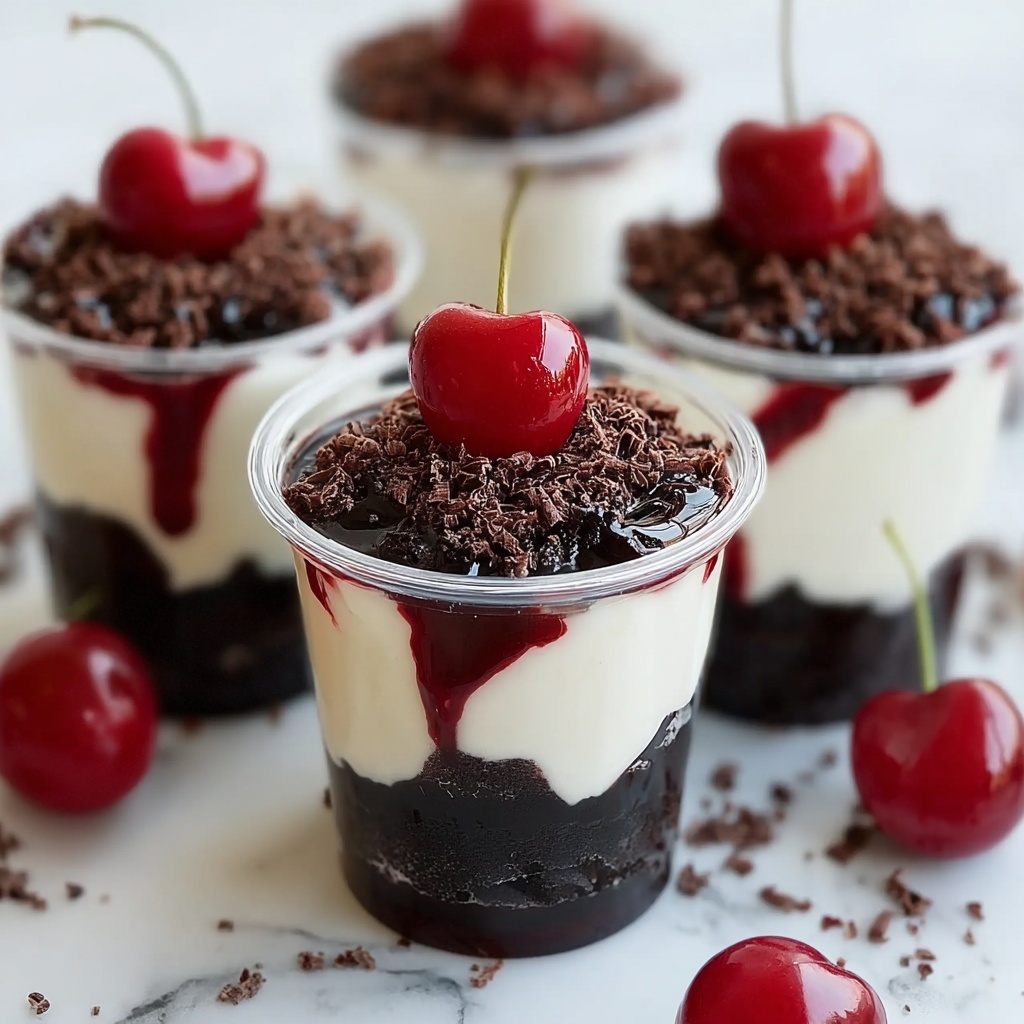
Take your mini dessert cups and start layering by spooning in a portion of the simple syrup-soaked cake crumbs. Follow with a layer of fluffy whipped cream, then add a spoonful of the cherry pie filling. Repeat the layers until each cup is beautifully filled to the top, creating a colorful and inviting dessert.
Step 4: Garnish Each Cup
Finish each cup with a dollop of whipped cream and a fresh cherry on top. This final touch not only adds charm but also brings the Black Forest flavor profile to its full expression, tempting every eye and taste bud.
How to Serve Black Forest Cake Mini Dessert Cups Recipe
Garnishes
In addition to the fresh cherry on top, consider a sprinkling of dark chocolate shavings or a dusting of cocoa powder for an elegant finish. These garnishes add texture and deepen the chocolate flavor, elevating your mini dessert cups from cute to downright irresistible.
Side Dishes
These mini dessert cups shine as the star of any dessert spread but pair wonderfully with light accompaniments such as a crisp fruit salad or a small scoop of vanilla ice cream. The ice cream’s creaminess complements the whipped cream layers without competing, while fresh fruit adds a refreshing note that balances richness.
Creative Ways to Present
Try serving the Black Forest Cake Mini Dessert Cups Recipe on a stylish tray with decorative napkins and small spoons for easy handling at parties. You could also layer them in clear glass jars for a rustic-chic look, perfect for gifting or taking to a potluck.
Make Ahead and Storage
Storing Leftovers
If you have any leftovers (though they rarely stick around for long!), cover the mini dessert cups tightly with plastic wrap and store them in the refrigerator. They will stay fresh and creamy for up to two days, but the freshest experience is always right after making them.
Freezing
While these dessert cups are best served fresh, you can freeze the cake crumbs separately if you want to prepare in advance. Simply thaw them at room temperature before assembling. Once assembled, freezing is not recommended as whipped cream tends to lose its texture upon thawing.
Reheating
Since these are cold desserts, reheating is not needed or recommended. Enjoy them chilled straight from the fridge to savor the perfect combination of flavors and textures.
FAQs
Can I use homemade chocolate cake instead of scraps?
Absolutely! Homemade chocolate cake works beautifully in this recipe. Just be sure it’s moist and dense enough to hold up in layers without crumbling excessively.
What if I don’t have canned cherry pie filling?
You can substitute with fresh cherries cooked down with a bit of sugar and lemon juice to replicate that tart-sweet filling. Just allow it to cool completely before layering.
How long does it take to whip heavy cream to firm peaks?
With a hand or stand mixer on medium-high speed, it usually takes about 3 to 5 minutes. Keep an eye on it so you don’t overbeat and turn it into butter!
Can I make these dessert cups vegan or dairy-free?
Yes, by using dairy-free whipped cream and a vegan chocolate cake option, you can adapt the recipe to suit these diets while keeping the flavor profile satisfying and delicious.
Are these suitable for kids’ parties?
Definitely! The mini cups are perfectly portioned and fun to eat, making them a great hit with kids and adults alike. Just make sure to supervise younger children with the fresh cherry garnish to avoid choking hazards.
Final Thoughts
There’s truly something magical about the Black Forest Cake Mini Dessert Cups Recipe that turns a classic into a bite-sized celebration of flavors and textures. It’s a wonderful recipe to try when you want to impress without fuss, indulge yourself, or share joy with loved ones. I promise, once you make these, they’ll become a beloved staple in your dessert rotation. So go ahead, dive into this sweet adventure—I know you’re going to adore every single bite!
Print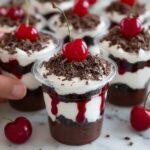
Black Forest Cake Mini Dessert Cups Recipe
- Prep Time: 15 minutes
- Cook Time: 0 minutes
- Total Time: 15 minutes
- Yield: 12 mini dessert cups
- Category: Dessert
- Method: No-Cook
- Cuisine: American
Description
Enjoy these delightful DLux Mini Dessert Cups featuring layers of moist dark chocolate cake scraps, sweet-tart cherry pie filling, and fluffy whipped cream. Perfect for individual servings at parties or as a charming treat any time, these no-bake dessert cups combine rich chocolate and fruity cherries in a beautifully presented, easy-to-make recipe.
Ingredients
Chocolate Cake Base
- 2 cups Chocolate Cake Scraps (Use moist, dark chocolate cake scraps)
- 1/4 cup Simple Syrup (to brush on cake scraps and keep moist)
Whipped Cream Mixture
- 1 cup Heavy Cream (cold, for whipping)
- 2 tablespoons Powdered Sugar
Filling and Topping
- 1 can Canned Cherry Pie Filling
- 1/2 cup Additional Whipped Cream (for topping)
- 12 pieces Fresh Cherries (for garnish)
Instructions
- Prepare the Cake Base: Brush the chocolate cake scraps generously with simple syrup to keep them moist. Allow them to sit for a few minutes so the syrup absorbs fully into the cake.
- Whip the Cream: In a chilled mixing bowl, whip the cold heavy cream along with powdered sugar until stiff peaks form. This will create a light and fluffy whipped cream base for the dessert.
- Assemble Dessert Cups: In each mini dessert cup, start by layering some of the syrup-brushed chocolate cake crumbles. Follow with a layer of the whipped cream, then spoon in some of the cherry pie filling. Repeat these layers until the cup is filled, ending with a layer of whipped cream on top.
- Garnish and Serve: Top each dessert cup with a dollop of the additional whipped cream and place a fresh cherry on top as a garnish. Serve immediately or chill briefly before serving for a refreshed taste.
Notes
- Using moist cake scraps and brushing them with simple syrup helps keep the dessert from drying out.
- Chilling the heavy cream and bowl before whipping helps achieve firmer peaks.
- For extra flavor, consider adding a splash of cherry liqueur or vanilla extract to the whipped cream.
- This dessert is best served fresh but can be refrigerated for up to 2 hours before serving to maintain the texture.


