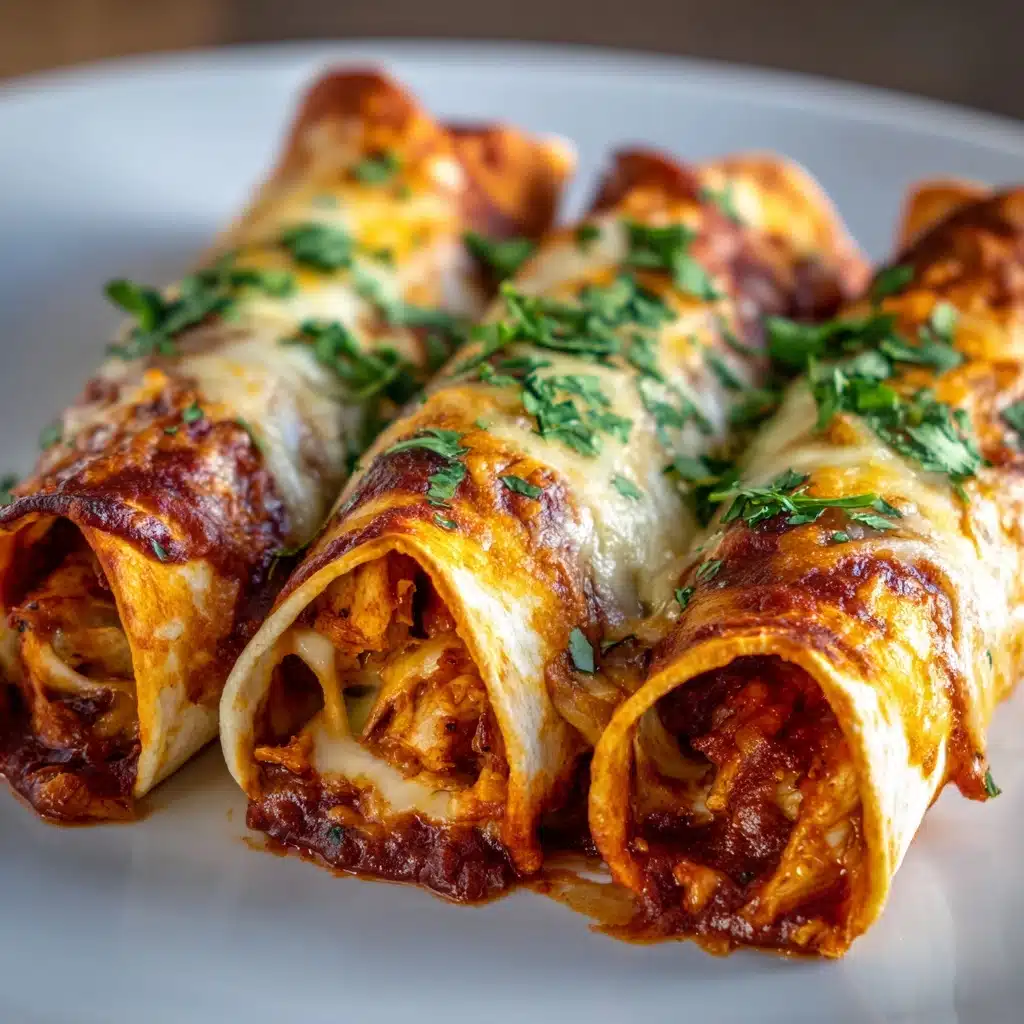
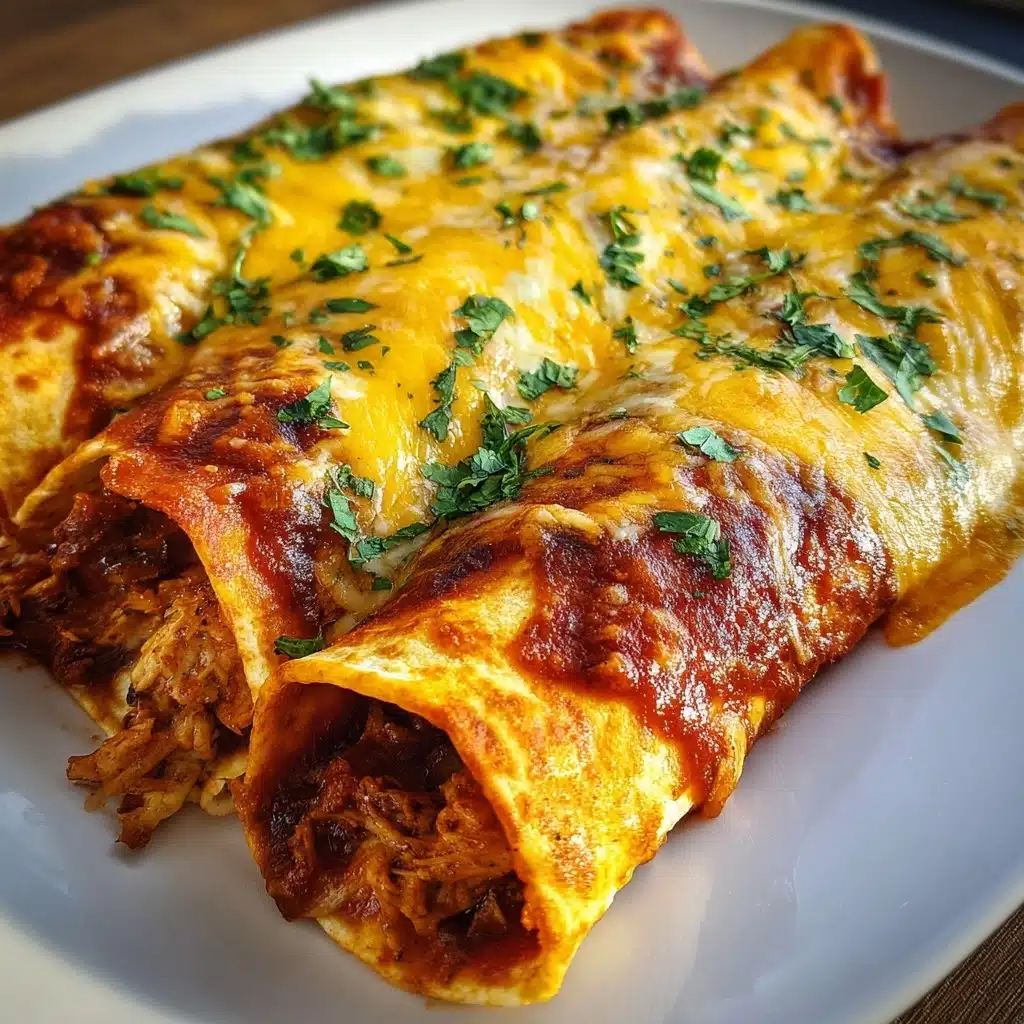
Homemade Chimichangas Recipe
If you love crispy, golden pockets stuffed with savory goodness, you’re in for a treat—because Homemade Chimichangas are the ultimate way to turn a simple dinner into something downright special! Rolled up with juicy chicken (or beef), gooey cheese, and vibrant seasonings, then fried or baked to crunchy perfection, these chimichangas bring that unmistakable Tex-Mex comfort right to your kitchen. Whether you’re gathering around the table with friends or spicing up a weeknight, the combination of textures and bold flavors in every bite is truly hard to resist.
Ingredients You’ll Need
These Homemade Chimichangas come together with a handful of essential, easy-to-find ingredients. Each one plays a starring role—the meat for heartiness, cheese for creaminess, salsa for zing, and spices for that unmistakable depth of flavor.
- Cooked and shredded chicken (or ground beef): The robust base of the filling—feel free to repurpose leftover chicken or opt for ground beef for a rich flavor twist!
- Shredded cheddar or Monterey Jack cheese: Melts beautifully inside, ensuring each bite is extra gooey and satisfying.
- Salsa: Adds tang, moisture, and a little kick—use your favorite store-bought or homemade variety for custom flavor.
- Ground cumin: Delivers warm, earthy notes that define classic Tex-Mex dishes.
- Chili powder: Brings gentle heat and depth, rounding out the spice profile perfectly.
- Garlic powder: For savory backbone and aromatic punch in every bite.
- Salt: Makes all the flavors sing, tying the filling ingredients together.
- Large flour tortillas: The essential wrapper—they bake or fry to a beautiful crisp while hugging the filling.
- Vegetable oil (for frying or brushing): Gives that signature crunch, whether fried, baked, or air-fried.
- Optional toppings—sour cream, guacamole, shredded lettuce, diced tomatoes, chopped cilantro: Fresh garnishes that add color and coolness to balance out the warm chimichangas.
How to Make Homemade Chimichangas
Step 1: Make the Filling
Grab a big mixing bowl and toss in your cooked, shredded chicken (or beef), cheese, salsa, cumin, chili powder, garlic powder, and salt. Stir until everything is evenly combined and you’ve got a nicely seasoned, creamy mixture. This is the flavor-packed center of your Homemade Chimichangas, so give it a taste and adjust the salt or spices as you like!
Step 2: Prepare and Fill the Tortillas
It helps to warm the flour tortillas in the microwave or a dry skillet—just 15–20 seconds until they’re soft and flexible. Lay each tortilla flat and spoon a generous mound of filling right in the center. Fold in the sides, then roll up tightly like a burrito. If you’re a little nervous about them opening during cooking, secure each one with a toothpick.
Step 3: Fry or Bake to Crispy Perfection
For classic crispy chimichangas, heat an inch of vegetable oil in a large skillet over medium heat. Once the oil is hot, carefully lay your chimichangas seam-side down and fry for about 2–3 minutes per side until they turn gorgeously golden and crisp. Prefer to bake? Place seam-side down on a greased sheet, brush all over with oil, and bake at 400°F for 20–25 minutes, flipping halfway through for even crunch.
Step 4: Drain and Top
Set your hot, crispy chimichangas on a plate lined with paper towels to drain off excess oil if fried. Give each one a minute or two to cool slightly, then go wild with your favorite toppings—sour cream, guac, lettuce, tomatoes, or a sprinkle of fresh cilantro.
How to Serve Homemade Chimichangas

Garnishes
The magic in Homemade Chimichangas shines brightest when you pile on those fresh toppings! Think dollops of silky sour cream, a scoop of chunky guacamole, shredded lettuce for crunch, diced tomatoes for color, and a scatter of bright cilantro. Every garnish adds a burst of flavor, balancing the richness of the crispy chimichangas underneath.
Side Dishes
Pair your homemade creation with simple sides for a true Tex-Mex feast. Classic Spanish rice, creamy refried beans, or a zesty corn salad are natural partners that round out the meal. If you’re feeling extra festive, some tortilla chips and salsa on the side never hurt!
Creative Ways to Present
If you want to take presentation up a notch, cut the chimichangas in half at a dramatic angle to show off that enticing filling. Serve on a playful platter with little bowls of every topping and sauce so everyone can customize their own. For parties, try mini chimichangas using small tortillas—just as fun, and so easy to eat.
Make Ahead and Storage
Storing Leftovers
If you have a few Homemade Chimichangas left over, let them cool to room temperature before popping them in an airtight container. They’ll keep in the fridge for up to three days, perfect for a quick Tex-Mex fix later in the week.
Freezing
Want to stash some for future cravings? Wrap cooled, un-topped chimichangas individually in foil or plastic wrap, then place in a freezer bag. They’ll keep beautifully for up to two months and are just as tasty when reheated!
Reheating
To recapture that fresh-from-the-pan crispiness, reheat your chimichangas in the oven or air fryer at 375°F until hot and crackly. The microwave is faster, but can soften the tortilla—a quick finish in a hot skillet can help bring back the crunch!
FAQs
Can I make Homemade Chimichangas vegetarian?
Absolutely! Swap out the chicken for black beans, pinto beans, or sautéed vegetables. The filling stays hearty and flavorful, and the rest of the process is exactly the same.
What’s the difference between a chimichanga and a burrito?
Chimichangas are essentially deep-fried or baked burritos, achieving that irresistible crispy shell. Burritos are usually served soft and not usually fried or baked to crispness.
Can I bake instead of fry for less oil?
Definitely! Brushing with a little oil and baking results in a lighter, just-as-delicious crisp—you can even use an air fryer. Either method makes spectacular Homemade Chimichangas.
How do I keep the filling from leaking out?
Be sure to tuck the sides of the tortilla in before you roll it up tightly, and place the seam-side down during cooking. Securing with toothpicks also helps if you’re new to rolling burritos.
What kind of salsa is best for chimichanga filling?
Use your favorite! Mild, medium, or spicy all work—just make sure it’s not too watery, or your filling might get soggy. Chunky salsa adds nice body and flavor.
Final Thoughts
There’s something undeniably fun and comforting about making—and eating—Homemade Chimichangas. They’re endlessly customizable, packed with flavor, and deliver that unbeatable crunch every time. Grab your tortillas and give these a try—you just might find your new favorite dinner!
Print
Homemade Chimichangas Recipe
- Total Time: 35 minutes
- Yield: 6 chimichangas 1x
- Diet: Non-Vegetarian
Description
Learn how to make delicious Homemade Chimichangas filled with seasoned chicken, cheese, and spices, fried to crispy perfection or baked until golden. These Tex-Mex delights are easy to prepare and customize with your favorite toppings.
Ingredients
For the filling:
- 2 cups cooked and shredded chicken (or ground beef)
- 1 cup shredded cheddar or Monterey Jack cheese
- 1/2 cup salsa
- 1/2 tsp ground cumin
- 1/2 tsp chili powder
- 1/4 tsp garlic powder
- 1/4 tsp salt
Additional ingredients:
- 6 large flour tortillas
- Vegetable oil for frying or brushing
- Optional toppings: sour cream, guacamole, shredded lettuce, diced tomatoes, chopped cilantro
Instructions
- Prepare the filling: In a large bowl, combine the shredded chicken, cheese, salsa, cumin, chili powder, garlic powder, and salt. Mix well until evenly combined.
- Assemble chimichangas: Warm the tortillas slightly, spoon the filling into the center of each tortilla. Fold in the sides and roll up tightly like a burrito, securing with toothpicks if needed.
- For frying: Heat vegetable oil in a skillet, fry chimichangas seam-side down for 2–3 minutes per side until golden and crispy. Drain on paper towels.
- For baking: Place chimichangas seam-side down on a baking sheet, brush with oil, bake at 400°F for 20–25 minutes until golden and crisp. Serve hot with desired toppings.
Notes
- You can prepare the filling in advance and refrigerate for up to 2 days.
- For a healthier option, bake or air fry instead of deep frying.
- Swap chicken with beans or veggies for a vegetarian version.
- Prep Time: 15 minutes
- Cook Time: 20 minutes
- Category: Main Course
- Method: Frying or Baking
- Cuisine: Mexican-American
Nutrition
- Serving Size: 1 chimichanga
- Calories: 420
- Sugar: 2g
- Sodium: 570mg
- Fat: 22g
- Saturated Fat: 6g
- Unsaturated Fat: 14g
- Trans Fat: 0g
- Carbohydrates: 32g
- Fiber: 2g
- Protein: 24g
- Cholesterol: 65mg