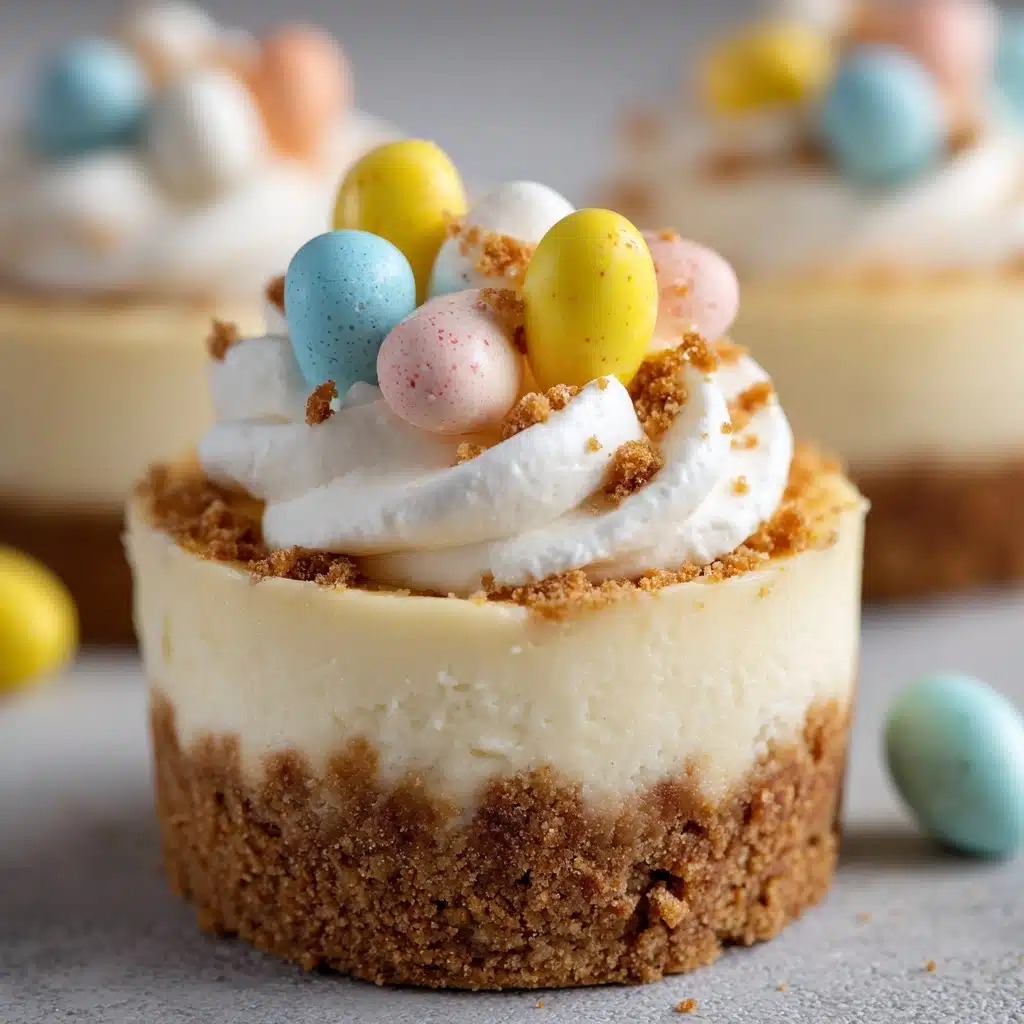
Easter No-Bake Mini Cheesecakes Recipe
Looking for a show-stopping spring dessert that’s as whimsical as it is easy? Enter these darling Easter No-Bake Mini Cheesecakes. With their creamy fillings, crunchy graham bases, and pastel hues topped with festive chocolate eggs, every bite tastes like a celebration of the season. Plus, you won’t even need to turn on your oven! Whether you’re hosting an Easter brunch or craving a cheerful, make-ahead treat, these mini cheesecakes bring big smiles and bigger flavor—effortlessly.
Ingredients You’ll Need
One of the best things about these Easter No-Bake Mini Cheesecakes is how simple yet purposeful each ingredient is. Every item works together to create the perfect balance of flavor, creamy texture, and festive color. Here’s your delightful lineup:
- Graham cracker crumbs: These create a sweet, crunchy base that complements the creamy filling perfectly.
- Melted butter: Helps bind your crust and adds a rich, buttery flavor that’s classic in all cheesecake bases.
- Granulated sugar: A touch of sweetness for the crust that keeps it from tasting too savory.
- Cream cheese (softened): The superstar—smooth, tangy, and creamy for that classic cheesecake flavor.
- Powdered sugar: Melts perfectly into the cream cheese, keeping the filling velvety smooth, not gritty.
- Vanilla extract: Adds lovely depth and warmth, making every bite more flavorful.
- Heavy whipping cream: When whipped, it gives the filling its light, airy texture—no oven required!
- Pastel food coloring (optional): Totally fun for Easter, these let you tint the filling in gorgeous spring shades.
- Mini chocolate eggs or sprinkles: For that irresistible, festive garnish—kids and adults both love this touch.
- Cupcake liners: Essential for easy shaping, chilling, and serving—plus, zero mess!
How to Make Easter No-Bake Mini Cheesecakes
Step 1: Prepare Your Muffin Tin
First things first, grab a muffin tin and line 8 of the cups with cupcake liners. This not only keeps things tidy but also makes removing the cheesecakes a breeze when you’re ready to serve. It instantly gives your treats that adorable, bakery-style look.
Step 2: Make the Graham Cracker Crust
In a small mixing bowl, combine your graham cracker crumbs, melted butter, and granulated sugar. Stir until everything looks like delicious, sandy wet crumbs. Next, spoon about 1 to 2 tablespoons of this mixture into each cupcake liner. Press down firmly with the back of a spoon so you get a nice, even and compact base—no loose crumbs here. Set aside while you whip up the filling.
Step 3: Whip the Filling
Now the magic begins! In a large bowl, beat the softened cream cheese until it’s completely smooth and creamy. Add in your powdered sugar and vanilla extract, then continue beating until you’ve got a silky, lump-free base. In a separate bowl, whip your heavy cream until stiff peaks form. Gently fold the whipped cream into the cream cheese mixture, being careful not to deflate all that lovely airiness. The result? A delightfully fluffy filling that tastes downright dreamy.
Step 4: Add Color (If Desired)
For extra springtime flair, divide the cheesecake filling into separate bowls and tint each with a bit of pastel food coloring. A little goes a long way—think pale pink, soft yellow, or baby blue. Swirl each color into the cupcake liners or even layer them for a marbled effect. This step is completely optional, but your Easter No-Bake Mini Cheesecakes will look extra festive and fun!
Step 5: Fill and Chill
Spoon the colorful (or classic) cheesecake filling into each cupcake liner right on top of the crust, smoothing out the tops for an even finish. Pop the pan into the refrigerator and let them chill for at least four hours—overnight is even better if you can resist! This time is what allows the filling to set up perfectly and achieve that velvety, sliceable texture you know and love.
Step 6: Decorate and Serve
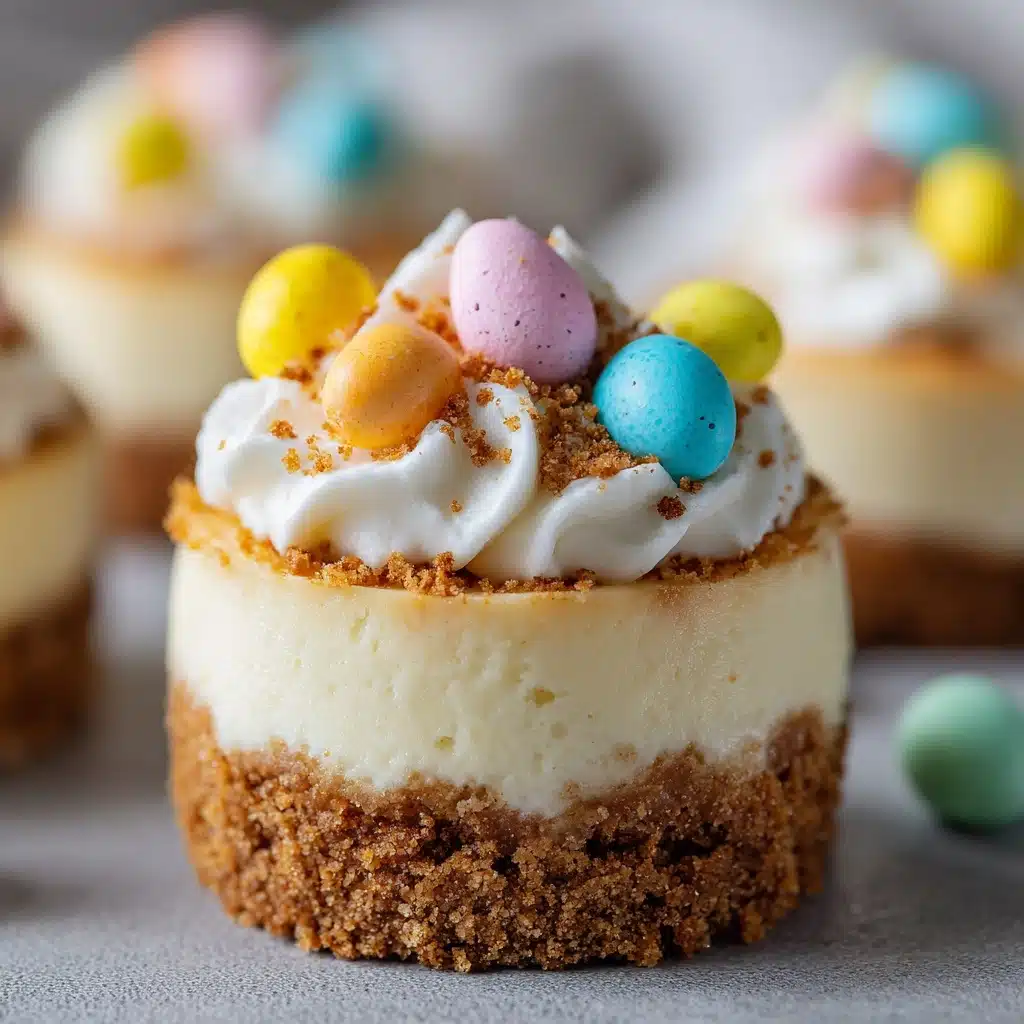
Just before serving, crown each mini cheesecake with a handful of mini chocolate eggs or a sprinkle of festive sprinkles. The result is an adorable, irresistible treat that looks as good as it tastes—pretty much guaranteed to be the highlight of your dessert table!
How to Serve Easter No-Bake Mini Cheesecakes

Garnishes
A cheerful garnish is the final, crucial touch for your Easter No-Bake Mini Cheesecakes. I love piling on pastel mini chocolate eggs or scattering festive sprinkles in soft shades for that true holiday vibe. You could also add fresh berries, delicate edible flowers, or a drizzle of white chocolate. Each option gives a custom sparkle—don’t be afraid to experiment!
Side Dishes
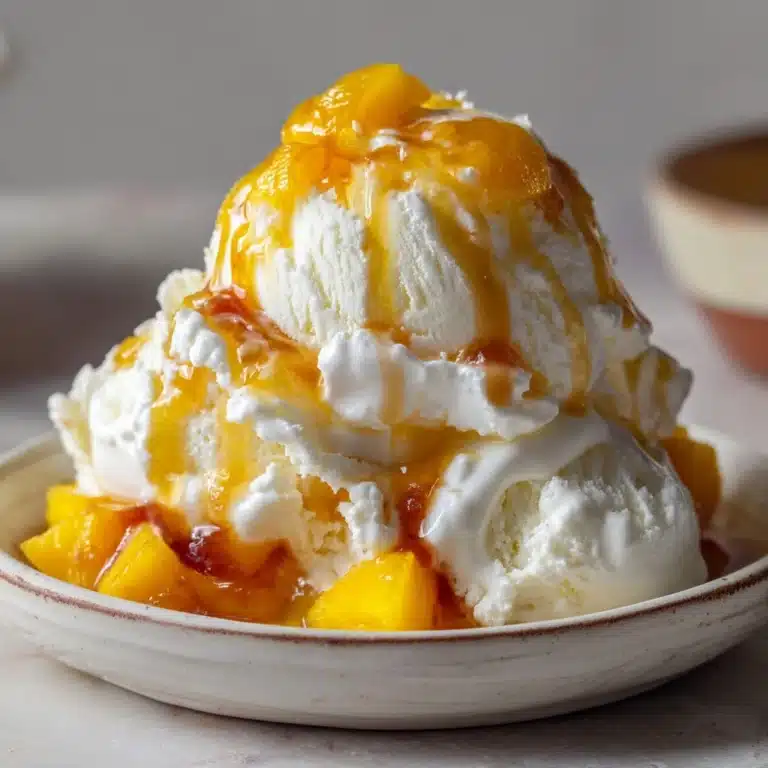
While these cheesecakes are magical on their own, they pair beautifully with a fruit salad tossed with fresh mint or a bright berry compote. Offering a tray of assorted tea sandwiches or buttery shortbreads also makes your Easter dessert spread extra special. Think fresh, light, and just a little bit celebratory!
Creative Ways to Present
For an unforgettable presentation, arrange your Easter No-Bake Mini Cheesecakes on a pastel cake stand or tiered dessert tray. You can even nestle them atop edible “grass” (like green-tinted coconut) or scatter extra chocolate eggs around each plate. Little cupcake flags or paper bunny toppers make them absolutely irresistible for both kids and adults. Presentation is half the fun—lean in and get creative!
Make Ahead and Storage
Storing Leftovers
Leftover Easter No-Bake Mini Cheesecakes store perfectly in the refrigerator for up to 3 days. Just keep them in an airtight container so they stay fresh and creamy. If you’re layering them in a container, place a sheet of parchment or wax paper between layers to keep decorations intact.
Freezing
You can absolutely freeze these mini cheesecakes for later! Once they’ve set in the fridge, wrap each cheesecake tightly (liners and all) in plastic wrap, then store in a freezer-safe bag or airtight container. They’ll keep well for about 1 month. Let them thaw in the fridge for a few hours before serving—toppings may lose some crunch, so add those fresh if you can.
Reheating
Since these are no-bake cheesecakes, they don’t need reheating—just a little time at room temperature if you prefer a softer texture. Let them sit out for 10 to 15 minutes before serving to take the chill off and bring out the creamy flavors. Super simple!
FAQs
Can I make Easter No-Bake Mini Cheesecakes gluten-free?
Absolutely! Just swap in your favorite gluten-free graham crackers for the crust. All the other ingredients are naturally gluten-free, making this an easy treat for everyone to enjoy.
How far in advance can I make these cheesecakes?
You can prepare Easter No-Bake Mini Cheesecakes up to 2 days ahead. Store them covered in the fridge, and add any decorations right before serving for the freshest look and texture.
What if I don’t have heavy whipping cream?
While heavy cream gives the fluffiest texture, you could use full-fat whipped topping in a pinch. It won’t be quite as rich, but it will still hold the cheesecake together nicely.
How do I get perfect pastel colors?
Add your food coloring just a drop at a time and stir well—using gel colors prevents making the filling too runny and keeps colors vibrant. Divide the batter and play with color combinations for custom creations!
Can I make these as a large no-bake cheesecake instead of minis?
Yes! Just press the crust into the bottom of an 8-inch springform pan, fill with your cheesecake mixture, and chill as directed. Slice and serve with the same festive toppings for a show-stopping centerpiece.
Final Thoughts
This spring, treat yourself and your loved ones to a batch of Easter No-Bake Mini Cheesecakes. They’re eye-catching, deceptively easy, and absolutely delicious. Whether you go wild with color or keep things classic, these cheerful cheesecakes are a joyful way to celebrate the season—give them a try and watch them disappear!
Print
Easter No-Bake Mini Cheesecakes Recipe
- Total Time: 4 hours 20 minutes (including chilling time)
- Yield: 8 mini cheesecakes 1x
- Diet: Non-Vegetarian
Description
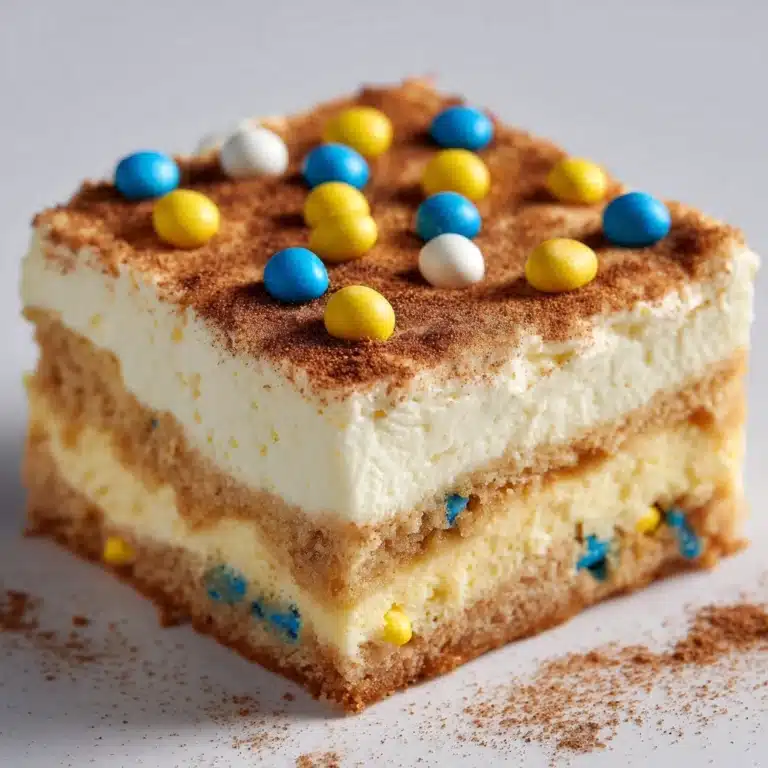
These Easter-themed no-bake mini cheesecakes are a delightful treat perfect for the spring season. Creamy and light, with a crunchy graham cracker crust and colorful pastel swirls, they make a festive addition to any dessert table. Topped with mini chocolate eggs or sprinkles, these individual cheesecakes are not only delicious but also easy to prepare and perfect for entertaining guests.
Ingredients
Graham Cracker Crust:
- 1 cup graham cracker crumbs
- 3 tablespoons melted butter
- 2 tablespoons granulated sugar
Cheesecake Filling:
- 8 oz cream cheese (softened)
- 1/2 cup powdered sugar
- 1 teaspoon vanilla extract
- 1 cup heavy whipping cream
- Pastel food coloring (optional)
Toppings:
- Mini chocolate eggs or sprinkles
- Cupcake liners
Instructions
- Prepare Crust: Line a muffin tin with 8 cupcake liners. Mix graham cracker crumbs, melted butter, and granulated sugar. Press mixture into each liner to form the base.
- Make Filling: Beat cream cheese until smooth. Add powdered sugar and vanilla extract. Whip heavy cream to stiff peaks, then fold into cream cheese mixture.
- Color and Fill: Optionally tint filling with food coloring. Spoon filling into liners over crust and smooth tops.
- Chill and Serve: Refrigerate for at least 4 hours. Top with mini chocolate eggs or sprinkles before serving.
Notes
- Mini cheesecakes can be made 1–2 days ahead and stored in the fridge.
- For a gluten-free version, use gluten-free graham crackers.
- Prep Time: 20 minutes
- Cook Time: 0 minutes
- Category: Dessert
- Method: No-Bake
- Cuisine: American
Nutrition
- Serving Size: 1 mini cheesecake
- Calories: 250
- Sugar: 14g
- Sodium: 140mg
- Fat: 19g
- Saturated Fat: 11g
- Unsaturated Fat: 6g
- Trans Fat: 0g
- Carbohydrates: 17g
- Fiber: 0g
- Protein: 3g
- Cholesterol: 50mg

