Chili Garlic Oil – Salt-Free Recipe
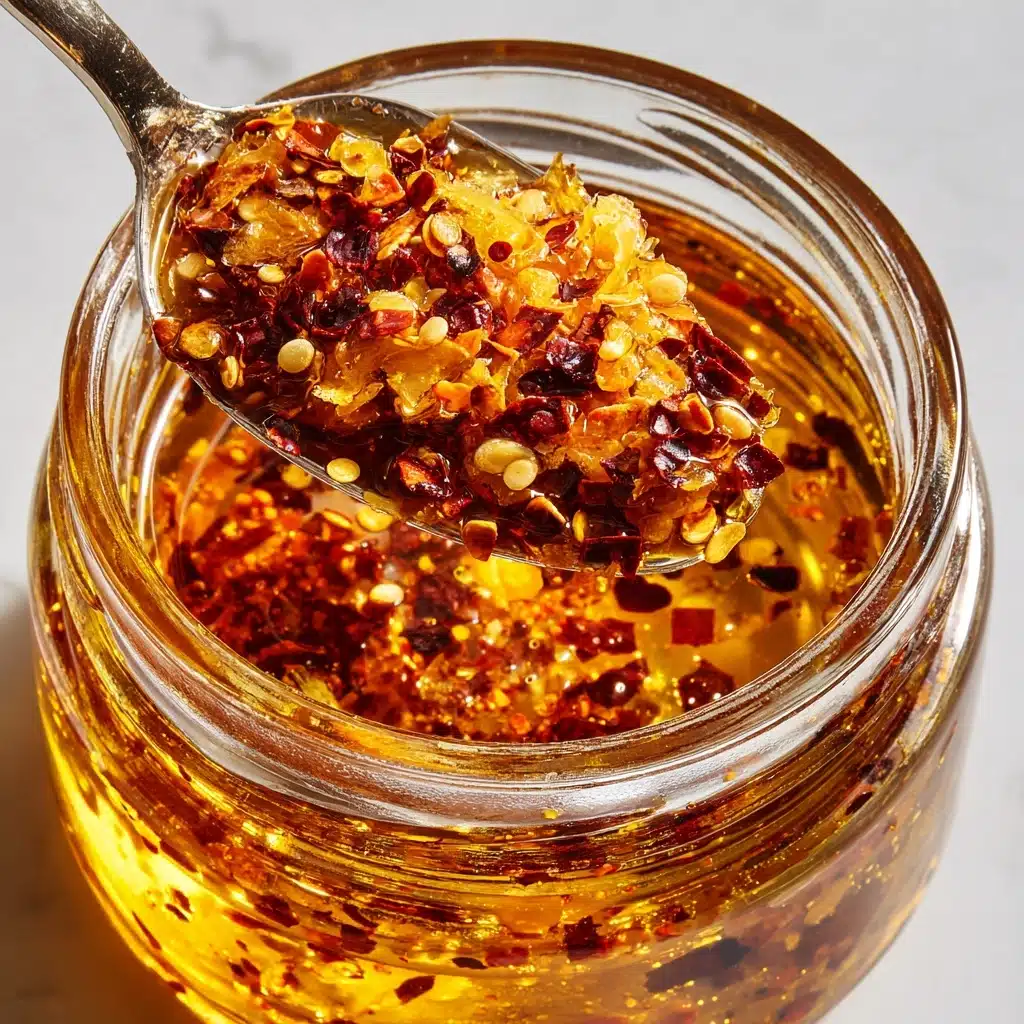
If you’re on the hunt for a bold, zesty condiment that packs loads of flavor without a pinch of salt, let me introduce you to Chili Garlic Oil – Salt-Free. This addictive sauce has become a staple at my table, transforming everything from humble veggies to simple noodles with its spicy kick, garlicky aroma, and irresistible crunch. Whether you’re cooking for a loved one on a low-sodium diet or just want to control your own seasoning, this version lets every home chef enjoy the magic of chili oil, all while keeping things absolutely salt-free and endlessly customizable!
Ingredients You’ll Need
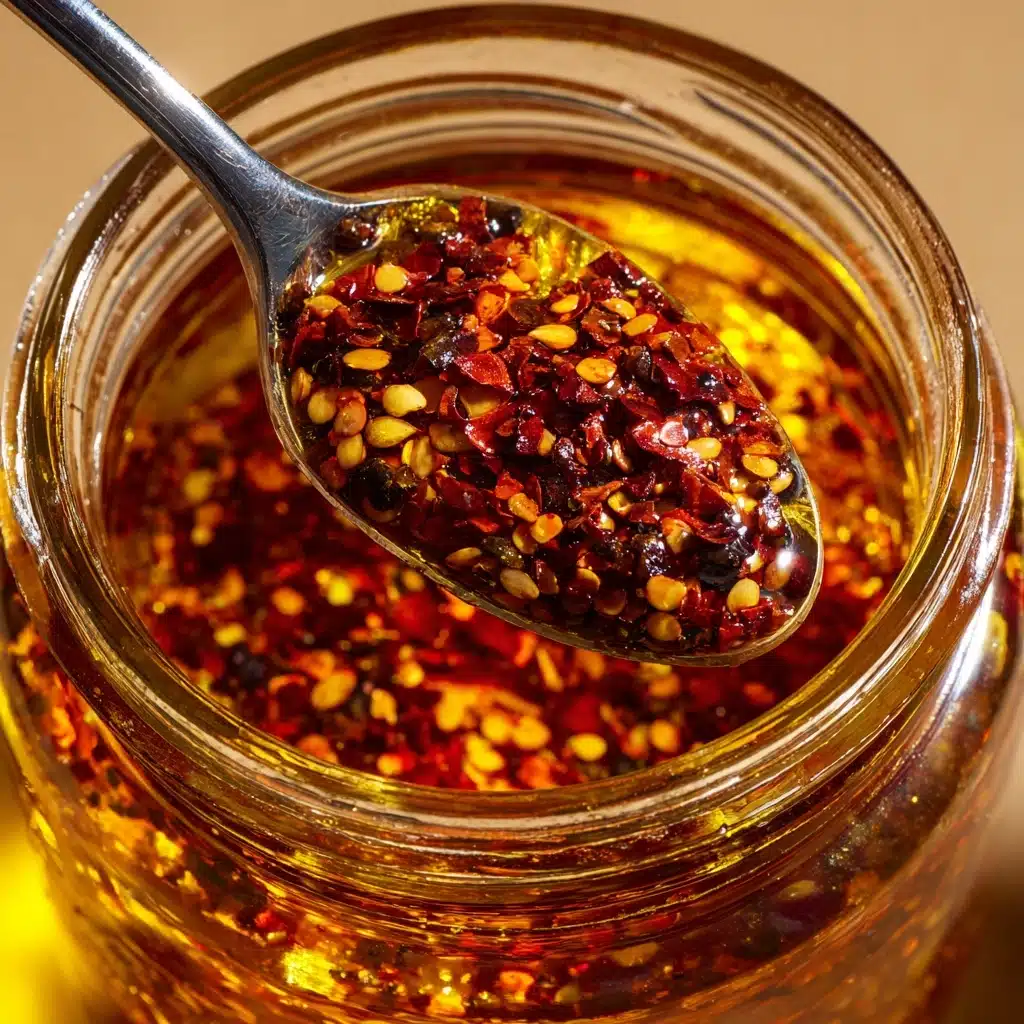
This simple lineup of ingredients truly proves that you don’t need a complicated pantry to make something extraordinary. Each component in Chili Garlic Oil – Salt-Free plays a special role in delivering color, crunch, depth, and aromatic warmth to your finished jar.
- Neutral oil: Using a mild oil like avocado or vegetable lets the chili and garlic flavors shine without overpowering them.
- Dried chili flakes: Chili flakes bring the heat! Play with quantity and chili variety to match your heat preference.
- Garlic (minced): Fresh garlic infuses the oil with an irresistible aroma and gentle bite as it crisps up.
- Onion flakes: These add sweet-savory notes and extra crunch once toasted in the oil.
- Smoked paprika (optional): For a subtle, smoky undertone that plays beautifully with the chili and garlic.
- Ground ginger (optional): A hint of ginger adds gentle warmth and extra complexity to this sauce!
How to Make Chili Garlic Oil – Salt-Free
Step 1: Infuse the Oil
Start by pouring your neutral oil into a small saucepan and set it over medium-low heat. You want the oil to shimmer gently but never smoke—patience is key! This gentle heat will help extract all the flavor from the garlic and onion without burning them, setting the stage for a smooth and aromatic base.
Step 2: Toast the Aromatics
Stir in the minced garlic and onion flakes, then tend them with love. Keep stirring and watching as they softly sizzle and turn golden brown, filling your kitchen with that unbeatable, toasty fragrance. This should take around 4–5 minutes—don’t rush or the garlic may brown too quickly and turn bitter.
Step 3: Add the Spices Off Heat
Once your garlic and onion are perfectly golden, immediately pull the pan off the heat. Sprinkle in the chili flakes (and smoked paprika and ground ginger, if using). Stir well to evenly distribute the spices through the hot oil. Doing this step off the heat preserves the vibrant red color and fresh aroma of the chilis while still coaxing out plenty of flavor.
Step 4: Let the Flavors Mingle
Let the mixture cool completely in the pan, allowing all that fiery, garlicky richness to infuse into the oil. This waiting game is worth every minute; your patience will be rewarded with a more harmonious, deeply flavorful Chili Garlic Oil – Salt-Free.
Step 5: Store and Enjoy
Once cooled, transfer everything (oil and solids) to a clean jar. Pop it into your fridge, where it will stay fresh and flavor-packed for up to three weeks. Use clean, dry utensils every time to keep it pristine!
How to Serve Chili Garlic Oil – Salt-Free
Garnishes
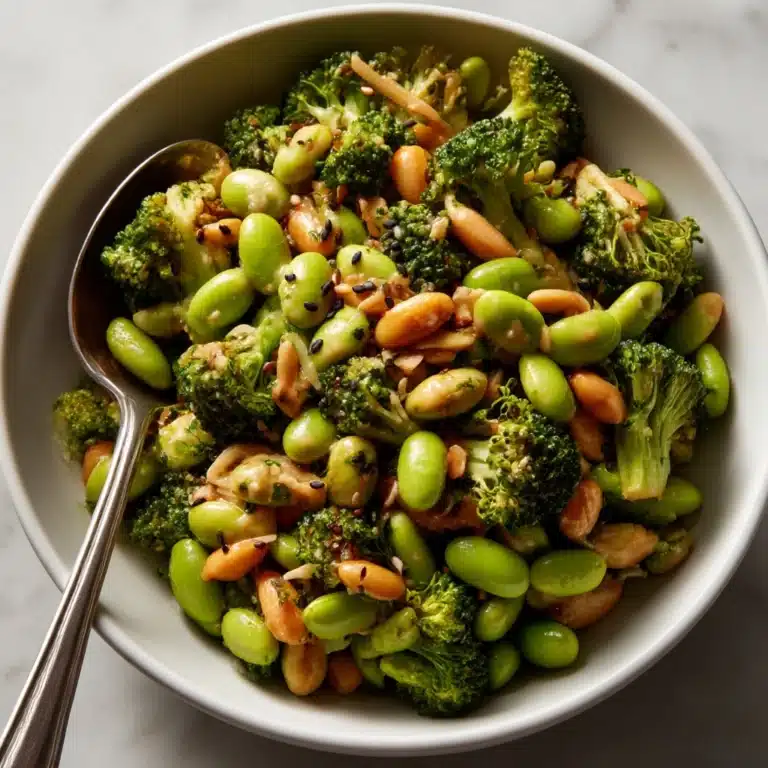
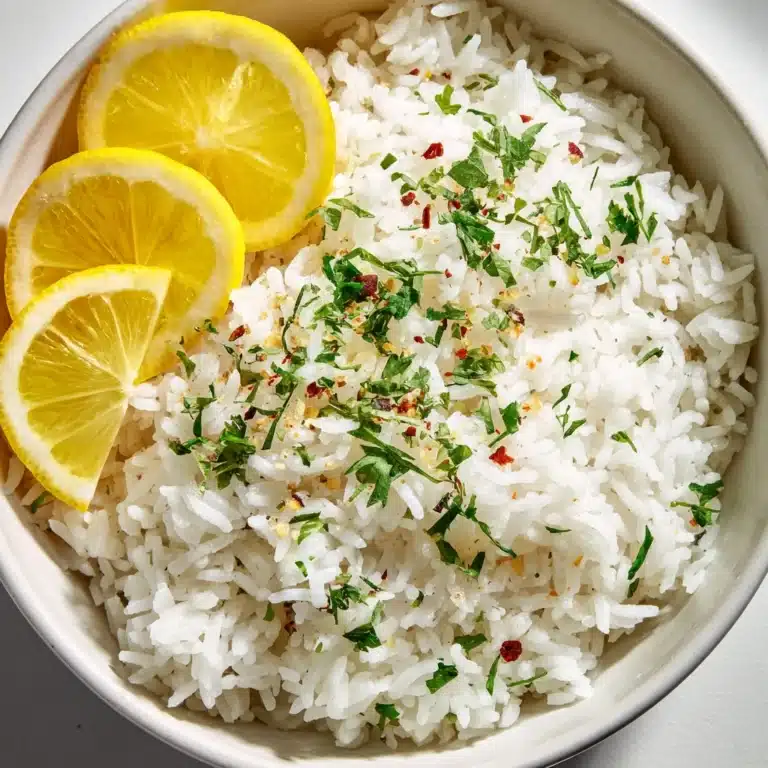
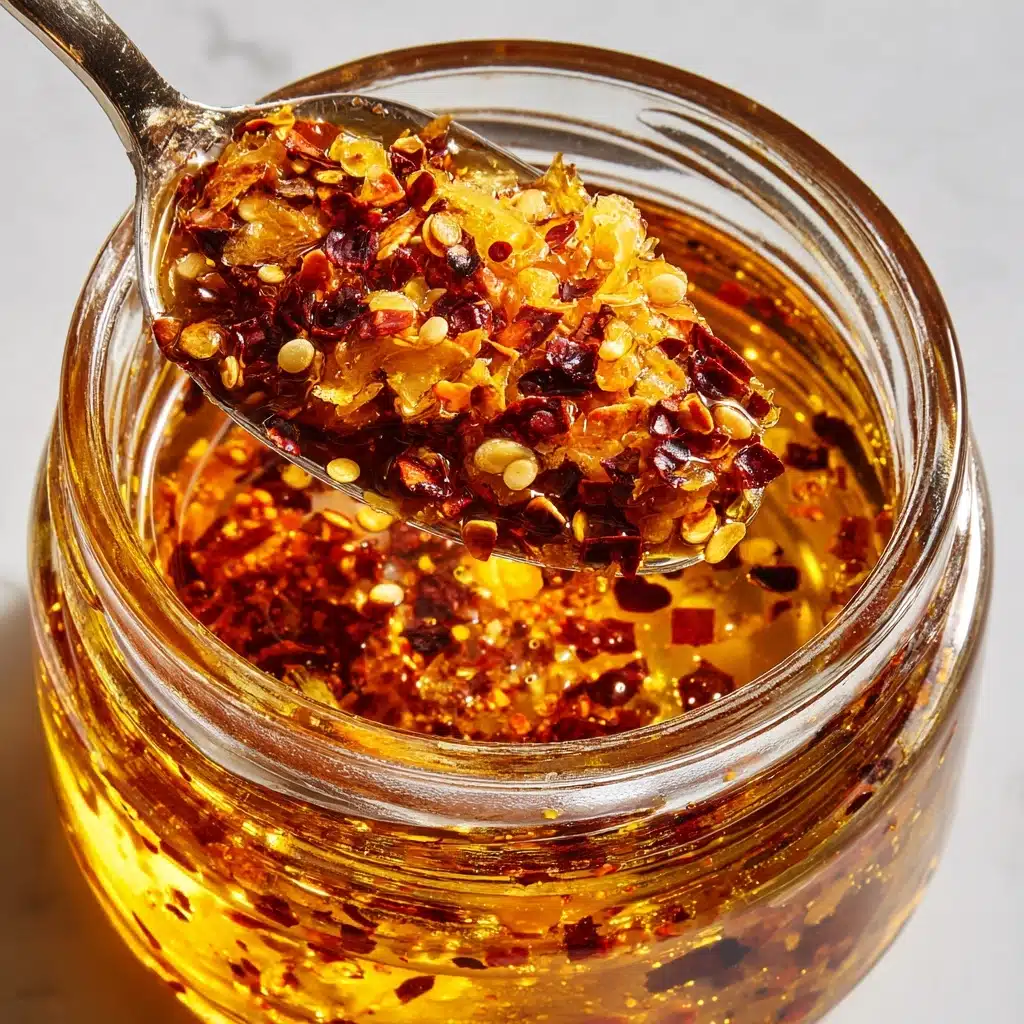
A drizzle or spoonful of Chili Garlic Oil – Salt-Free instantly livens up the appearance and flavor of your favorite dishes. Try it over steamed greens, roasted veggies, or a humble bowl of rice—watch every plate go from plain to extraordinary with its rusty red shimmer and crisp flecks of garlic.
Side Dishes
This oil is a secret weapon for jazzing up simple side dishes. Swirl it into soups, toss it over noodles, or spoon it over dumplings. It’s wonderful with eggs, lends excitement to tofu, and adds that “just one more bite” edge to roasted potatoes or sautéed mushrooms.
Creative Ways to Present
I love serving Chili Garlic Oil – Salt-Free as part of a DIY condiment bar for friends. Pour it into mini jars and set out alongside crushed peanuts, fresh herbs, and lime wedges—let everyone customize their own plate! Or tie a pretty ribbon around a jar and gift it; it’s the ultimate homemade foodie gift for spice-lovers.
Make Ahead and Storage
Storing Leftovers
Chili Garlic Oil – Salt-Free keeps beautifully in a tightly sealed jar in the refrigerator. Always use a clean, dry spoon for scooping to prevent any unwanted moisture (which can shorten its shelf-life). It’ll stay aromatic and delicious for up to three weeks—if it lasts that long!
Freezing
Believe it or not, you can freeze this oil for longer storage. Pour into a freezer-safe container, leaving some space at the top. Thaw in the fridge overnight before use. Just note that the texture may change slightly, but all the bold flavor will return!
Reheating
There’s usually no need to reheat Chili Garlic Oil – Salt-Free—it’s delicious straight from the fridge, as the oil naturally softens at room temperature. If you want it extra runny, you can gently warm it in a pan for a few seconds, but avoid high heat to protect the fresh flavors.
FAQs
Can I use fresh chili instead of dried chili flakes?
You can! Fresh chili will give a slightly different texture and a fresher heat. Be sure to use thinly sliced chilies and sauté until fragrant, but be extra cautious as they can splatter in the hot oil.
Is Chili Garlic Oil – Salt-Free very spicy?
The heat level is all in your hands. The recipe, as written, delivers a noticeable spice but isn’t overwhelming. Want it hotter? Add more chili flakes, or try a spicier variety. For a milder version, use fewer flakes or a mild chili.
Can I double or halve the recipe?
Absolutely! Chili Garlic Oil – Salt-Free scales up or down beautifully. Just keep the oil and solids in proportion, and adjust your pan size so the aromatics get evenly toasted.
Does this need to be refrigerated?
Yes, for both food safety and to preserve the flavors, always store your Chili Garlic Oil – Salt-Free in the refrigerator. This helps prevent spoilage and keeps the garlic crispier for longer.
What dishes pair best with this oil?
There are endless possibilities! Chili Garlic Oil – Salt-Free is fantastic on noodles, rice bowls, roast or steamed veggies, grilled meats, scrambled eggs, dumplings, and even as a flavorful kick in salad dressings.
Final Thoughts
Ready to shake up your meals? Give Chili Garlic Oil – Salt-Free a spot in your fridge—it’ll change the way you season everything. I can’t wait to hear which dishes you love it on the most, and I hope you enjoy every spicy, garlicky spoonful as much as I do!
Print
Chili Garlic Oil – Salt-Free Recipe
- Total Time: 10 minutes
- Yield: About 1 cup 1x
- Diet: Vegetarian
Description
Learn how to make a flavorful, salt-free chili garlic oil at home with this easy recipe. Perfect for adding a spicy kick to your favorite dishes!
Ingredients
For the Chili Garlic Oil:
- 1 cup neutral oil (such as avocado or vegetable oil)
- 1/4 cup dried chili flakes
- 6 cloves garlic, minced
- 1 tablespoon onion flakes
- 1/2 teaspoon smoked paprika (optional)
- 1/2 teaspoon ground ginger (optional)
Instructions
- Heat the Oil: In a small saucepan, heat the oil over medium-low heat until shimmering but not smoking.
- Cook Garlic and Onion: Add minced garlic and onion flakes, cook gently until golden brown and fragrant, about 4-5 minutes.
- Add Spices: Remove from heat, stir in chili flakes, smoked paprika, and ground ginger if using. Let cool completely to infuse flavors.
- Store: Transfer to a clean jar, refrigerate for up to 3 weeks.
Notes
- Use clean, dry utensils each time to preserve freshness.
- This salt-free version is perfect for low-sodium diets—add salt separately if desired.
- Drizzle over noodles, vegetables, rice bowls, or eggs for a flavorful kick.
- Prep Time: 5 minutes
- Cook Time: 5 minutes
- Category: Condiment
- Method: Stovetop
- Cuisine: Asian-Inspired
Nutrition
- Serving Size: 1 tablespoon
- Calories: 120
- Sugar: 0g
- Sodium: 0mg
- Fat: 14g
- Saturated Fat: 1.5g
- Unsaturated Fat: 12g
- Trans Fat: 0g
- Carbohydrates: 1g
- Fiber: 0g
- Protein: 0g
- Cholesterol: 0mg
