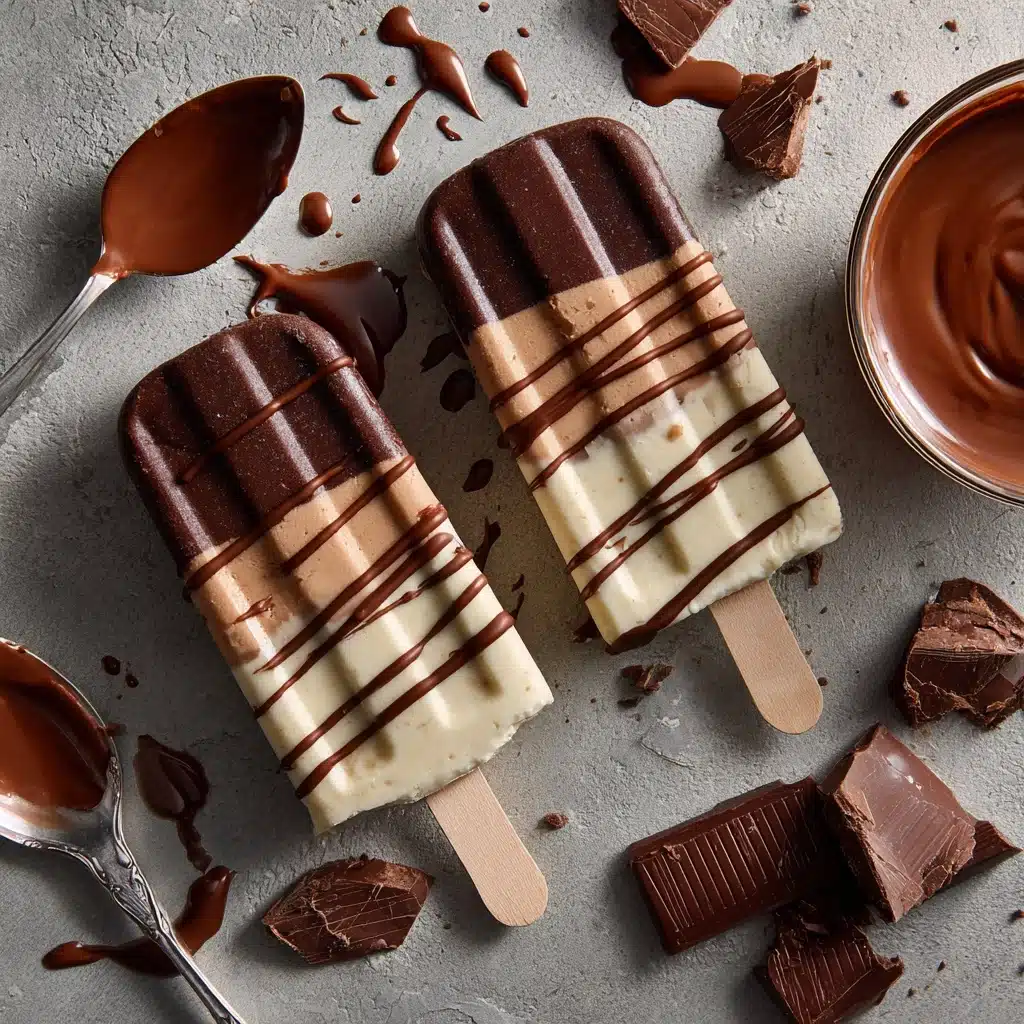
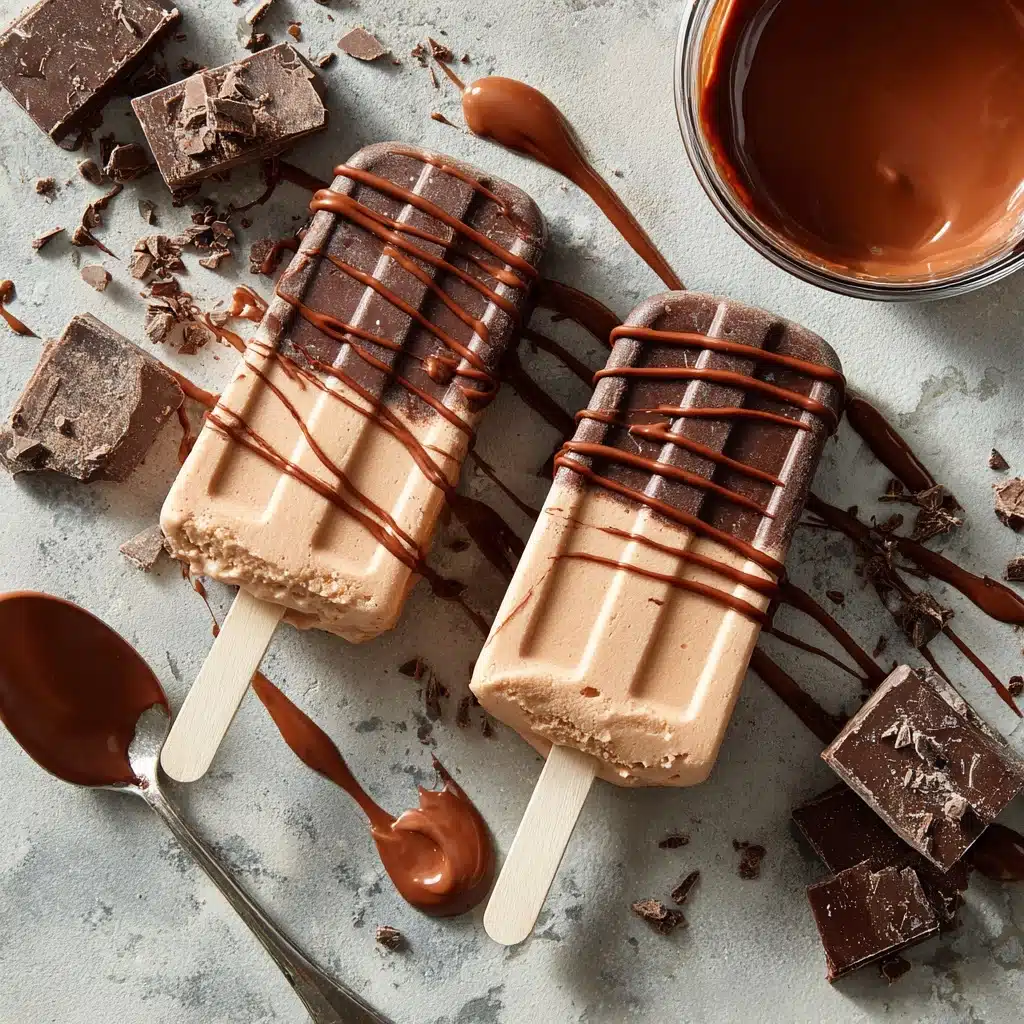
Chocolate Ice Cream Bars Recipe
If you love decadent desserts that bring together nostalgic flavors and creamy indulgence, you’re in for a treat with these Chocolate Ice Cream Bars. With a velvety ice cream base coated in a crisp chocolate shell, each bite is a little celebration of rich chocolate, sweet vanilla, and your favorite crunchy toppings. This homemade dessert is surprisingly easy to prepare and endlessly customizable, perfect for summer celebrations, after-dinner treats, or simply reliving your childhood favorites. Whether enjoyed solo or shared with friends, Chocolate Ice Cream Bars promise pure happiness in every bite.
Ingredients You’ll Need
You don’t need a long list of ingredients to achieve magic—just a combination of wholesome staples and a dash of creativity! Each element in these Chocolate Ice Cream Bars contributes something unique, from the creaminess of dairy to the luxe snap of chocolate. Here’s what you’ll need and why it matters:
- Heavy Cream: Provides a rich, creamy texture that makes the bars ultra-luxurious.
- Whole Milk: Lightens the mixture ever so slightly while keeping it satisfyingly creamy.
- Granulated Sugar: Sweetens the ice cream base and enhances the natural chocolate flavor.
- Pure Vanilla Extract: Infuses a classic, aromatic warmth that pairs beautifully with chocolate.
- Pinch of Salt: Balances the flavors, making the chocolate and vanilla pop.
- Semisweet or Dark Chocolate, Chopped: The star of the show! Creates that glossy, irresistible shell.
- Coconut Oil: Helps the chocolate coating set with the perfect crack, adding a hint of tropical flavor.
- Optional Toppings (chopped nuts, sprinkles, sea salt): Add personality and crunch—make every bar your own!
How to Make Chocolate Ice Cream Bars
Step 1: Prepare the Creamy Ice Cream Base
In a large mixing bowl, whisk together the heavy cream, whole milk, granulated sugar, vanilla extract, and a pinch of salt. Mix until the sugar is fully dissolved and the mixture is smooth. This is what gives your Chocolate Ice Cream Bars their dreamy, melt-in-your-mouth base—don’t rush, and don’t skimp on the whisking!
Step 2: Fill the Molds and Freeze
Pour the creamy mixture carefully into your popsicle molds, leaving a little space at the top since the mixture will expand as it freezes. Slide in the sticks and transfer the molds to the freezer. Patience is key here! Freeze for at least 6 hours, or until the bars are completely solid. This is the most hands-off part of the whole process, so go ahead and dream about your perfect toppings.
Step 3: Melt the Chocolate for Dipping
Once your ice cream has frozen, it’s time for the chocolatey magic. In a heatproof bowl set over a pan of simmering water (a double boiler is ideal here), gently melt the chopped chocolate and coconut oil together. Stir until smooth, glossy, and completely combined—let it cool slightly to prevent melting your perfect ice cream bars on contact.
Step 4: Dip and Decorate
Remove your frozen bars from the molds and dip each one into the melted chocolate, allowing any extra to drip off before placing on a parchment-lined baking sheet. Now’s the moment to get creative: quickly sprinkle chopped nuts, rainbow sprinkles, sea salt, or anything you love before the chocolate sets. Return the bars to the freezer for at least 30 minutes to lock in that irresistible crunch.
Step 5: Final Freeze and Enjoy
Let the Chocolate Ice Cream Bars set one last time in the freezer. Once the chocolate is firm, they’re ready to enjoy. No need to wait for a special occasion—these bars are a celebration of everyday sweetness!
How to Serve Chocolate Ice Cream Bars

Garnishes
The beauty of these homemade bars is in the finishing touches. Roll your freshly dipped bars in toasted chopped nuts, a shower of colorful sprinkles, or a dusting of flaky sea salt for an elegant sparkle and extra crunch. For a grown-up twist, try a hint of espresso powder or a drizzle of caramel sauce—just be sure to add your garnishes quickly before the chocolate shell hardens.
Side Dishes
While Chocolate Ice Cream Bars absolutely shine solo, they also play nicely with a few simple sides. Serve alongside fresh summer berries, a handful of cherries, or even a little bowl of whipped cream. For a party, create an ice cream bar spread with cookies, sliced fruit, and extra toppings so everyone can build their dream dessert.
Creative Ways to Present
Impress your guests by standing the bars upright in small mason jars or tumblers, each filled with a different topping or sauce at the bottom for easy dipping. If you’re feeling playful, wrap the bars in parchment and tie with twine for a nostalgic ice cream truck look—sure to delight kids and adults alike!
Make Ahead and Storage
Storing Leftovers
Leftover Chocolate Ice Cream Bars (if that’s even a possibility!) can be stored in an airtight container in the freezer for up to two weeks. For best results, layer parchment paper between them to prevent sticking and keep the chocolate coating crisp.
Freezing
After dipping and decorating, always freeze the bars on a parchment-lined baking sheet until the shell is set. Once firm, transfer them to a lidded container. Proper freezing is what ensures every bar keeps that snappy chocolate bite and creamy center.
Reheating
No reheating necessary for these frozen delights! Simply let the bars sit at room temperature for 2 to 3 minutes if they’re too hard to bite into. This takes the chill off just enough to enjoy that dreamy creaminess right away.
FAQs
Can I make these Chocolate Ice Cream Bars dairy-free or vegan?
Absolutely! Swap the heavy cream and whole milk for full-fat coconut milk and choose a dairy-free chocolate to keep the bars creamy and rich. The taste is delightfully coconutty and just as indulgent as the original!
Why add coconut oil to the chocolate coating?
Coconut oil thins the melted chocolate so it coats evenly, and it helps the shell harden with a perfect snap straight from the freezer. Plus, it adds a subtle, intriguing flavor that won’t overpower the chocolate.
Do I need a special popsicle mold for this recipe?
While popsicle molds create that classic bar shape, you can improvise with paper cups and wooden sticks. Just peel away the paper before dipping, and you’ve got homemade Chocolate Ice Cream Bars in a pinch!
How do I prevent the chocolate from cracking or sliding off?
Make sure your ice cream bars are completely frozen and the chocolate coating is slightly cooled (but still liquid). Dip quickly and let excess drip off, then freeze immediately—this helps the shell adhere perfectly.
Can I add mix-ins to the ice cream base?
Yes, feel free to swirl in fruit puree, cookie crumbs, or small chopped candies after pouring the base into molds. Just remember that large chunks can make unmolding a bit trickier, but the flavor payoff is worth it!
Final Thoughts
There’s just something magical about homemade Chocolate Ice Cream Bars—the contrast of cool, creamy ice cream with that crisp chocolate shell is simply irresistible. Don’t wait for a party or a heatwave to give these a try; treat yourself and your loved ones to the simple joy of a homemade frozen treat that everyone will remember!
Print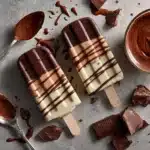
Chocolate Ice Cream Bars Recipe
- Total Time: 6 hours 20 minutes
- Yield: 8 bars 1x
- Diet: Vegetarian
Description
Indulge in these decadent homemade Chocolate Ice Cream Bars that are perfect for a sweet treat on a hot day. Creamy ice cream bars dipped in rich chocolate and customizable with your favorite toppings.
Ingredients
For the ice cream base:
- 2 cups heavy cream
- 1 cup whole milk
- 3/4 cup granulated sugar
- 1 teaspoon pure vanilla extract
- Pinch of salt
For the chocolate coating:
- 8 ounces semisweet or dark chocolate, chopped
- 2 tablespoons coconut oil
- Optional toppings such as chopped nuts, sprinkles, or sea salt
Instructions
- Prepare the ice cream base: In a mixing bowl, whisk together heavy cream, whole milk, sugar, vanilla extract, and salt until the sugar is dissolved. Pour the mixture into popsicle molds, leave room at the top, insert sticks, and freeze for at least 6 hours.
- Coat the ice cream bars: Melt chopped chocolate and coconut oil over a double boiler. Dip frozen ice cream bars into the melted chocolate, sprinkle with toppings if desired, and return to the freezer for 30 minutes.
Notes
- For a dairy-free version, substitute full-fat coconut milk for the heavy cream and milk.
- You can swirl fruit puree into the ice cream base before freezing for added flavor.
- Prep Time: 15 minutes (plus freezing time)
- Cook Time: 5 minutes
- Category: Dessert
- Method: Freezing
- Cuisine: American
Nutrition
- Serving Size: 1 bar
- Calories: 320
- Sugar: 24 g
- Sodium: 30 mg
- Fat: 22 g
- Saturated Fat: 14 g
- Unsaturated Fat: 8 g
- Trans Fat: 0 g
- Carbohydrates: 28 g
- Fiber: 2 g
- Protein: 3 g
- Cholesterol: 45 mg