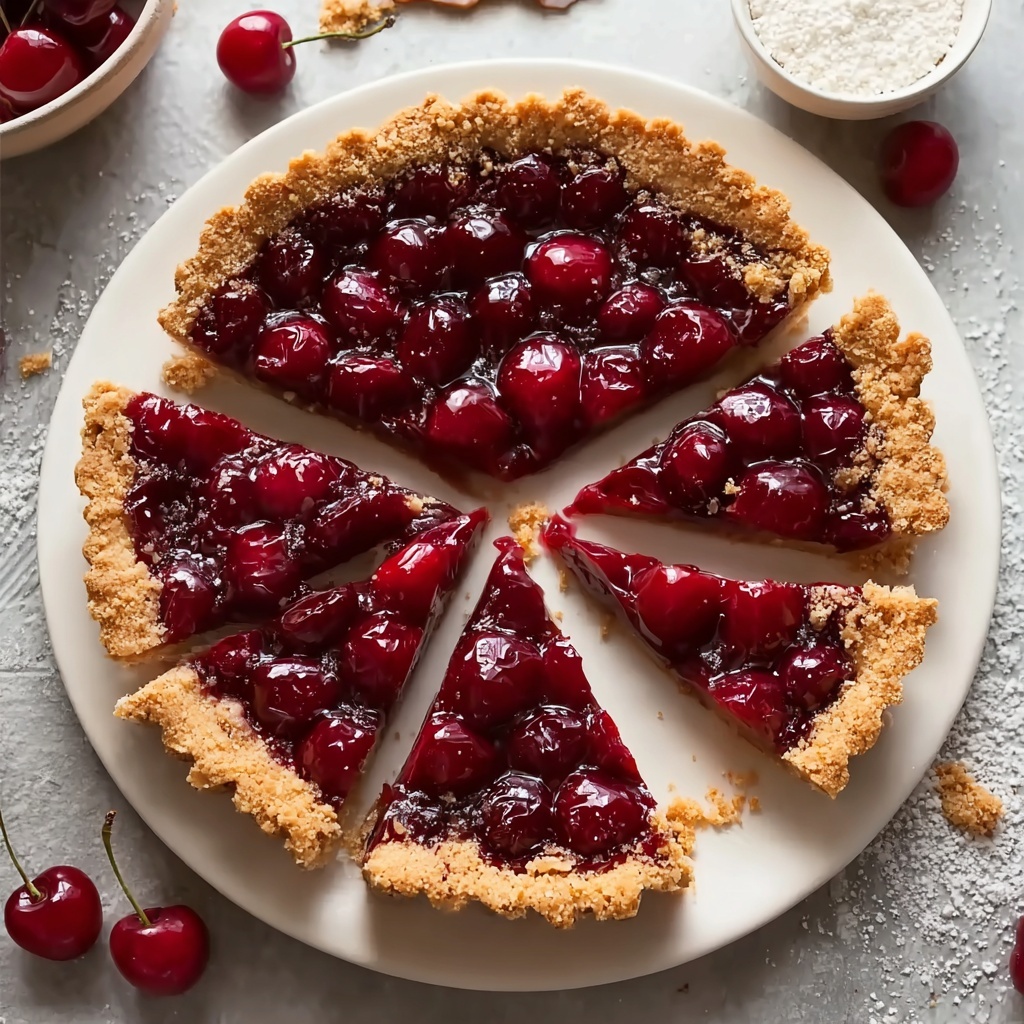
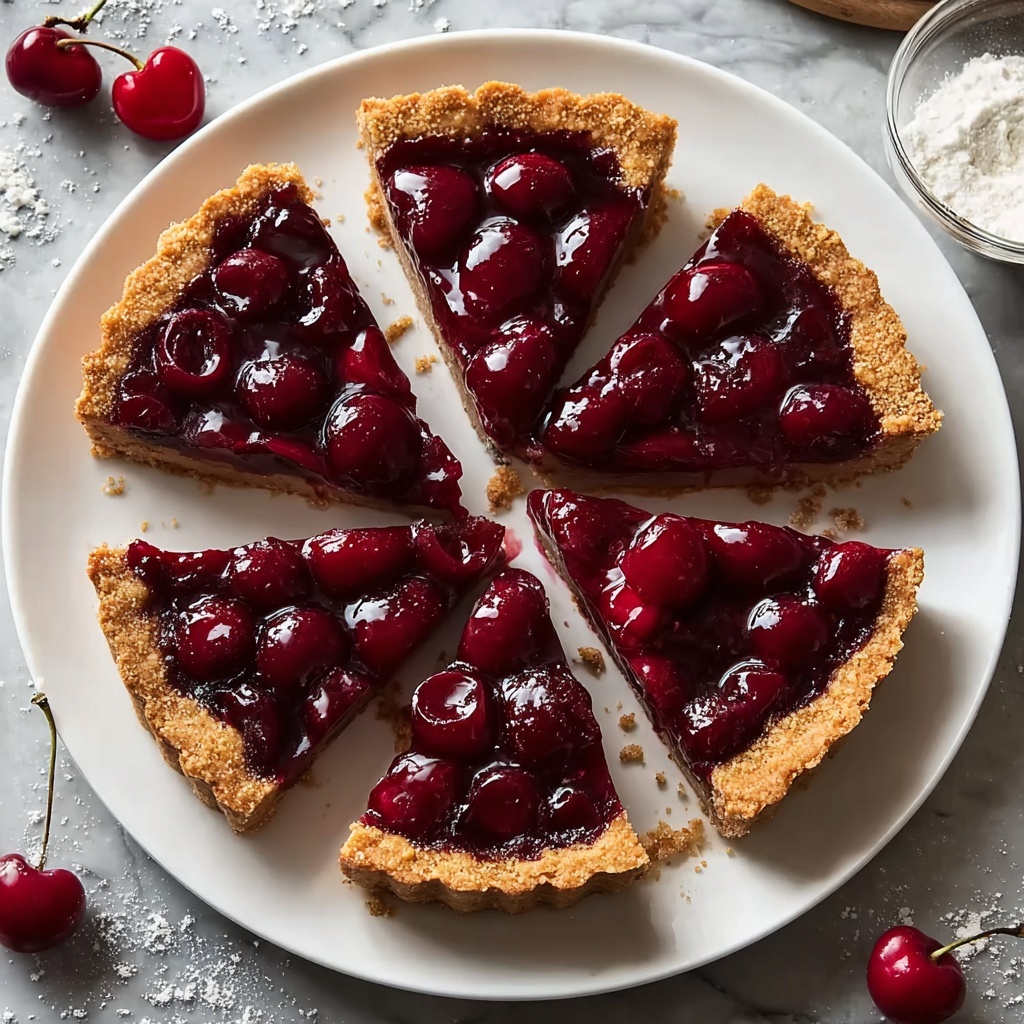
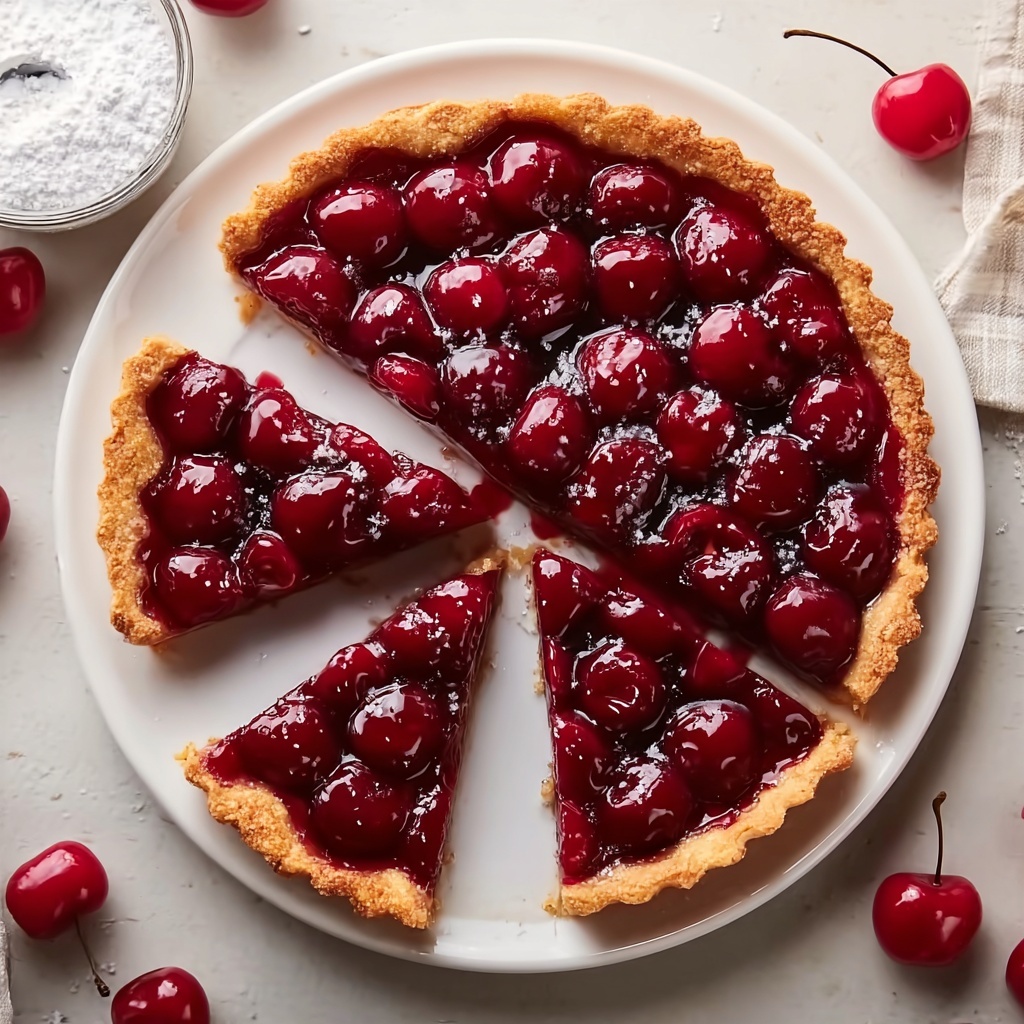
If you’re on the hunt for a dessert that perfectly balances tartness and sweetness, with a buttery flaky crust to match, look no further than this Classic Cherry Tart Recipe. It’s a timeless treat that brings together juicy, vibrant cherries nestled in a tender pastry shell. This recipe is straightforward enough for a cozy weekend baking session yet impressive enough to serve at any gathering, offering all the warmth and joy of homemade comfort food in every bite.
Ingredients You’ll Need
Gathering your ingredients is the first delicious step toward creating this delightful tart. Each component plays a crucial role, from the crisp, buttery crust to the luscious cherry filling bursting with flavor and a hint of almond.
- All-purpose flour: The foundation for a tender and flaky crust, essential for structure and crumb.
- Unsalted butter: Cold and cubed, it creates those flaky layers we all adore in the tart base.
- Granulated sugar: Adds sweetness to both crust and filling, balancing the tart cherries beautifully.
- Salt: Enhances the natural flavors and balances sweetness in the crust and filling alike.
- Cold water: Helps bring the dough together without melting the butter, ensuring flakiness.
- Fresh or frozen cherries: The star ingredient, juicy and full of vibrant color that makes the tart irresistible.
- Cornstarch or tapioca starch: Thickens the cherry filling so it stays perfectly set after baking.
- Lemon juice: Brightens the filling, adding that necessary bit of zing to highlight the cherries.
- Almond extract (optional): A subtle hint that complements cherries beautifully and deepens the flavor.
- Powdered sugar, whipped cream, or vanilla ice cream: Optional garnishes to elevate presentation and taste.
How to Make Classic Cherry Tart Recipe
Step 1: Prepare the Crust
Start by mixing the flour, sugar, and salt in a large bowl. Then, add the cold butter cubes, cutting them into the flour until you get coarse crumbs—that’s what makes the crust flaky! Slowly add cold water a tablespoon at a time and mix just enough for the dough to come together. Be gentle and avoid overworking it to keep that tender texture. Form the dough into a disc, wrap it tightly, and chill it for at least 30 minutes. This chilling is key for easier rolling and a perfectly crisp crust.
Step 2: Make the Cherry Filling
While the dough chills, combine pitted cherries, sugar, cornstarch, lemon juice, almond extract, and a pinch of salt in a saucepan. Cook over medium heat, stirring frequently, until the mixture thickens and turns glossy—about 5 to 7 minutes. The filling should be thick enough to hold shape but still dripping with juicy goodness. Let it cool slightly to prevent a soggy crust later on.
Step 3: Assemble the Tart
Preheat your oven to 375°F (190°C). Roll out the chilled dough on a lightly floured surface until it fits your tart pan perfectly. Press it gently and trim off extra dough for a neat edge. Spoon the luscious cherry filling evenly over the crust, spreading it gently so every slice will be bursting with fruit.
Step 4: Bake the Tart
Place the tart on the middle rack and bake for 35 to 40 minutes until the crust is golden and the filling bubbles with excitement. If you notice the edges browning too fast, shield them with foil to keep your crust perfectly baked without burning.
Step 5: Cool and Serve
Once baked, allow your tart to cool for 15 to 20 minutes. This rest time lets the filling set just right and makes slicing a breeze. Finally, dust with powdered sugar, dollop some whipped cream, or add a scoop of vanilla ice cream for that heavenly finish everyone will love.
How to Serve Classic Cherry Tart Recipe
Garnishes
A sprinkle of powdered sugar adds a delicate sweetness and a beautiful presentation touch. Pairing with whipped cream creates a light, airy contrast, while vanilla ice cream brings a rich, creamy balance to the tart’s fruity zing—each garnish turns every bite into a little celebration.
Side Dishes
Serving the Classic Cherry Tart Recipe with a side of freshly brewed coffee or a glass of chilled white wine can elevate the experience. For brunch, a simple green salad with a citrus vinaigrette complements the dessert’s sweetness, providing a refreshing palate cleanser.
Creative Ways to Present
Try cutting your tart into bite-sized squares for an elegant party platter, or serve warm slices topped with toasted almonds for added crunch. You can also drizzle a bit of chocolate sauce or honey over the top to introduce a new layer of flavor that’s sure to impress your friends and family.
Make Ahead and Storage
Storing Leftovers
Leftover cherry tart keeps well in the refrigerator when wrapped tightly with plastic wrap or stored in an airtight container. It’s best enjoyed within 2 to 3 days to maintain the crust’s crispness and the filling’s fresh taste.
Freezing
You can freeze the tart either baked or unbaked. For a baked tart, wrap it securely in foil and place it in an airtight container; it will last up to 2 months. If freezing unbaked, freeze the crust and filling separately for optimum freshness—thaw before assembling and baking as usual.
Reheating
To reheat, warm slices gently in a preheated oven at 325°F (160°C) for about 10-12 minutes. This method revives the crust’s crisp texture while keeping the filling deliciously warm and gooey. Avoid microwaving to prevent a soggy crust.
FAQs
Can I use frozen cherries for the Classic Cherry Tart Recipe?
Absolutely! Frozen cherries work wonderfully and are a convenient option when fresh cherries are out of season. Just be sure to thaw and drain them well to avoid excess moisture in the filling.
Is almond extract necessary in the cherry filling?
Almond extract is optional but highly recommended as it beautifully enhances the natural cherry flavor. If you’re not a fan of almond, you can leave it out or substitute with a splash of vanilla extract.
How do I prevent the tart crust from getting soggy?
Chilling the dough before baking and cooking the cherry filling until it thickens both help keep the crust crisp. Also, allowing the tart to cool properly after baking ensures the filling sets and reduces sogginess.
Can I make the crust gluten-free for this Classic Cherry Tart Recipe?
Yes! You can substitute the all-purpose flour with a gluten-free flour blend designed for baking. Just be mindful that the texture might vary slightly, so adding a binding agent like xanthan gum may help.
What is the best way to pit cherries quickly?
A handy tip is to use a small metal straw or a cherry pitter tool to push the pit out through the stem end. This speeds up prep time significantly and keeps the cherries mostly intact for a prettier filling.
Final Thoughts
There’s something undeniably heartwarming about baking the Classic Cherry Tart Recipe—a recipe that fills your kitchen with the sweet aroma of fresh cherries and buttery dough. Whether it’s a family dinner, a celebration, or just a treat to brighten your day, this tart is a joyful way to share love through food. I can’t wait for you to try it and experience that perfect blend of flavors and textures that only a truly classic tart can offer.
Print
Classic Cherry Tart Recipe
- Prep Time: 40 minutes
- Cook Time: 1 hour
- Total Time: 1 hour 40 minutes
- Yield: 8 servings
- Category: Dessert
- Method: Baking
- Cuisine: American
Description
This Classic Cherry Tart features a buttery, flaky crust filled with a luscious cherry filling that is perfectly sweetened and thickened. Ideal for dessert lovers, this tart combines fresh or frozen cherries cooked to a glossy finish and baked to golden perfection. Served with a dusting of powdered sugar, whipped cream, or vanilla ice cream, it’s a timeless treat for any occasion.
Ingredients
For the Crust:
- 1 ½ cups (190g) all-purpose flour
- ½ cup (115g) unsalted butter, cold and cubed
- 2 tablespoons granulated sugar
- ¼ teaspoon salt
- 3–4 tablespoons cold water
For the Cherry Filling:
- 4 cups fresh or frozen cherries, pitted
- ¾ cup granulated sugar (adjust based on cherry sweetness)
- 2 tablespoons cornstarch or tapioca starch
- 1 tablespoon lemon juice
- ½ teaspoon almond extract (optional)
- A pinch of salt
For Garnish (Optional):
- Powdered sugar
- Whipped cream
- Vanilla ice cream
Instructions
- Prepare the Crust: In a large mixing bowl, combine the flour, sugar, and salt. Add the cold butter cubes and cut them into the flour using a pastry cutter or fork until the mixture resembles coarse crumbs. Gradually add cold water, one tablespoon at a time, mixing until the dough just comes together. Avoid overmixing to ensure a tender crust. Form the dough into a disc, wrap it in plastic wrap, and chill for at least 30 minutes to firm up.
- Make the Filling: In a medium saucepan, combine the pitted cherries, sugar, cornstarch, lemon juice, almond extract (if using), and a pinch of salt. Cook over medium heat, stirring frequently, until the mixture thickens and becomes glossy, approximately 5-7 minutes. Remove from heat and let the filling cool slightly to prevent soggy crust when baking.
- Assemble the Tart: Preheat your oven to 375°F (190°C). On a lightly floured surface, roll out the chilled dough to fit your tart pan. Gently press the dough into the pan and trim away any excess dough for a clean edge. Spoon the cherry filling evenly into the prepared crust, spreading it out to the edges.
- Bake the Tart: Place the tart on the middle rack of the oven and bake for 35-40 minutes, or until the crust is golden brown and the filling is bubbling. If you notice the edges of the crust browning too quickly, cover them with aluminum foil halfway through baking to prevent burning.
- Cool and Serve: Allow the tart to cool for at least 15-20 minutes to let the filling set. Before serving, optionally garnish with powdered sugar, a dollop of whipped cream, or a scoop of vanilla ice cream for an extra indulgent touch.
Notes
- Use fresh cherries in season for the best flavor, or frozen cherries when fresh are not available.
- Adjust the sugar in the filling depending on the sweetness of your cherries.
- Ensure the dough is not overmixed to keep the crust flaky.
- Chilling the dough before rolling helps prevent shrinking during baking.
- Cover crust edges with foil if they brown too quickly to avoid burning.
- Serve warm or at room temperature for best taste.

