Creamy, Garlicky Aioli Perfect for Dipping and Spreading Recipe
If you’ve ever dreamed of a sauce that brings intense, yet balanced garlicky flavor and a silky, velvety texture to anything it touches, then you’re going to fall in love with this Creamy, Garlicky Aioli Perfect for Dipping and Spreading. This aioli is a celebration of Mediterranean flavor traditions, blending just a handful of simple pantry ingredients into a versatile condiment that instantly upgrades fries, sandwiches, roasted veggies, and beyond. One dollop is all it takes to transform everyday bites into irresistible treats, making this a must-have recipe for any home cook searching for a little magic in their mealtime.
Ingredients You’ll Need
What’s fabulous about this recipe is how every component brings something vital to the table. Each ingredient isn’t just chosen for tradition’s sake; it plays a starring role, from the creamy base to the zippy sparks of lemon and garlic, ensuring your aioli is anything but ordinary.
- Egg Yolks: These give the aioli its rich, creamy body and help everything emulsify beautifully.
- Neutral Oil (such as canola or sunflower): The mellow flavor ensures the garlic shines through, resulting in that luscious, spreadable consistency.
- Garlic (minced or roasted): The headliner! Use raw for a punch or roasted for subtlety and sweetness.
- Lemon Juice: Adds brightness and just the right tang that highlights and balances the garlicky goodness.
- Dijon Mustard: Helps emulsify and lends a gentle complexity, amplifying the overall flavor.
- Salt: Essential for bringing all the flavors into focus and rounding out the taste.
- Black Pepper: A touch for gentle warmth and a finishing kick.
How to Make Creamy, Garlicky Aioli Perfect for Dipping and Spreading
Step 1: Blend the Base
In a mixing bowl or food processor, combine the egg yolks, lemon juice, Dijon mustard, salt, and pepper. Whisk or pulse until the mixture looks thick and uniform—this is the backbone of your creamy, garlicky aioli perfect for dipping and spreading, so get it as smooth as possible before adding any oil.
Step 2: Emulsify Slowly
This is where the magic happens! While whisking constantly (or running your processor), very slowly drizzle in the neutral oil. If you go slowly, your aioli will emulsify into an irresistibly thick and creamy sauce, instead of breaking. Take your time—patience here will reward you with the ultimate texture.
Step 3: Add Garlic
Once your mixture is luscious and creamy, stir in the minced or roasted garlic. This is your moment to control the flavor: raw garlic brings a sharp edge, while roasted garlic offers a gentle, mellow sweetness. Mix until the garlic is evenly distributed.
Step 4: Taste and Adjust
Give your creamy, garlicky aioli perfect for dipping and spreading a taste! Want more zip? Add another splash of lemon juice. Craving extra punch? A little more garlic or a pinch of salt does the trick. Tweak until it’s just right for your palate.
Step 5: Chill and Serve
Transfer the aioli to a bowl, cover, and refrigerate for at least 30 minutes. This rest period lets the flavors mingle and settle into that distinct, creamy harmony that makes the aioli so addictive. Once chilled, it’s ready to make everything you dip or spread it on taste extraordinary.
How to Serve Creamy, Garlicky Aioli Perfect for Dipping and Spreading
Garnishes
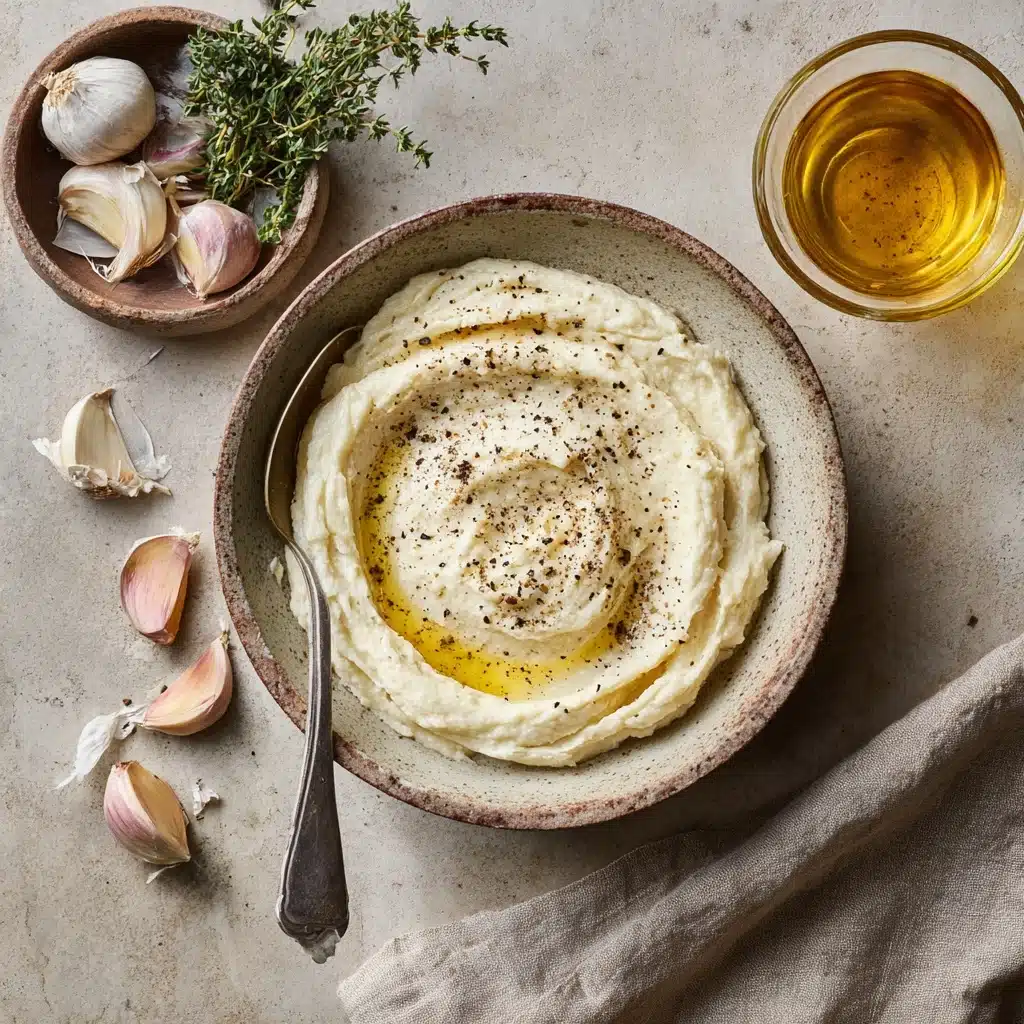
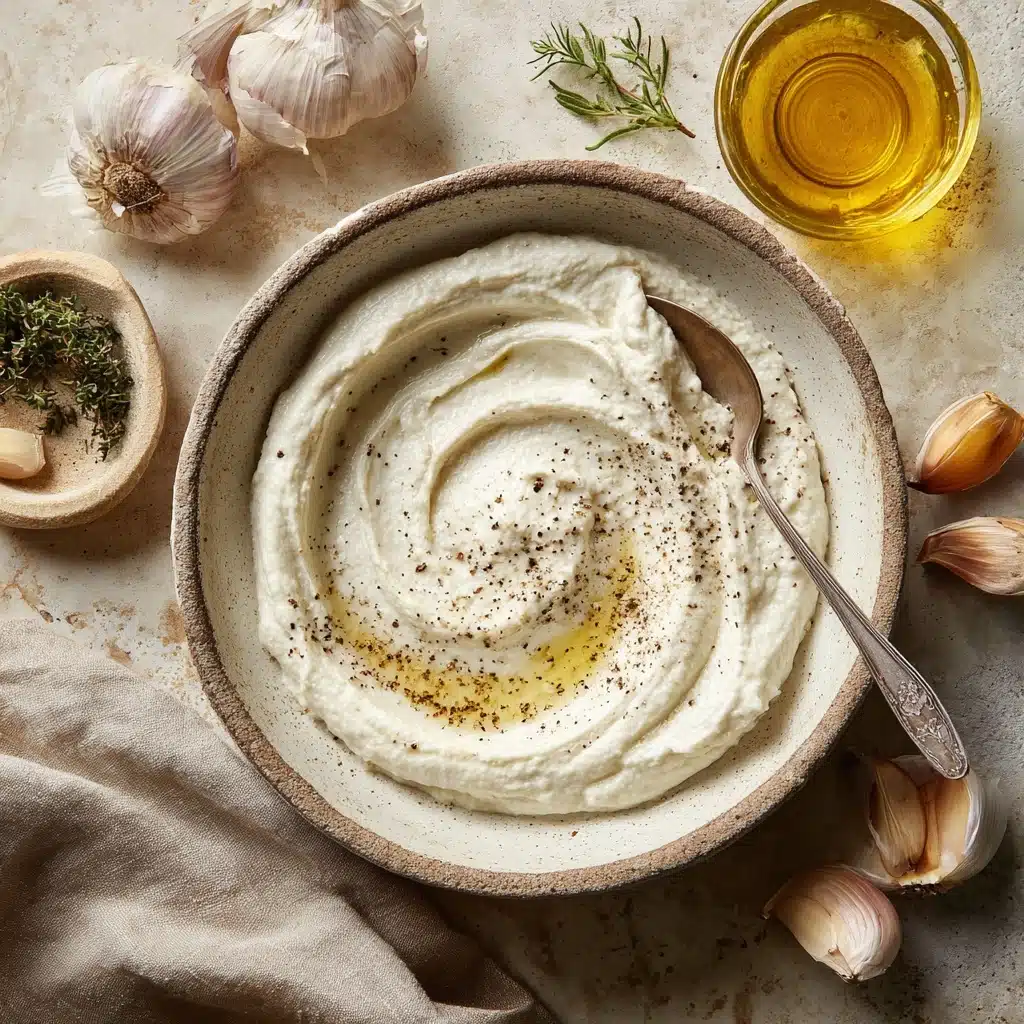
Elevate a bowl of creamy, garlicky aioli perfect for dipping and spreading with a finishing drizzle of olive oil, a sprinkle of smoked paprika, or a scattering of fresh herbs like parsley or chives. Even a quick crack of black pepper looks gorgeous and adds extra fragrance.
Side Dishes
This aioli is a match made in heaven for crispy fries, roasted potatoes, grilled asparagus, or a platter of crudités. It’s also fantastic with seared steak, grilled fish, or piled high on burgers and sandwiches for an extra-kick that pulls everything together.
Creative Ways to Present
Try spooning it into tiny jars as part of a dip platter, or swirling it onto a charcuterie board. It’s also brilliant dolloped onto tacos, used as a base layer for open-faced toast, or even as a surprise inside deviled eggs. However you present it, this creamy, garlicky aioli perfect for dipping and spreading will be the star of the show.
Make Ahead and Storage
Storing Leftovers
Keep any extra aioli in an airtight container in the refrigerator to maintain freshness. It’ll keep beautifully for up to 5 days—just give it a little stir before each use to restore that signature creamy texture.
Freezing
Because this aioli is an emulsion with egg yolks, freezing isn’t recommended. When thawed, the sauce is likely to split, leaving you with a broken, watery texture instead of the dreamy creaminess you want.
Reheating
No need to reheat—this creamy, garlicky aioli perfect for dipping and spreading is best enjoyed cold or at room temperature. If it’s been in the fridge, let it sit out for a few minutes to soften slightly before serving for that perfect, spoonable consistency.
FAQs
Can I make this aioli without raw eggs?
If you’re concerned about raw eggs, you can use pasteurized eggs or try a store-bought mayonnaise as a shortcut base, then flavor it with freshly minced or roasted garlic, lemon juice, and Dijon mustard for a quick version.
What if my aioli breaks or won’t thicken?
If your aioli breaks (looks thin and separated rather than creamy), try whisking in another egg yolk in a clean bowl, then slowly beating in the broken aioli. Patience is key—always drizzle the oil in very slowly!
Is there a vegan version of creamy, garlicky aioli perfect for dipping and spreading?
Absolutely! Substitute the egg yolks with aquafaba (the liquid from a can of chickpeas) and use vegan-friendly oil and mustard. The method is the same and you’ll end up with a tasty vegan aioli that’s just as creamy and flavorful.
How can I mellow the garlic flavor if it’s too sharp?
Simply use roasted garlic instead of raw, or let the aioli rest overnight in the fridge—time helps mellow the garlic, creating a softer, more blended taste that pairs beautifully with almost anything.
Can I use olive oil instead of neutral oil?
You can, but keep in mind that extra-virgin olive oil has a strong, often slightly bitter flavor that can overpower the other ingredients. For the classic creamy, garlicky aioli perfect for dipping and spreading, a neutral oil creates the most balanced flavor.
Final Thoughts
This creamy, garlicky aioli perfect for dipping and spreading is the kind of homemade condiment that guarantees every meal feels just a little more special. Whether you’re dunking fries, slathering sandwiches, or spooning it over roasted vegetables, you’ll be amazed by how much flavor and joy a simple bowl of aioli can bring. Go ahead, whip up a batch, and discover your new favorite kitchen staple!
Print
Creamy, Garlicky Aioli Perfect for Dipping and Spreading Recipe
- Total Time: 40 minutes
- Yield: 1 cup 1x
- Diet: Vegetarian
Description
Indulge in the creamy and garlicky goodness of this homemade aioli that’s perfect for dipping or spreading on sandwiches. This versatile condiment is easy to make and elevates any dish with its rich flavors.
Ingredients
Egg Yolk Mixture:
- 2 large egg yolks
- 1 tablespoon lemon juice
- 1 teaspoon Dijon mustard
- ½ teaspoon salt
- ¼ teaspoon black pepper
Oil Emulsion:
- 1 cup neutral oil (such as canola or sunflower)
Additional:
- 3–4 cloves garlic, minced or roasted
Instructions
- Prepare Egg Yolk Mixture: In a mixing bowl or food processor, combine egg yolks, lemon juice, Dijon mustard, salt, and pepper until smooth.
- Emulsify Oil: Slowly drizzle in the oil while whisking or blending continuously until a thick, creamy sauce forms.
- Add Garlic: Mix in the minced or roasted garlic until fully incorporated.
- Adjust Seasoning: Taste and adjust with more lemon juice, salt, or pepper as needed.
- Chill: Refrigerate for at least 30 minutes before serving to enhance flavors.
Notes
- For a milder flavor, use roasted garlic instead of raw.
- You can also make this aioli with an immersion blender for a quick version.
- Store in the refrigerator in an airtight container for up to 5 days.
- Prep Time: 10 minutes
- Cook Time: 0 minutes
- Category: Condiment, Dip
- Method: No-Cook, Emulsifying
- Cuisine: Mediterranean, French
Nutrition
- Serving Size: 1 tablespoon
- Calories: 100
- Sugar: 0 g
- Sodium: 50 mg
- Fat: 11 g
- Saturated Fat: 1.5 g
- Unsaturated Fat: 9.5 g
- Trans Fat: 0 g
- Carbohydrates: 0 g
- Fiber: 0 g
- Protein: 0 g
- Cholesterol: 20 mg