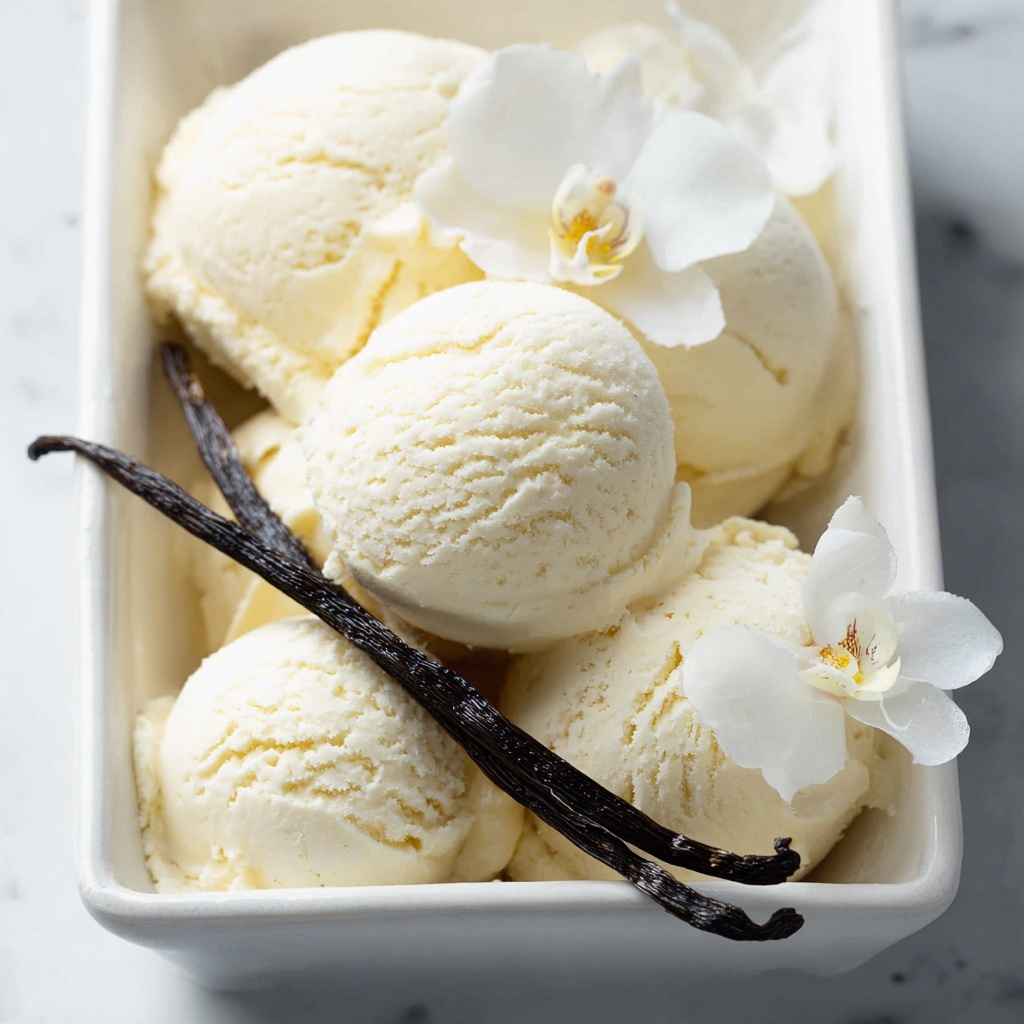
Get ready to fall in love with the Creamy Vegan Vanilla Ice Cream (Nut Free & Gluten-Free) Recipe that perfectly balances indulgence with wholesome plant-based ingredients. This recipe transforms simple pantry staples into a luscious, smooth treat that everyone can enjoy, whether you’re avoiding nuts or gluten. Its rich vanilla flavor paired with a delightfully creamy texture makes it a standout homemade dessert that’s both comforting and refreshing. Trust me, once you try this, you’ll never want to go back to store-bought ice cream!
Ingredients You’ll Need
These straightforward ingredients come together to create a naturally creamy and delicious vegan ice cream. Each one plays an essential role—from the silky soy milk to the aromatic vanilla pod, every element influences the final texture, taste, and even the color of your ice cream.
- Soy milk (520 ml): A smooth, neutral base that’s perfect for creamy vegan desserts.
- Granulated sugar (100 g): Sweetens evenly and helps the ice cream achieve the right texture.
- Cornstarch (45 g): Acts as a natural thickener to give the custard base a silky, rich consistency.
- Vanilla pod (1): Offers an intense, fragrant vanilla flavor far beyond simple extracts.
- Sea salt (¼ teaspoon): Enhances all the flavors, balancing sweetness beautifully.
- Vegan condensed milk (200 g): Adds creaminess and richness while keeping the dessert plant-based.
- Chilled full-fat canned coconut milk (200 g): The thick part provides luscious fat for a dreamy mouthfeel.
- Vanilla extract (1 tablespoon): Boosts the vanilla flavor to make each spoonful memorable.
How to Make Creamy Vegan Vanilla Ice Cream (Nut Free & Gluten-Free) Recipe
Step 1: Prepare Your Ice Cream Bowl
Start by freezing the bowl of your ice cream machine at least 12 to 24 hours ahead of time. This may seem like a small detail, but it’s crucial for churning the ice cream to a perfect creamy texture without any ice crystals forming.
Step 2: Make the Vanilla Custard Base
In a saucepan, combine the soy milk, sugar, and cornstarch. Whisk thoroughly to eliminate any lumps—the smoother the base, the silkier your ice cream. Split the vanilla pod lengthwise and scrape out the seeds, adding both seeds and pod to the mix. Bring this gently to a simmer over medium heat while whisking consistently for about 5 minutes until thickened into a custard-like consistency. Remove the pod and stir in the sea salt to elevate all the flavors.
Step 3: Cool the Custard
Cover the custard bowl tightly with clingfilm to prevent a skin from forming. Let it cool at room temperature for 10 minutes, then transfer it to the fridge to chill fully for about an hour. This step is key to achieving the right texture in your final ice cream.
Step 4: Whisk in Creaminess and Vanilla
In a large bowl, blend vegan condensed milk, chilled coconut milk, and vanilla extract using an electric whisk until luxuriously creamy. Gently fold in the chilled custard and whisk again to combine everything perfectly. This stage gives your ice cream its signature richness and depth of flavor.
Step 5: Churn the Ice Cream
Pour the mixture into your prepared ice cream machine and churn following the manufacturer’s instructions—usually about 30 to 40 minutes. Watching it transform from liquid to a creamy, thick delight is nothing short of magical.
Step 6: Freeze to Set
Transfer the churned ice cream into a loaf pan or suitable airtight container, cover it, and freeze for a minimum of 2 hours to fully set. This final chill gives that perfect scoopable texture you crave.
How to Serve Creamy Vegan Vanilla Ice Cream (Nut Free & Gluten-Free) Recipe
Garnishes
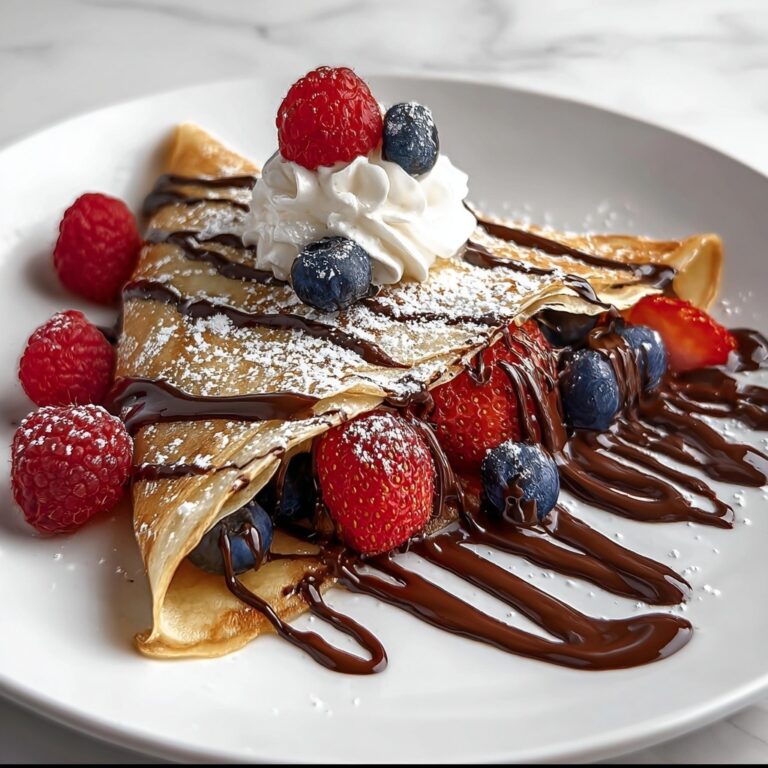
Add a personal touch with fresh berries, a drizzle of vegan caramel sauce, or a sprinkle of cinnamon to complement the pure vanilla flavor. These garnishes bring a pop of color and additional layers of texture that make serving this ice cream extra special.
Side Dishes
This vegan vanilla ice cream pairs beautifully with warm fruit crisps, rich chocolate brownies, or even vegan pancakes. The creamy and light qualities of the ice cream balance out the warm, spiced or chocolatey treats for a delightful dessert experience.
Creative Ways to Present
Consider serving your ice cream in edible waffle cones or mason jars layered with fresh fruit and granola for an inviting, fun presentation. You can even use it as a base in dairy-free milkshakes or floats to wow your guests with an effortlessly elegant dessert.
Make Ahead and Storage
Storing Leftovers
Store your leftover Creamy Vegan Vanilla Ice Cream (Nut Free & Gluten-Free) Recipe in an airtight container in the freezer to prevent it from absorbing any odors. It stays fresh and tasty for up to 2 months, so you can enjoy your handmade ice cream whenever the craving strikes.
Freezing
If you need to freeze the ice cream for longer storage, make sure it is sealed tightly and kept flat. Avoid thawing and refreezing multiple times, as that can compromise the texture and creaminess.
Reheating
Ice cream doesn’t require reheating, but for the best scoopable texture, take it out of the freezer about 15 minutes before serving. This short thaw time softens it just enough without losing that creamy consistency.
FAQs
Can I use almond milk instead of soy milk?
While almond milk works, the texture might be less creamy since soy milk offers a perfect balance of protein and fat for this recipe. If nut-free is a priority, soy milk is your best bet.
Is it possible to make this ice cream without an ice cream machine?
You can make it without a machine by freezing the mixture in a shallow container and stirring vigorously every 30 minutes to prevent ice crystals. It takes more effort but still yields tasty results.
Can I substitute cornstarch with another thickener?
Arrowroot starch is a great substitute for cornstarch, especially if you want a slightly clearer custard. Just keep the ratio the same for best results.
What makes the coconut milk important in this recipe?
The canned full-fat coconut milk adds richness and creaminess that mimics traditional dairy fat, giving this vegan ice cream its smooth mouthfeel and satisfying texture.
How do I avoid ice crystals forming in the ice cream?
Freezing your ice cream machine’s bowl ahead of time, fully chilling your custard before churning, and following the freezing steps carefully all help minimize icy texture and keep your ice cream delightfully smooth.
Final Thoughts
Making this Creamy Vegan Vanilla Ice Cream (Nut Free & Gluten-Free) Recipe is such a rewarding experience that will leave you smiling after every spoonful. It’s comforting, indulgent, and thoughtfully crafted to be inclusive for many diets. Whether you’re new to vegan desserts or a seasoned pro, this recipe is sure to become one of your favorite go-to treats. Give it a try—you really can’t go wrong with this creamy scoop of happiness!
Print
Creamy Vegan Vanilla Ice Cream (Nut Free & Gluten-Free) Recipe
- Prep Time: 20 minutes
- Cook Time: 10 minutes
- Total Time: 4 hours 30 minutes
- Yield: 8 servings
- Category: Dessert
- Method: Churning (Ice Cream Machine)
- Cuisine: Vegan
- Diet: Vegan
Description
This creamy vegan vanilla ice cream is a delicious gluten-free and nut-free dessert made with soy milk, coconut cream, and vegan condensed milk. It uses a homemade custard base thickened with cornstarch and infused with vanilla pods for a rich, smooth texture. Ideal for those seeking a dairy-free treat that doesn’t compromise on flavor or creaminess.
Ingredients
Custard Base
- 520 ml soy milk
- 100 g granulated sugar
- 45 g cornstarch (or arrowroot starch)
- 1 vanilla pod
- ¼ teaspoon sea salt
Ice Cream Mixture
- 200 g vegan condensed milk
- 200 g chilled full-fat canned coconut milk (thick part from top of the can only, or coconut cream)
- 1 tablespoon vanilla extract
Instructions
- Freeze the ice cream bowl: Freeze the ice cream machine bowl at least 12-24 hours before making the recipe to ensure the mixture churns properly.
- Prepare custard base: In a saucepan, whisk together soy milk, sugar, and cornstarch until smooth with no lumps. Split the vanilla pod, scrape the seeds, and add both seeds and pod to the mixture. Heat over medium, stirring frequently.
- Cook custard: Bring the mixture to a simmer and cook for 5 minutes while whisking and scraping the pan alternately to avoid sticking. Once thickened, remove from heat, discard the vanilla pod, and stir in sea salt.
- Cool custard: Cover the custard with clingfilm to prevent a skin from forming. Let it cool for 10 minutes at room temperature, then refrigerate for 1 hour to cool completely.
- Mix ice cream base: In a large bowl, whisk vegan condensed milk, chilled coconut milk, and vanilla extract until creamy. Add the chilled custard and whisk again until fully combined.
- Churn: Pour the mixture into the frozen ice cream machine bowl and churn according to manufacturer’s instructions—usually about 30 to 40 minutes—until it reaches soft-serve consistency.
- Freeze: Transfer the churned ice cream to a loaf pan or airtight container. Cover and freeze for at least 2 hours to firm up before serving.
- Storage and serving: Store in the freezer in an airtight container for up to 2 months. Remove 15 minutes before serving to soften slightly, and use a hot, wet scoop for easy serving.
Notes
- Use full-fat canned coconut milk for best creaminess; refrigerate the can overnight to separate the thick cream.
- The granulated sugar can be replaced with coconut sugar or other vegan sugar alternatives if preferred.
- Ensure the ice cream machine bowl is thoroughly frozen to achieve proper texture.
- Can be flavored with other extracts or mix-ins once the custard base is made.
- Soy milk is selected here for creaminess; other plant milks with similar fat content can be used but may alter texture.


