
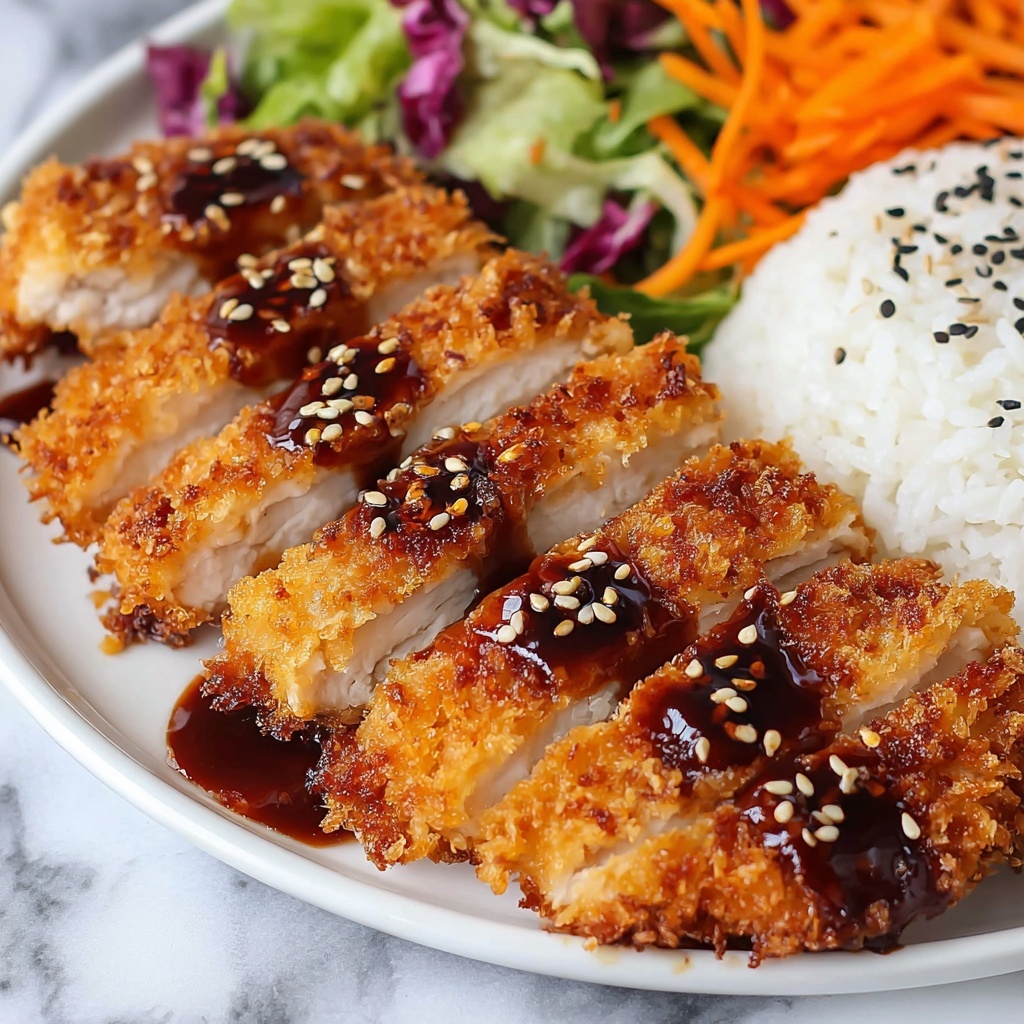
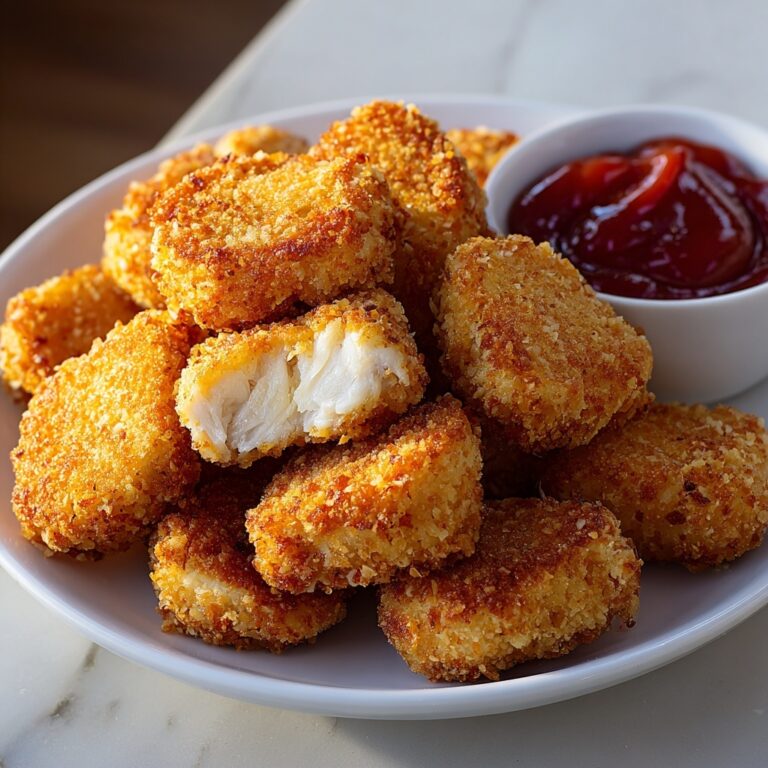
If you have a soft spot for something crunchy on the outside and tender on the inside, then you are in for a real treat with this Crispy Chicken Katsu with Irresistible Katsu Sauce Recipe. This classic Japanese comfort food brings together a perfectly breaded chicken breast fried until golden and crispy, paired with a luscious homemade katsu sauce that packs a punch of tangy, sweet, and savory flavors. It’s the kind of dish that feels like a warm hug in every bite, guaranteed to brighten up any mealtime and impress anyone lucky enough to share it with you.
Ingredients You’ll Need
Don’t be intimidated by the list—each ingredient here plays a starring role in creating the perfect balance of crunch, flavor, and richness that makes this Crispy Chicken Katsu with Irresistible Katsu Sauce Recipe so memorable. From the crisp panko breadcrumbs to the blend of spices, this simple lineup carefully combines texture and taste to elevate the dish.
- 1 pound boneless, skinless chicken breasts: The lean protein base, tender and juicy when cooked just right.
- ¼ cup all-purpose flour: Helps the breading stick while giving a light coating.
- 2 tablespoons cornstarch: Adds extra crispness to the breading mix.
- 1 large egg: Binds the flour and breadcrumbs coatings beautifully.
- 1 tablespoon water: Lightens the egg wash for an even, smooth coating.
- ¾ cup panko breadcrumbs: Japanese-style breadcrumbs that deliver that iconic crunchy exterior.
- 2 teaspoons garlic salt: Infuses savory depth right into the breading and sauce.
- 1 teaspoon black pepper: Adds just the right touch of heat and complexity.
- 1 ½ teaspoons ground ginger: Lifts the flavor with a warm, zesty kick in the breading.
- Vegetable oil, for frying: The neutral oil that crisps without overpowering flavors.
- ¼ cup ketchup: The sweet and tangy base of a knockout katsu sauce.
- 3 tablespoons Worcestershire sauce: Brings a savory umami punch to the sauce.
- 1 tablespoon brown sugar: Balances sauce flavors with subtle caramel sweetness.
- 2 tablespoons oyster sauce: Adds richness and depth to the sauce’s profile.
- 1 teaspoon garlic salt: Rounds out the sauce’s seasoning just right.
How to Make Crispy Chicken Katsu with Irresistible Katsu Sauce Recipe
Step 1: Prepare Chicken
Start by trimming the chicken breasts to an even thickness to ensure they cook uniformly. Pat each piece dry with paper towels to help the breading adhere perfectly, setting the stage for that iconic crispy crust.
Step 2: Make Katsu Sauce
Whisk together ketchup, Worcestershire sauce, brown sugar, oyster sauce, and garlic salt in a bowl until smooth. This sauce is the magic touch — sweet, savory, and slightly tangy — that transforms simple fried chicken into a showstopper.
Step 3: Bread the Chicken
Set up three shallow trays for an easy breading assembly line: one with the flour and cornstarch mix, one with the beaten egg and water, and one with panko breadcrumbs mixed with garlic salt, black pepper, and ground ginger. Dredge each piece of chicken first in the flour mixture, then dip it in the egg wash, and finally coat thoroughly in the panko mixture for maximum crunch.
Step 4: Fry the Chicken
Heat vegetable oil in a heavy skillet or pot to about 350°F (175°C). Fry the breaded chicken breasts carefully for 4 minutes on each side until they turn a gorgeous golden brown and reach an internal temperature of 165°F, ensuring they’re fully cooked but still juicy. Drain on paper towels or a wire rack to keep that crisp texture intact.
Step 5: Serve with Sauce
Plate your crispy chicken katsu warm alongside that irresistible katsu sauce you prepared earlier. Dipping or drizzling this sauce enhances every bite, turning a simple meal into something truly unforgettable.
How to Serve Crispy Chicken Katsu with Irresistible Katsu Sauce Recipe
Garnishes
Fresh garnishes like shredded cabbage, thinly sliced green onions, or a sprinkle of toasted sesame seeds elevate this dish with a crunch and freshness that balances the rich fried chicken perfectly.
Side Dishes
Serve with steamed white rice or sticky sushi rice to soak up the sauce. Pickled vegetables or miso soup add authenticity and a refreshing counterpoint that brightens the overall plate.
Creative Ways to Present
For a fun twist, slice the chicken katsu into strips and serve it as a colorful bento box component, paired with fresh veggies and rice compartments. You can even stack a sandwich with lettuce and mayo for a crispy chicken katsu sandwich that’s irresistible any day of the week.
Make Ahead and Storage
Storing Leftovers
Place any leftover chicken katsu in an airtight container and refrigerate immediately. It will keep wonderfully for up to 3 days, ready to reheat without losing too much crispness.
Freezing
If you want to save the crispy chicken katsu for a longer time, wrap each piece tightly in plastic wrap and place them in a freezer bag. They freeze well for up to 2 months, making meal prep a breeze on busy days.
Reheating
To bring back the crunch after freezing or refrigeration, reheat your chicken katsu in a preheated oven at 375°F for about 10–15 minutes, or until hot throughout. Avoid microwaving, as it tends to make the exterior soggy.
FAQs
Can I use chicken thighs instead of breasts?
Absolutely! Boneless, skinless chicken thighs can be used for a juicier, more flavorful alternative. Just adjust the cooking time slightly as thighs tend to cook a bit faster.
What if I don’t have panko breadcrumbs?
While panko gives that signature crispy texture, you can substitute with regular breadcrumbs or crush cornflakes for a crunchy coating, though the texture will be slightly different.
Is it possible to bake the chicken instead of frying?
You can bake the breaded chicken at 425°F for about 20-25 minutes, flipping halfway through. It won’t be quite as crispy as frying, but it’s a healthier option that still tastes delicious.
How spicy is the katsu sauce?
This katsu sauce is mildly tangy and sweet with subtle savory notes—it is not spicy. However, you can add a pinch of cayenne pepper or chili flakes if you like a bit of heat.
Can I prepare the sauce in advance?
Yes! The katsu sauce actually tastes better after sitting for a few hours or overnight, allowing the flavors to meld beautifully. Store it in the fridge and bring to room temperature before serving.
Final Thoughts
There’s just something so satisfying about the crunchy exterior and juicy chicken inside when it comes to this Crispy Chicken Katsu with Irresistible Katsu Sauce Recipe. Whether you’re making a cozy family dinner or looking to impress friends with your cooking, this recipe delivers big on flavor and texture with straightforward steps. I truly hope you enjoy making and sharing this dish as much as I do—it’s a wonderful addition to any meal rotation that’s sure to become a fast favorite.
Print
Crispy Chicken Katsu with Irresistible Katsu Sauce Recipe
- Prep Time: 10 minutes
- Cook Time: 20 minutes
- Total Time: 30 minutes
- Yield: 2 servings
- Category: Main Course
- Method: Frying
- Cuisine: Japanese
Description
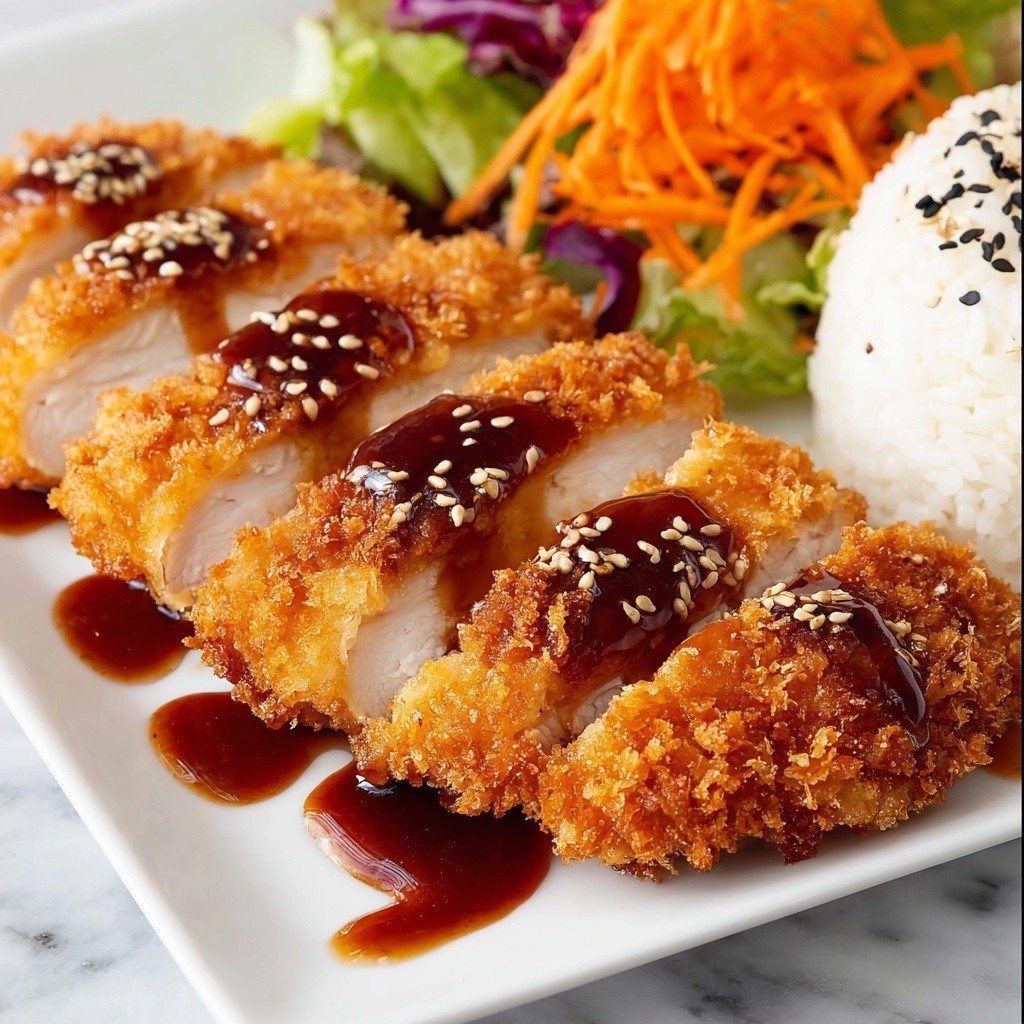
This Chicken Katsu recipe is a crispy, golden-fried Japanese-style breaded chicken cutlet served with a tangy and savory homemade katsu sauce. Perfect for a quick meal, the chicken is breaded with a combination of flour, cornstarch, egg wash, and panko breadcrumbs seasoned with garlic salt, pepper, and ground ginger, then fried to crispy perfection. The dish pairs beautifully with steamed rice or a fresh salad.
Ingredients
For the Chicken:
- 1 pound boneless, skinless chicken breasts
- ¼ cup all-purpose flour
- 2 tablespoons cornstarch
- 1 large egg
- 1 tablespoon water
- ¾ cup panko breadcrumbs
- 2 teaspoons garlic salt (divided)
- 1 teaspoon black pepper
- 1 ½ teaspoons ground ginger
- Vegetable oil, for frying
For the Katsu Sauce:
- ¼ cup ketchup
- 3 tablespoons Worcestershire sauce
- 1 tablespoon brown sugar
- 2 tablespoons oyster sauce
- 1 teaspoon garlic salt
Instructions
- Prepare Chicken: Trim the chicken breasts to an even thickness so they cook uniformly, and then pat them dry with paper towels to ensure the breading sticks well.
- Make Katsu Sauce: In a medium bowl, whisk together ketchup, Worcestershire sauce, brown sugar, oyster sauce, and garlic salt until smooth and set aside for serving.
- Bread Chicken: Set up three separate trays: one with the combined flour and cornstarch, one with the beaten egg and water mixture, and one with panko breadcrumbs mixed with garlic salt, black pepper, and ground ginger. Coat each chicken breast in the flour mixture, then dip into the egg wash, and finally coat thoroughly with the panko breadcrumb mixture.
- Fry Chicken: Heat vegetable oil in a skillet or deep pot to 350°F (175°C). Carefully place the breaded chicken breasts in the hot oil and fry for about 4 minutes on each side, until golden brown and cooked through (internal temperature reaches 165°F). Remove from oil and drain on paper towels or a wire rack to remove excess oil.
- Serve: Serve the chicken katsu hot, accompanied by the prepared katsu sauce for dipping. Enjoy with steamed rice, shredded cabbage, or your preferred sides.
Notes
- Ensure chicken breasts are patted dry to help the breading adhere better.
- Maintain the oil temperature at 350°F to achieve a crispy exterior without absorbing excess oil.
- You can substitute chicken thighs for breasts if preferred; adjust frying time accordingly.
- Leftover katsu sauce can be refrigerated for up to one week.
- For a gluten-free option, substitute all-purpose flour and panko with gluten-free alternatives.

