
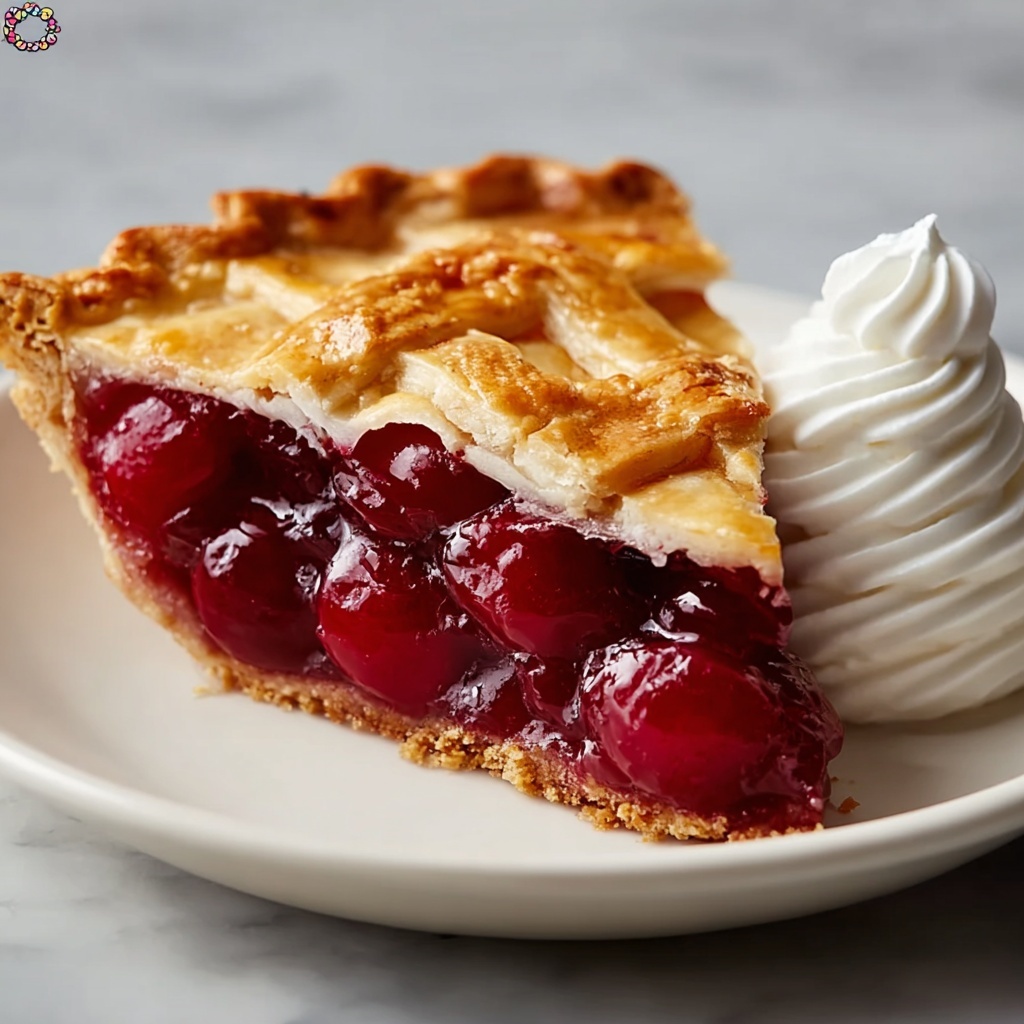
If a delightful, comforting dessert is what you’re craving, this Easy Canned Cherry Pie Recipe is going to become your new best friend. It combines the rich, luscious flavor of tart cherry pie filling with a perfectly flaky crust that’s simple enough for anyone to make, even on a busy weeknight. Using canned cherry filling takes all the guesswork out of pie-making while delivering that classic sweet-and-tart burst with every bite. Whether you’re a seasoned baker or just starting out, this recipe gives you all the joy of homemade pie with a fraction of the hassle.
Ingredients You’ll Need
All the ingredients for this Easy Canned Cherry Pie Recipe are straightforward and pantry-friendly, yet each plays a crucial role in building the pie’s irresistible taste and texture. From the bright pop of lemon juice to the buttery crust, every element comes together seamlessly.
- 1 (21 oz) can of tart cherry pie filling: The star of the show, providing juicy cherries with that perfect balance of sweet and tart.
- 1/2 cup granulated sugar: Adds just the right extra sweetness, adjustable to your personal preference.
- 2 tablespoons cornstarch: A simple thickener that helps your filling set nicely without being runny.
- 1 teaspoon lemon juice: Infuses brightness and cuts through the sweetness for a fresher flavor.
- 1/4 teaspoon almond extract (optional): A subtle flavor enhancer that makes the cherry pie taste even more special.
- 1 pre-made double pie crust: Saves time but still delivers a tender, flaky base and top to your pie.
- 1 egg (beaten): Used for an egg wash to create that gorgeous golden shine on the crust.
- 1 tablespoon sugar (optional): Sprinkled on top for an extra sweet crunch and sparkle.
How to Make Easy Canned Cherry Pie Recipe
Step 1: Preheat the Oven
Start by preheating your oven to 375 degrees Fahrenheit. Setting your rack in the center ensures the pie will cook evenly and develop that perfect golden crust. This simple step is essential for baking success.
Step 2: Prepare the Filling
In a saucepan, combine the canned tart cherry pie filling, sugar, and lemon juice. To make sure the filling thickens just right, mix your cornstarch with a bit of water to create a slurry and stir this into the mixture. Cook over medium heat, stirring constantly until it thickens just a bit, then take it off the heat. Adding that splash of almond extract now makes all the difference for a deeper, more complex cherry flavor. Let the filling cool so it won’t make the crust soggy when baked.
Step 3: Prepare the Crust
Roll out your pie crust and fit the bottom layer into a 9-inch pie pan, trimming the edges but leaving a little overhang to crimp later. Don’t forget to prick the bottom crust gently with a fork; this keeps it from getting those pesky bubbles during baking.
Step 4: Assemble the Pie
Pour the cooled cherry filling evenly into the crust. Now it’s time for the fun part—placing the second crust on top. For a traditional pie look, cover it fully and cut a few small vents to release steam. Or get creative with a lattice by weaving strips of dough for that eye-catching charm. Seal the edges by crimping them neatly.
Step 5: Add Finishing Touches
Brush your top crust with the beaten egg wash, which will give your pie a perfect golden sheen. Then sprinkle a little sugar on top to add a sparkly, crunchy finish that’s as beautiful as it is tasty.
Step 6: Bake the Pie
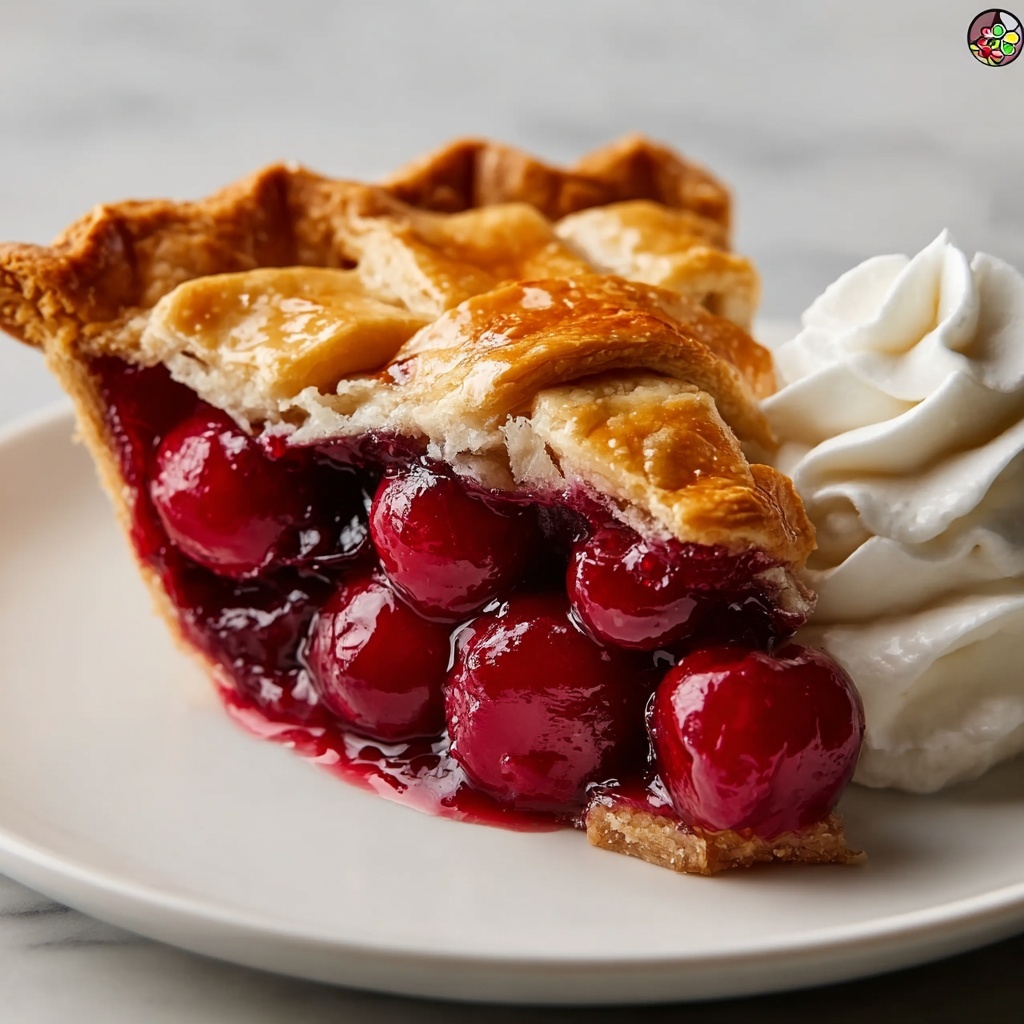
Place your pie on a baking sheet to catch any drips and slide it into your preheated oven. Bake for 45 to 50 minutes until the crust is golden brown and you see the cherry filling bubbling from the vents—an irresistible sign you’re almost there!
Step 7: Cool and Serve
Patience is a virtue here: let your pie cool completely for at least two hours. This rest time lets the filling set perfectly so each slice holds together beautifully. Serve with a dollop of whipped cream or a scoop of vanilla ice cream to heighten the indulgence.
How to Serve Easy Canned Cherry Pie Recipe
Garnishes
Simple garnishes like a dusting of powdered sugar, fresh mint leaves, or a spoonful of whipped cream elevate this pie from everyday to elegant effortlessly. These touches add visual appeal and delightful textural contrasts that your guests will love.
Side Dishes
This cherry pie pairs wonderfully with light sides like a green salad or a cheese platter if you’re serving it after a meal, balancing sweetness with savory notes. For a cozy dessert spread, consider warm drinks like coffee, tea, or even a glass of dessert wine for a real treat.
Creative Ways to Present
Tired of the classic pie slice? Try cutting the pie into small squares or even turning leftover pie into delightful hand pies or mini tartlets. Serving it with vanilla ice cream in a clear bowl lets everyone admire those vibrant cherries before savoring the first bite.
Make Ahead and Storage
Storing Leftovers
If you happen to have any pie left after the first round, wrap it tightly with plastic wrap or store in an airtight container in the refrigerator. Proper storage helps maintain freshness, flavor, and that perfect flaky crust for up to 3 to 4 days.
Freezing
This Easy Canned Cherry Pie Recipe freezes wonderfully, making it ideal for holiday prep or batch baking. Wrap the cooled pie tightly in foil and plastic wrap before freezing for up to two months. When ready to eat, thaw overnight in the fridge for best results.
Reheating
To enjoy your leftover pie warm that fresh-baked feeling, reheat slices in a 350-degree oven for about 10-15 minutes. Avoid the microwave if you want to keep your crust crisp and flaky rather than soggy.
FAQs
Can I use fresh cherries instead of canned filling?
Absolutely! Fresh cherries can add a wonderful, natural flavor, but you’ll need to cook them down with sugar, cornstarch, and lemon juice to create a thick filling similar to canned pie filling.
Is there a substitute for almond extract?
If you’re not a fan of almond extract or have allergies, vanilla extract works beautifully. It adds warmth without overpowering the cherry flavor.
Can I make this recipe gluten-free?
Using a gluten-free pre-made pie crust or making your own gluten-free crust will easily make this recipe gluten-free without compromising on taste or texture.
How do I prevent a soggy bottom crust?
Pricking the bottom crust with a fork and letting the filling cool before assembling are key steps. You can also bake the bottom crust briefly before adding filling for extra crispness.
Can I double the recipe for two pies?
Definitely! Just double all the ingredients and bake each pie on its own baking sheet to ensure even cooking and delicious results every time.
Final Thoughts
There’s something incredibly satisfying about making a classic cherry pie with so little fuss, and this Easy Canned Cherry Pie Recipe proves you don’t need to be a pastry pro to create comfort in every bite. Whether it’s for a family dinner, a special occasion, or just because, I promise this recipe will be a reliable favorite in your kitchen. Go ahead, bake one up and watch smiles bloom around the table!
Print
Easy Canned Cherry Pie Recipe
- Prep Time: 15 minutes
- Cook Time: 50 minutes
- Total Time: 1 hour 5 minutes (plus 2 hours cooling time)
- Yield: 8 servings
- Category: Dessert
- Method: Baking
- Cuisine: American
Description
This Easy Canned Cherry Pie Recipe is a quick and delicious way to enjoy a classic cherry dessert using canned tart cherry pie filling. The recipe features a buttery pie crust with a sweet-tart cherry filling thickened perfectly with cornstarch and flavored with a hint of almond extract. Perfect for any occasion, it yields a beautifully golden, bubbling pie that’s ready in under an hour of baking time.
Ingredients
For the Filling:
- 1 (21 oz) can of tart cherry pie filling
- 1/2 cup granulated sugar (adjust to taste)
- 2 tablespoons cornstarch (or flour as a thickener)
- 1 teaspoon lemon juice (for brightness)
- 1/4 teaspoon almond extract (optional but recommended)
For the Crust:
- 1 pre-made double pie crust (or homemade, if preferred)
- 1 egg (beaten, for egg wash)
- 1 tablespoon sugar (optional, for sprinkling on the crust)
Instructions
- Preheat the Oven: Preheat your oven to 375°F (190°C) and position a rack in the center for even baking.
- Prepare the Filling: In a saucepan, combine the canned tart cherry pie filling, granulated sugar, and lemon juice. Mix the cornstarch with 2 tablespoons of water to create a smooth slurry, then stir this into the filling mixture. Heat over medium heat, stirring constantly until the filling thickens slightly. Remove from heat and stir in almond extract if using. Allow the filling to cool completely.
- Prepare the Crust: Roll out the bottom pie crust and press it firmly into a 9-inch pie pan. Trim edges, leaving about 1/2 inch overhang. Prick the bottom crust gently with a fork to prevent bubbling during baking.
- Assemble the Pie: Pour the cooled cherry filling evenly into the crust-lined pie pan. Roll out the second pie crust and cover the pie fully or create a lattice design by weaving strips of dough on top. Cut small vents in the top crust if covering fully. Crimp the edges to seal the pie well.
- Add Finishing Touches: Brush the top crust evenly with the beaten egg to achieve a glossy, golden finish. Sprinkle with sugar if desired for added sweetness and texture.
- Bake the Pie: Place the pie on a baking sheet to catch any drips and bake in the preheated oven for 45 to 50 minutes, or until the crust is golden brown and the filling bubbles through the vents.
- Cool and Serve: Allow the pie to cool completely on a wire rack for at least 2 hours so the filling sets properly. Slice and serve plain or with whipped cream or vanilla ice cream for an extra indulgent treat.
Notes
- Adjust sugar in the filling according to your preference for sweetness or tartness.
- If cornstarch is unavailable, all-purpose flour can be used as a thickener but may require slightly longer cooking time.
- Let the filling cool completely before adding to the crust to prevent soggy dough.
- Chilling the assembled pie for 30 minutes before baking can help maintain crust shape, especially if making a lattice crust.
- Use a baking sheet under the pie to catch any bubbling filling spills and protect your oven.
- Leftover pie can be stored covered at room temperature for up to 2 days or refrigerated for up to 4 days.


