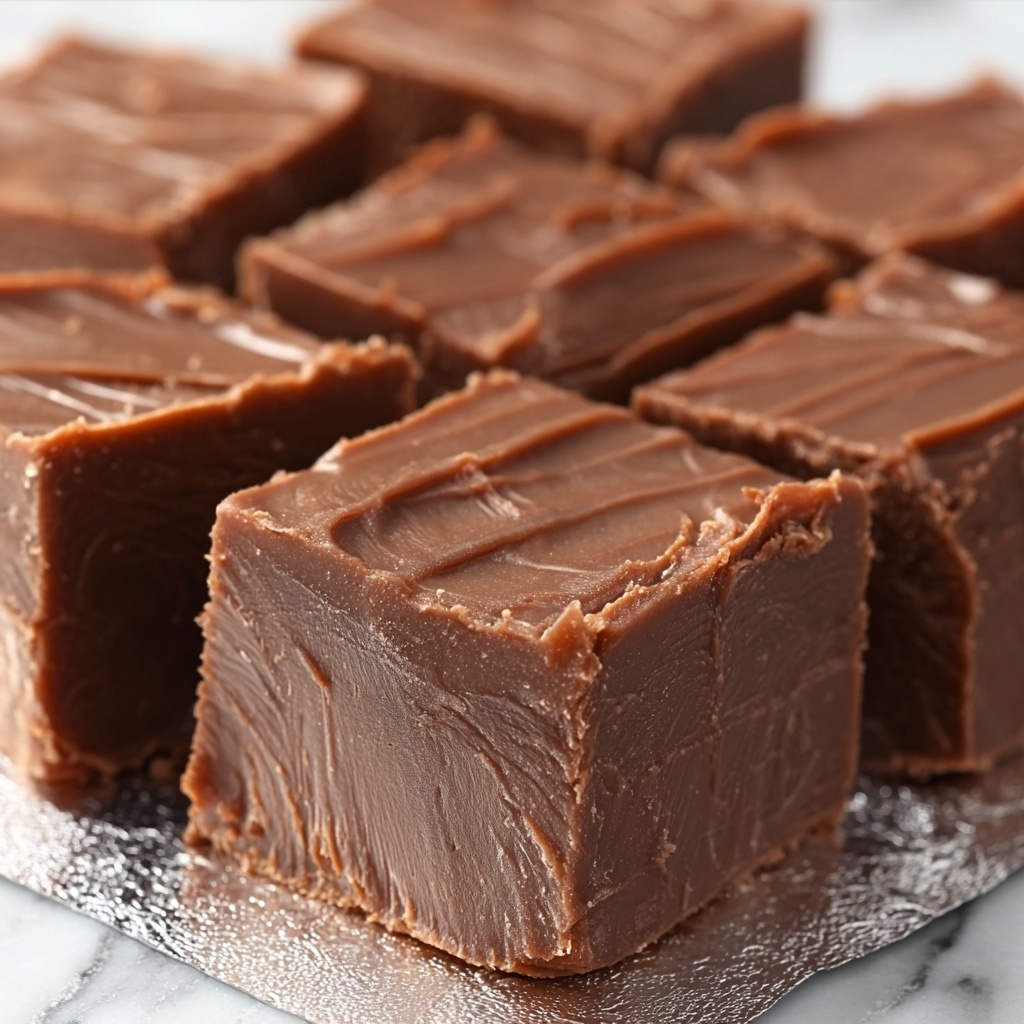
If you’re craving a rich, creamy chocolate treat that’s as effortless to make as it is delicious, you’re going to love this Easy No-Fail Chocolate Fudge Recipe. This classic fudge combines velvety semi-sweet chocolate chips with sweetened condensed milk and butter to create a luscious, melt-in-your-mouth dessert that requires minimal ingredients and no candy thermometer. Whether you’re a seasoned baker or a complete newbie, this recipe promises consistently perfect results every time, making it the ultimate sweet indulgence to share with friends or to savor yourself.
Ingredients You’ll Need
This Easy No-Fail Chocolate Fudge Recipe keeps things delightfully simple by focusing on a handful of high-quality ingredients, each playing a key role in the final texture and taste. The balance here is essential to achieve that silky smoothness and rich flavor that fudge lovers crave.
- 3 cups semi-sweet chocolate chips: These provide the deep chocolate flavor and smooth melting texture that is the heart of the fudge.
- 14 oz (1 can) sweetened condensed milk: Adds sweetness and creaminess without the need for granulated sugar, making the fudge luscious and tender.
- 1/4 cup unsalted butter: Enhances richness and gives the fudge a glossy finish and soft consistency.
How to Make Easy No-Fail Chocolate Fudge Recipe
Step 1: Prepare Your Pan
Start by lining an 8×8-inch square baking pan with foil, allowing the edges to overhang for easy removal later. A light spray of nonstick cooking spray on the foil ensures the fudge won’t stick and will come out cleanly, so you don’t lose any perfect squares.
Step 2: Combine Ingredients
In a heavy saucepan set to medium-low heat, gently combine the semi-sweet chocolate chips, sweetened condensed milk, and unsalted butter. The key here is to keep the heat low so the chocolate melts slowly, preventing any scorching and maintaining a silky texture.
Step 3: Stir Until Smooth
Constant stirring is crucial during these 7-8 minutes to stir everything into one creamy mixture. You’ll know it’s ready when the chocolate and butter have fully melted together into a smooth, glossy fudge batter that’s thick yet pourable.
Step 4: Transfer to Pan
Pour the luscious fudge into the foil-lined pan and spread it evenly using a spatula. Taking the time to make the surface smooth means your final fudge squares will look just as delightful as they taste.
Step 5: Chill to Set
Place the pan in the refrigerator and let the fudge chill until completely firm—overnight is ideal. This slow setting helps the flavors meld and guarantees the perfect sliceable texture.
Step 6: Cut and Serve
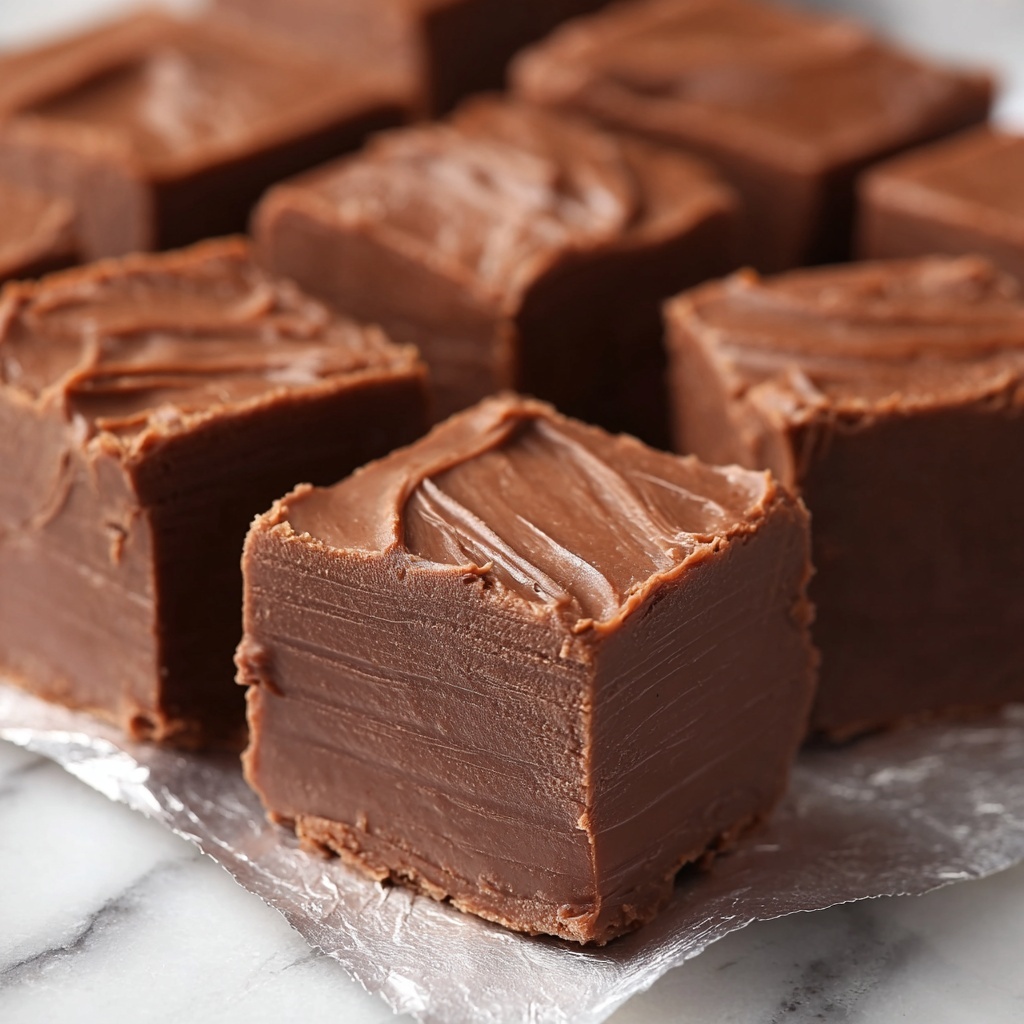
Once the fudge has completely set, use the foil edges to lift it out of the pan easily. Peel away the foil, transfer your fudge slab to a cutting board, and cut into generous squares. Voilà—your delicious Easy No-Fail Chocolate Fudge Recipe is ready to enjoy!
How to Serve Easy No-Fail Chocolate Fudge Recipe
Garnishes
While the fudge is incredible all on its own, a sprinkle of flaky sea salt adds an unexpected pop that perfectly balances the sweetness. You could also top it with chopped nuts like walnuts or pecans for a delightful crunch, or even a dusting of cocoa powder for an elegant finish.
Side Dishes
This fudge pairs beautifully with a hot cup of coffee or your favorite black tea, making it a perfect afternoon pick-me-up. For special occasions, serve it alongside fresh berries or a dollop of whipped cream to cut through the richness and add a refreshing twist.
Creative Ways to Present
Try placing fudge squares on decorative parchment paper or in mini cupcake liners for a charming presentation at parties. You can also stack them with alternating layers of chopped nuts or drizzled caramel to create a decadent fudge tower. The possibilities are endless with this versatile recipe.
Make Ahead and Storage
Storing Leftovers
After cutting, store your leftover fudge in an airtight container at room temperature, and it will stay fresh for up to one week. If your home is warm, refrigerate to avoid melting, but make sure to let pieces come to room temperature before serving for the best texture.
Freezing
This Easy No-Fail Chocolate Fudge Recipe freezes wonderfully. Wrap individual pieces tightly in plastic wrap and place them in a freezer-safe bag or container. Frozen fudge keeps well up to 3 months. Thaw at room temperature for a few hours before indulging.
Reheating
Generally, fudge is best enjoyed as is, but if you prefer it a bit softer, you can briefly warm a piece in the microwave for 5-10 seconds. Be cautious not to overheat, as the texture changes quickly. For a special treat, try placing warmed fudge over vanilla ice cream for a dreamy dessert combo.
FAQs
Can I use other types of chocolate chips for this Easy No-Fail Chocolate Fudge Recipe?
Absolutely! You can experiment with milk chocolate, dark chocolate, or even white chocolate chips. Just keep in mind that different chocolates vary in sweetness and texture, so your fudge might turn out a little differently but still delicious.
What if I don’t have sweetened condensed milk?
Sweetened condensed milk is key for the creamy sweetness and texture here, so it’s best not to skip it. If you really need an alternative, you can try making your own or look for evaporated milk combined with sugar, but results may vary.
Can I add flavors or mix-ins?
Yes! Once melted, try stirring in vanilla extract, a pinch of sea salt, or even a splash of espresso for depth of flavor. Mixing in nuts, dried fruit, or toffee bits right before chilling creates exciting variations on this classic fudge.
How do I get clean cuts when slicing the fudge?
Use a sharp knife and warm it slightly by running it under hot water, then wipe dry before cutting. This helps the blade glide through the fudge smoothly, producing neat, professional-looking squares.
Does this recipe work at high altitudes?
Yes, this Easy No-Fail Chocolate Fudge Recipe is quite forgiving and works well at high altitudes since it doesn’t require candy thermometer precision or sugar crystallization steps. Just monitor your melting process closely for the best results.
Final Thoughts
There’s nothing quite like homemade fudge to brighten your day or impress your guests, and this Easy No-Fail Chocolate Fudge Recipe makes the process straightforward and foolproof. With just a few simple ingredients and minimal effort, you can create a batch of rich, creamy chocolate goodness that feels truly special. I encourage you to make it at home and experience just how incredibly satisfying a homemade treat can be!
Print
Easy No-Fail Chocolate Fudge Recipe
- Prep Time: 10 minutes
- Cook Time: 10 minutes
- Total Time: 8 hours 20 minutes
- Yield: 42 servings
- Category: Dessert
- Method: Stovetop
- Cuisine: American
Description
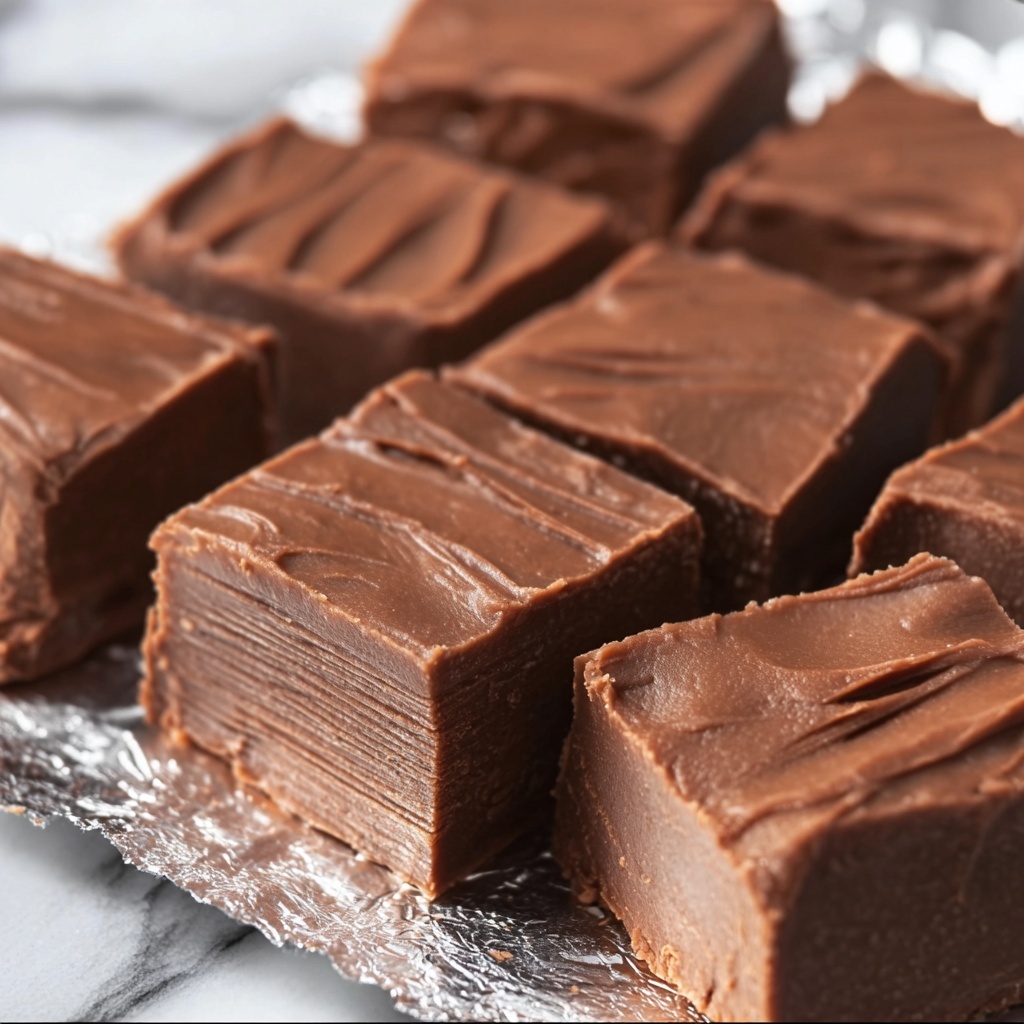
This Easy No-Fail Chocolate Fudge is a rich, creamy treat made with just three simple ingredients. With a smooth texture and intense chocolate flavor, it’s the perfect homemade dessert for any occasion. Ready in minutes but best when chilled overnight, this fudge is an effortless delight that never disappoints.
Ingredients
Fudge Ingredients
- 3 cups semi-sweet chocolate chips
- 14 oz (1 can) sweetened condensed milk
- 1/4 cup unsalted butter
Instructions
- Prepare the Pan: Line an 8×8-inch square baking pan with foil, allowing the edges to overhang for easy removal later. Lightly spray the foil with nonstick cooking spray to prevent sticking.
- Melt Ingredients: In a heavy saucepan over medium-low heat, combine the chocolate chips, sweetened condensed milk, and butter.
- Cook Mixture: Stir constantly for about 7-8 minutes until the chocolate and butter have melted completely and the mixture is smooth and creamy. Avoid overheating to prevent burning.
- Pour into Pan: Transfer the melted mixture evenly into the prepared baking pan. Use a spatula to spread it out smoothly.
- Chill to Set: Place the pan in the refrigerator and allow the fudge to set fully, preferably overnight, for the best firm texture.
- Cut and Serve: Once set, lift the fudge out using the foil edges, peel away the foil, transfer to a cutting board, and slice into 42 small squares. Store leftover fudge in an airtight container in the fridge.
Notes
- Ensure constant stirring during melting to avoid scorching the chocolate.
- Using a heavy saucepan helps distribute heat evenly and prevents burning.
- For cleaner cuts, use a sharp knife warmed slightly under hot water and wiped dry before slicing.
- Store fudge in an airtight container in the refrigerator for up to 2 weeks.
- You can add nuts or flavor extracts if desired for variation.


