
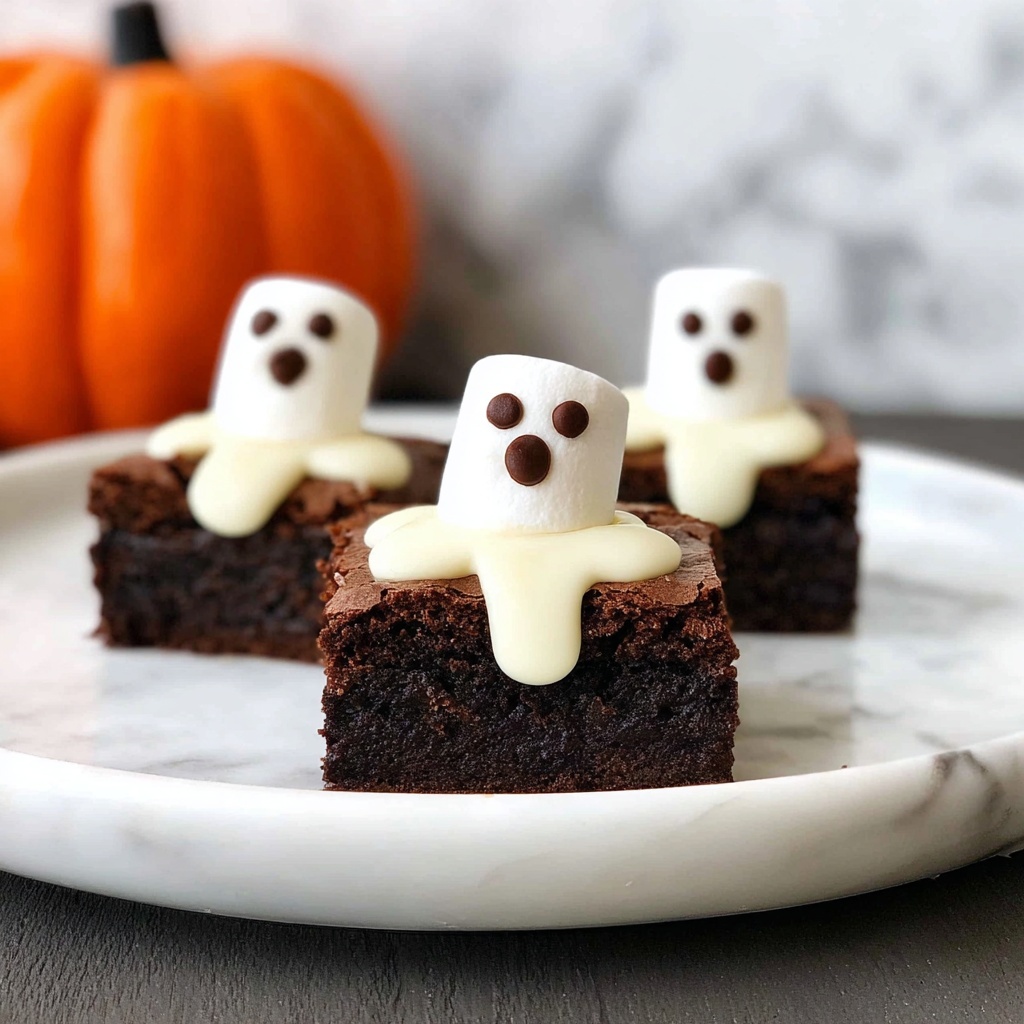
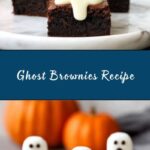
If you’re looking for a fun, festive, and downright delicious treat to wow your friends and family this Halloween, you have to try this Ghost Brownies Recipe. These rich, fudgy brownies are dressed up as adorable little ghosts, creating the perfect balance between spooky and sweet. The perfect blend of chocolatey goodness with creamy white chocolate accents, this recipe is sure to become your go-to Halloween dessert that’s both easy to make and irresistible to eat.
Ingredients You’ll Need
These ingredients are simple but essential, each playing a vital role in crafting the perfect texture, flavor, and appearance of your Ghost Brownies Recipe. From the buttery richness to the subtle vanilla notes and that signature chocolate punch, every element works together harmoniously.
- 1/2 cup unsalted butter, melted: Provides the rich, moist base for these fudgy brownies.
- 1 cup granulated sugar: Adds the right amount of sweetness to balance the cocoa.
- 2 large eggs: Bind everything together while adding structure and moisture.
- 1 teaspoon vanilla extract: Brings a subtle depth of flavor that complements the chocolate.
- 1/3 cup unsweetened cocoa powder: The star ingredient for that deep chocolate flavor.
- 1/2 cup all-purpose flour: Gives structure and tenderness without weighing down the brownies.
- 1/4 teaspoon salt: Enhances all the flavors, preventing the brownies from tasting flat.
- 1/4 teaspoon baking powder: Helps give just a touch of lift for softness.
- 1/2 cup white chocolate chips: Little pockets of creamy sweetness throughout the brownies.
- 1/4 cup mini chocolate chips: Adds texture and an additional chocolate punch.
- 1/2 cup white frosting or melted white chocolate: For decorating the ghost shapes with pure, sweet creaminess.
- Black decorating gel or mini chocolate chips: For making cute ghost eyes that bring your brownies to life.
How to Make Ghost Brownies Recipe
Step 1: Prepare Your Baking Pan and Oven
Start by preheating your oven to 350°F and greasing an 8×8-inch baking pan well. This ensures the brownies don’t stick and come out in perfect squares ready for your spooky transformation.
Step 2: Mix Wet Ingredients
In a medium bowl, combine the melted butter and granulated sugar, stirring until the mixture is silky smooth. Next, beat in the eggs one at a time, followed by the fragrant vanilla extract. This combination creates the luscious, velvety base your brownies need.
Step 3: Combine Dry Ingredients
In a separate bowl, whisk together cocoa powder, all-purpose flour, salt, and baking powder. Mixing these dry ingredients ensures even distribution and prevents lumps from forming when you blend them with the wet mix.
Step 4: Bring Wet and Dry Together
Gradually add the dry ingredient mixture into the wet ingredients, stirring gently but thoroughly until everything is combined. This step is crucial to achieving the brownie’s tender and fudgy texture without overmixing.
Step 5: Fold in the Chocolate Chips
Now, fold in the white chocolate chips carefully so they spread evenly throughout the batter. The mini chocolate chips are sprinkled on top or stirred in for extra texture and chocolate bursts wherever you bite.
Step 6: Bake to Perfection
Pour the batter into your prepared pan, spreading it evenly with a spatula. Bake in the oven for 20 to 25 minutes, or until a toothpick inserted into the center comes out with just a few moist crumbs. This ensures your brownies stay moist and fudgy.
Step 7: Cool and Cut Into Ghost Shapes
Allow the brownies to cool completely in the pan. Once cooled, use a ghost-shaped cookie cutter to cut out fun ghost forms or simply cut into squares for a quicker option. This is where your ghosts begin to take shape!
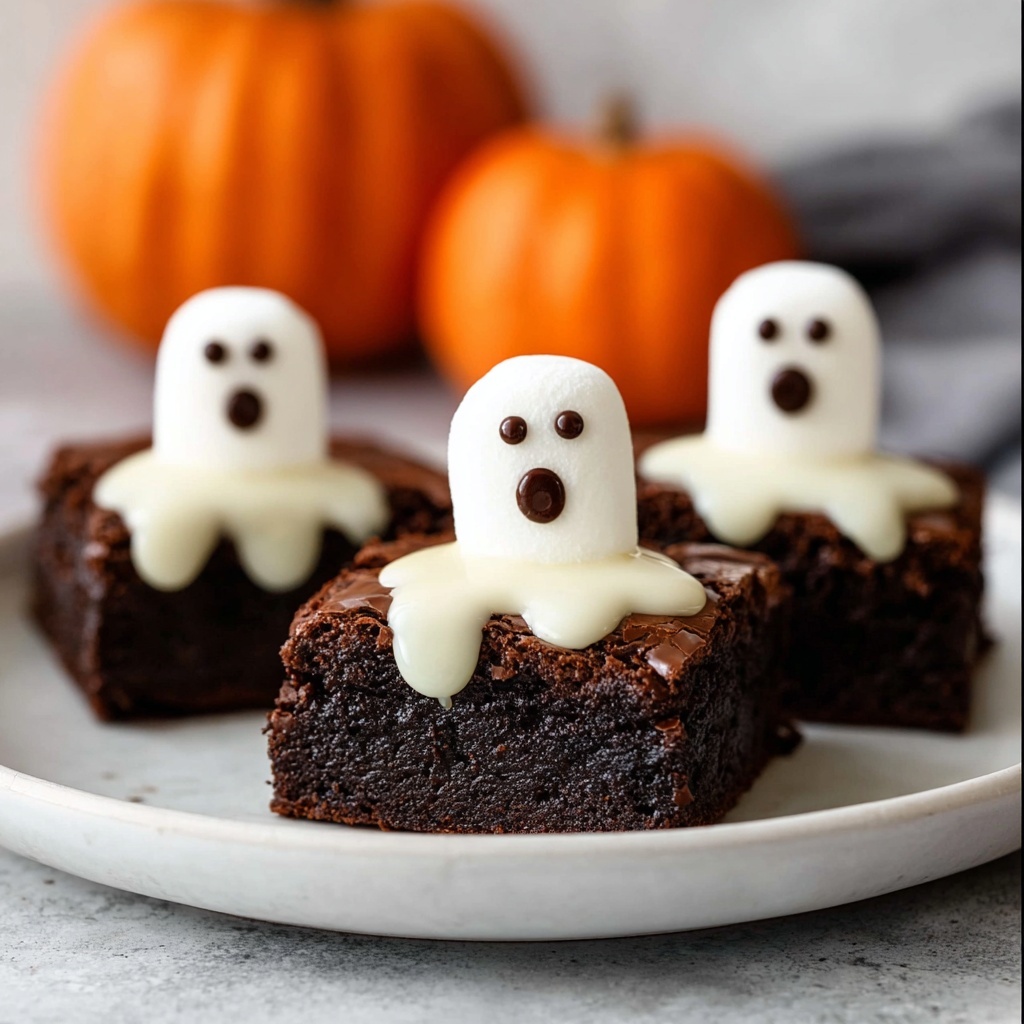
Step 8: Decorate Your Ghost Brownies
Use white frosting or melted white chocolate to outline the ghosts and create their friendly ghostly shapes. Then, add eyes with black decorating gel or tiny mini chocolate chips, giving each ghost its own spooky personality.
How to Serve Ghost Brownies Recipe
Garnishes
To elevate your Ghost Brownies Recipe even further, consider sprinkling a little powdered sugar lightly over the ghosts for an ethereal effect or adding rainbow sprinkles for a festive touch. Fresh mint leaves can add a nice pop of green color, making the ghosts stand out even more on your serving platter.
Side Dishes
These ghosts love company. Pair your brownies with a scoop of vanilla ice cream or a dollop of whipped cream to balance the rich chocolate flavors. Hot coffee, spiced tea, or a chilled glass of milk also make perfect companions to this dessert’s deeply indulgent taste.
Creative Ways to Present
Try arranging your ghost brownies on a black or orange tray to amplify the Halloween spirit. You could even serve them on paper plates decorated with spooky motifs or create a centerpiece by stacking the ghosts in a fun, haunted tower. For parties, mini ghost brownies on toothpicks can make adorable grab-and-go treats.
Make Ahead and Storage
Storing Leftovers
Keep your leftover Ghost Brownies Recipe fresh by storing them in an airtight container at room temperature. They’ll stay moist and delicious for up to four days, giving you plenty of time to enjoy their spooky charm.
Freezing
If you want to save your ghostly treats for longer, wrap individual brownie pieces tightly in plastic wrap and place them in a freezer-safe container or bag. When stored properly, they’ll stay fresh for up to three months without losing their fudgy texture or flavor.
Reheating
When ready to enjoy, thaw frozen brownies at room temperature or warm them gently in the microwave for about 15 seconds. A quick reheat restores their softness and enhances the melty chocolate chips inside, just like freshly baked.
FAQs
Can I use regular chocolate chips instead of white chocolate chips?
Absolutely! While white chocolate chips add a sweet contrast and help create the ghost decorations, regular chocolate chips will work just fine if you prefer a more uniform chocolate taste.
Can I make these gluten-free?
Yes, you can substitute the all-purpose flour with a gluten-free flour blend that measures cup for cup. This swap makes the brownies suitable for gluten-sensitive guests without compromising flavor.
How do I prevent the frosting from melting on the brownies?
Make sure your brownies are completely cooled before you start decorating. Using chilled frosting or white chocolate also helps keep the decorations firm and neat for longer.
Is there a way to make the brownies more cake-like?
If you prefer a cakier texture, add a little more flour (about 2 tablespoons) and bake for a few minutes longer. This will create a lighter brownie, but the fudgy richness will still shine through.
Can this Ghost Brownies Recipe be doubled?
Definitely! You can double all the ingredients and bake the batter in a 9×13-inch pan. Just adjust baking time slightly—start checking doneness around the 30-minute mark.
Final Thoughts
This Ghost Brownies Recipe is a must-make for anyone who loves fun, festive baking with a delicious twist. It’s simple to put together, irresistibly tasty, and sure to bring smiles around the table. Don’t wait until Halloween to give this one a try—these ghostly treats are perfect whenever you want a little bit of spooky sweetness in your life.
Print
Ghost Brownies Recipe
- Prep Time: 15 minutes
- Cook Time: 25 minutes
- Total Time: 40 minutes
- Yield: 12 brownies
- Category: Dessert
- Method: Baking
- Cuisine: American
- Diet: Vegetarian
Description
Ghost Brownies are a festive and spooky Halloween dessert featuring rich chocolate brownies decorated with white frosting to resemble cute ghost shapes. These moist and chocolaty treats are perfect for holiday parties or a fun baking activity with kids, combining classic brownie flavors with seasonal charm.
Ingredients
Brownie Batter
- 1/2 cup unsalted butter, melted
- 1 cup granulated sugar
- 2 large eggs
- 1 teaspoon vanilla extract
- 1/3 cup unsweetened cocoa powder
- 1/2 cup all-purpose flour
- 1/4 teaspoon salt
- 1/4 teaspoon baking powder
- 1/2 cup white chocolate chips
- 1/4 cup mini chocolate chips
Decoration
- 1/2 cup white frosting or melted white chocolate
- Black decorating gel or mini chocolate chips for eyes
Instructions
- Prepare the Oven and Pan: Preheat your oven to 350°F (175°C) and grease an 8×8-inch baking pan to prevent sticking during baking.
- Mix Wet Ingredients: In a medium bowl, combine the melted butter and granulated sugar, stirring until the mixture is smooth. Beat in the eggs and vanilla extract until well incorporated.
- Combine Dry Ingredients: In a separate bowl, whisk together the unsweetened cocoa powder, all-purpose flour, salt, and baking powder to ensure even distribution of leavening and flavor.
- Form the Batter: Gradually add the dry ingredients to the wet ingredients, stirring gently until just combined. Be careful not to overmix to keep the brownies tender. Fold in the white chocolate chips for bursts of sweetness.
- Bake the Brownies: Pour the batter evenly into the prepared pan and spread it out. Bake for 20-25 minutes, or until a toothpick inserted into the center comes out with a few moist crumbs.
- Cool the Brownies: Allow the brownies to cool completely in the pan to set firmly for easier cutting and decorating.
- Cut into Ghost Shapes: Use a ghost-shaped cookie cutter to cut out ghost figures from the cooled brownies, or carefully cut freehand with a knife if preferred.
- Decorate the Ghosts: Outline the ghost shapes with white frosting or melted white chocolate to create the ghostly appearance. Use black decorating gel or mini chocolate chips to add eyes, bringing your spooky treats to life.
Notes
- For a quicker preparation, skip cutting into ghost shapes and instead pipe ghost faces directly onto brownie squares using white frosting.
- Ensure the brownies are completely cooled before decorating to prevent the frosting or chocolate from melting.
- Store leftover brownies in an airtight container at room temperature for up to 3 days.

