Homemade Chocolate Cereal Recipe
Craving a bowl of nostalgia with a grown-up twist? This Homemade Chocolate Cereal is about to become your new favorite treat, whether you’re pouring it over icy-cold milk at breakfast or enjoying it by the handful as a crunchy snack. With just a handful of pantry staples and no additives in sight, you get deep chocolate flavor, a satisfying snap, and the comforting fun of making your own cereal from scratch. There’s nothing like waking up to the aroma of chocolate wafting from your oven and knowing you made every bite yourself!
Ingredients You’ll Need
The ingredient list for Homemade Chocolate Cereal is refreshingly short, each playing a crucial role in flavor and crunch. From the rich cocoa powder to a touch of vanilla, this recipe transforms humble basics into chocolatey magic. Choose good-quality ingredients for the best homemade results!
- All-purpose flour: Provides the perfect sturdy base for crunchy cereal bites.
- Cocoa powder: Brings that deep, irresistible chocolatey flavor and an enticing color.
- Powdered sugar: Sweetens the mix, dissolving evenly for just the right amount of sweetness.
- Salt: Enhances and balances the chocolate flavor, making every bite pop.
- Unsalted butter (melted): Adds richness and helps bind the dough together.
- Milk: Moistens the dough and provides a hint of creaminess.
- Vanilla extract: Boosts the aromatic, warm undertones—it makes a difference!
- Mini chocolate chips (optional): Amp up the chocolate for chocoholics and create delightful melty pockets.
How to Make Homemade Chocolate Cereal
Step 1: Mix the Dry Ingredients
Start by whisking together the flour, cocoa powder, powdered sugar, and salt in a large bowl. This quick mix ensures all the dry ingredients are evenly distributed, setting the stage for rich, flavorful cereal pieces with no clumps or uneven sweet spots.
Step 2: Add the Wet Ingredients
Pour in the melted butter, milk, and vanilla extract. Stir everything together with a spatula (or clean hands!) until a soft, slightly sticky dough comes together. If you’re adding mini chocolate chips for extra flair, fold them in now for bursts of gooey chocolate throughout your cereal.
Step 3: Roll Out the Dough
Transfer the dough onto a sheet of parchment paper. Lay another sheet of parchment on top and roll the dough as thinly as possible—aim for around 1/8 inch for ultimate crunch factor. Rolling between parchment makes it non-stick and easy to handle.
Step 4: Cut and Shape
Peel off the top sheet of parchment and, using a sharp knife or pizza cutter, slice the dough into tiny squares (or any fun shapes your heart desires). Uniform sizes bake more evenly, but don’t stress perfection—rustic edges just show it’s truly homemade!
Step 5: Bake to Perfection
Carefully arrange the cut dough pieces onto a parchment-lined baking sheet, leaving a little space so they can bake up crisp. Bake in a preheated 350°F oven for 10 to 12 minutes—keep an eye out! You want them firm but not rock-hard, as they’ll crisp further as they cool.
Step 6: Cool and Store
Once out of the oven, let the cereal cool completely on the pan. This step is essential for achieving that classic crunch. Once cooled, transfer your Homemade Chocolate Cereal to an airtight container to keep it fresh and ready for whenever cravings strike.
How to Serve Homemade Chocolate Cereal
Garnishes
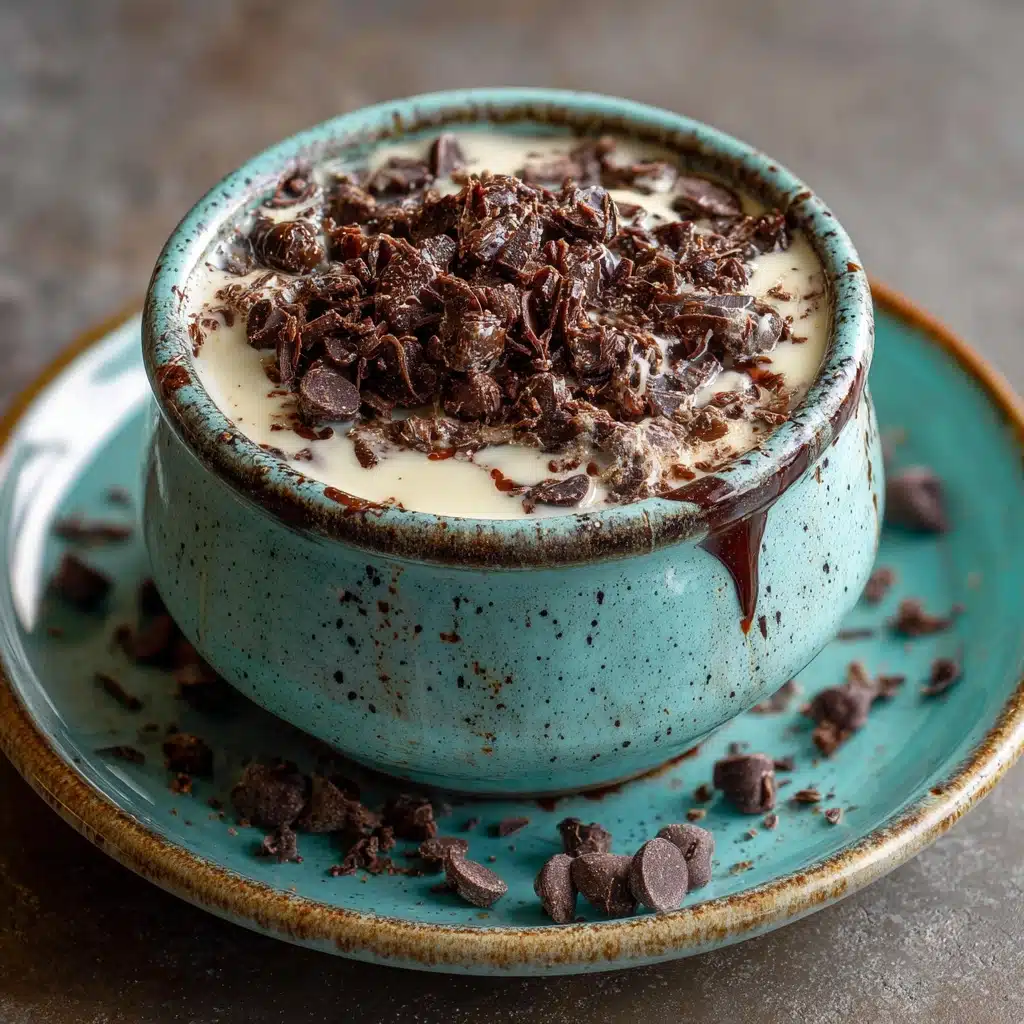
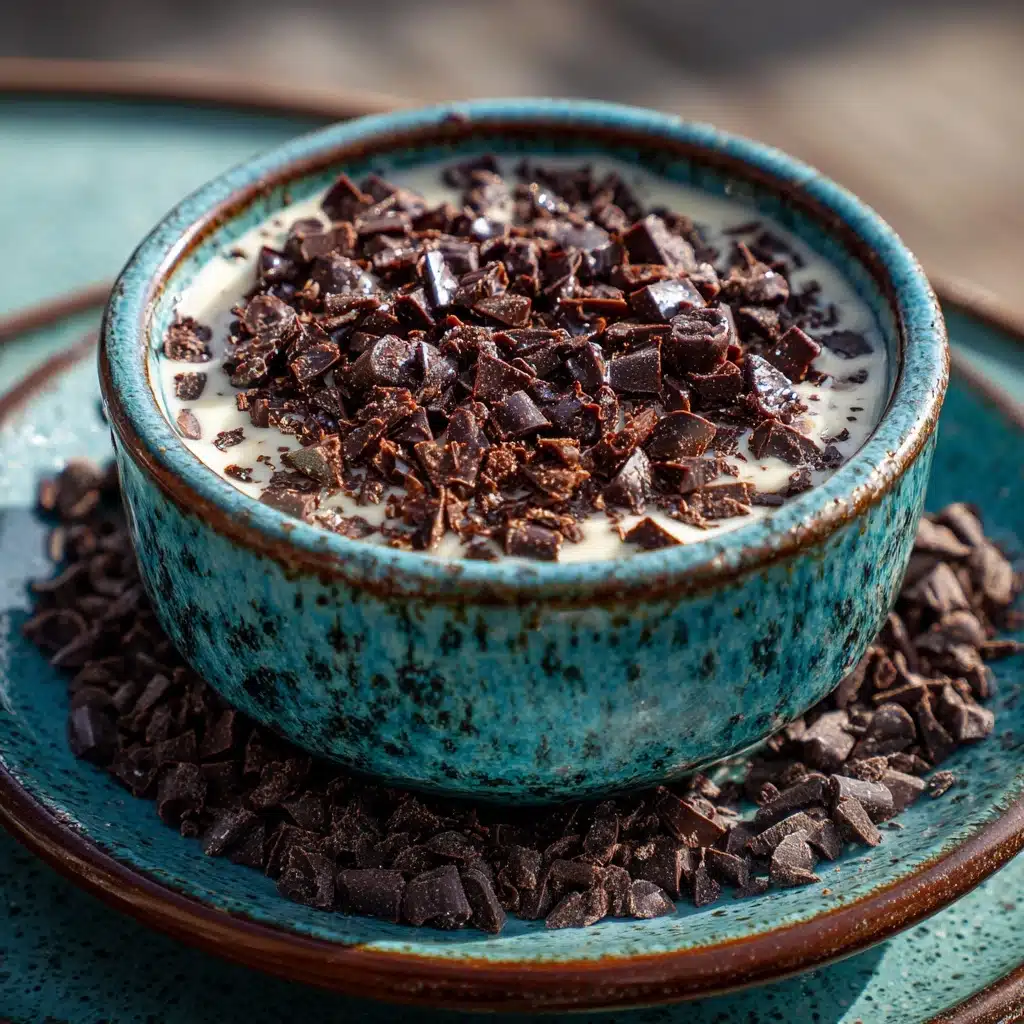
For an extra-special breakfast, garnish your bowl with a sprinkle of chocolate shavings, a light dusting of cocoa powder, or a handful of fresh berries. Even a drizzle of warm milk or a scattering of toasted nuts can take this wholesome treat to new heights.
Side Dishes
Pair your Homemade Chocolate Cereal with a refreshing fruit salad, a smoothie, or a dollop of Greek yogurt for a balanced and colorful start to the day. On-the-go? Pop it in snack bags alongside apple slices or banana halves for a sweet, fuss-free combo.
Creative Ways to Present
Bring out your inner kid and use pretty jars for a DIY breakfast bar, offer different milks (dairy and plant-based), or layer the cereal in parfait glasses with yogurt and fruit. It also makes a charming edible gift: just package it in a cute tin with a handwritten label for instant smiles.
Make Ahead and Storage
Storing Leftovers
To keep your Homemade Chocolate Cereal delightfully crisp, store any leftovers in an airtight container at room temperature. It stays at its prime for up to a week, though chances are, it’ll disappear long before then!
Freezing
If you want to stash away a bigger batch, you can absolutely freeze the baked cereal. Place it in a freezer-safe bag or container, squeezing out as much air as possible. It’ll keep nicely for up to two months; just thaw at room temp before serving.
Reheating
Should your cereal lose a bit of its snappy texture, simply pop it on a baking sheet and warm in a low oven (about 275°F) for a few minutes to bring the crunch back to life. Let it cool before transferring back to your storage container.
FAQs
Can I make this Homemade Chocolate Cereal dairy-free or vegan?
Absolutely! Just swap in your favorite plant-based butter and non-dairy milk. The results will be just as delicious and crispy, with all the same chocolatey goodness.
What type Breakfast, Snack
Baking cocoa powder (natural or Dutch-processed) is ideal for this recipe. Dutch-processed will yield a deeper, almost truffle-like flavor, while natural cocoa gives classic “hot cocoa” vibes—either works beautifully.
How thin should I roll the dough?
For maximum crunch, roll the dough to about 1/8 inch thickness. If you make it thicker, the cereal will be softer and more cookie-like, which is tasty in its own right but not as crisp as classic cereal.
Can I add mix-ins or spices to Homemade Chocolate Cereal?
Go for it! Try cinnamon or instant espresso powder for extra depth, or toss in mini chocolate chips, chopped nuts, or even freeze-dried berries to make your own one-of-a-kind cereal blend.
Is this cereal suitable for kids?
Kids will absolutely love Homemade Chocolate Cereal! Since you control the ingredients and sweetness, it’s great for little ones—and rolling and cutting the dough is a fun kitchen activity for helping hands.
Final Thoughts
If you’ve never tried making Homemade Chocolate Cereal, now’s the time to treat yourself to this simple, completely customizable breakfast joy. There’s just something magical about pouring milk over a bowl of cereal you created from scratch! Give it a go and savor every chocolaty, crunchy bite—you’ll never look at boxed cereal the same way again.
Print
Homemade Chocolate Cereal Recipe
- Total Time: 27 minutes
- Yield: About 6 servings 1x
- Diet: Vegetarian
Description
Learn how to make your own delicious Homemade Chocolate Cereal with this easy recipe. Perfect for breakfast or as a crunchy snack, this chocolatey treat is sure to be a hit with everyone!
Ingredients
Dry Ingredients:
- 1½ cups all-purpose flour
- ¼ cup cocoa powder
- ½ cup powdered sugar
- ¼ teaspoon salt
Wet Ingredients:
- 4 tablespoons unsalted butter, melted
- ⅓ cup milk
- 1 teaspoon vanilla extract
Optional:
- ¼ cup mini chocolate chips (for extra chocolate flavor)
Instructions
- Preheat Oven: Preheat the oven to 350°F and line a baking sheet with parchment paper.
- Mix Dry Ingredients: In a mixing bowl, whisk together flour, cocoa powder, powdered sugar, and salt.
- Add Wet Ingredients: Stir in the melted butter, milk, and vanilla extract until a dough forms.
- Roll Out Dough: Roll the dough thinly between two sheets of parchment paper. Cut into small squares or desired shapes.
- Bake: Spread the pieces on the baking sheet and bake for 10–12 minutes until firm but not overly crisp.
- Cool and Store: Let the cereal cool completely; they will harden as they cool. Store in an airtight container and serve with milk.
Notes
- You can make this cereal vegan by using plant-based milk and dairy-free butter.
- For a less sweet version, reduce the sugar slightly.
- Rolling the dough thinly ensures a crunchy texture.
- Prep Time: 15 minutes
- Cook Time: 12 minutes
- Category: Breakfast, Snack
- Method: Baking
- Cuisine: American
Nutrition
- Serving Size: About ¾ cup
- Calories: 180
- Sugar: 10 g
- Sodium: 70 mg
- Fat: 7 g
- Saturated Fat: 4 g
- Unsaturated Fat: 3 g
- Trans Fat: 0 g
- Carbohydrates: 28 g
- Fiber: 2 g
- Protein: 3 g
- Cholesterol: 15 mg
