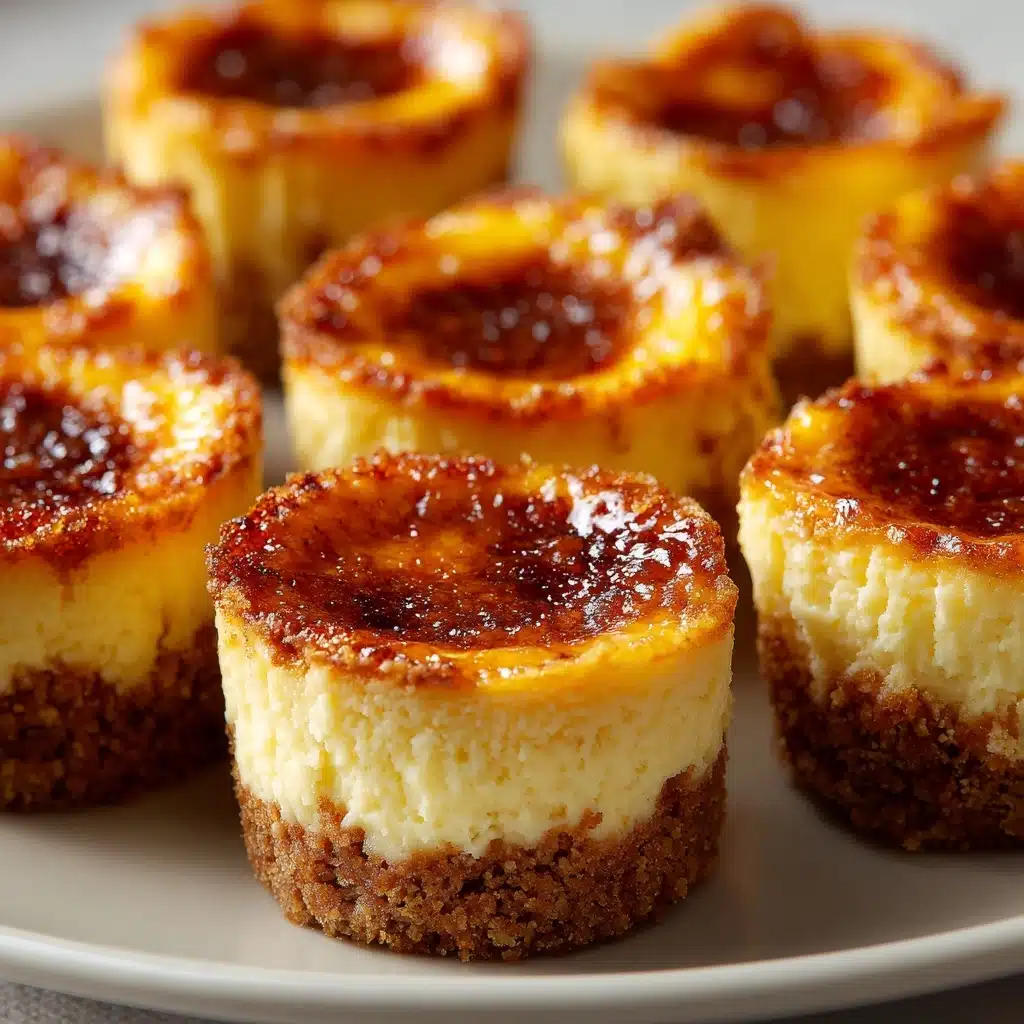
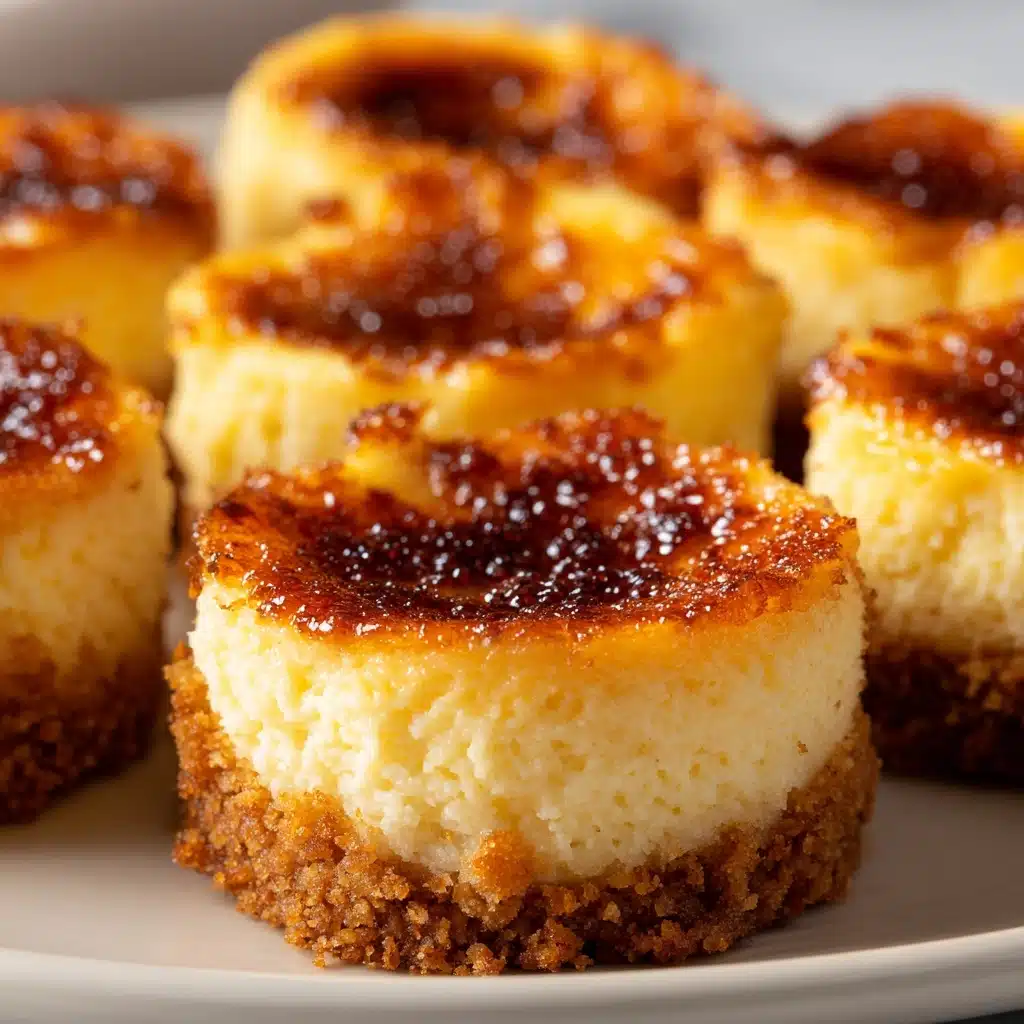
Mini Cheesecake Tarts Recipe
If you’re looking for the ultimate bite-sized dessert that’s as charming as it is delicious, these Mini Cheesecake Tarts are about to become your new obsession. Each tart is a creamy, tangy, and perfectly sweet little package, topped with fresh fruit or a dollop of whipped cream for a finishing touch. Whether you’re hosting a party, planning a picnic, or just craving something sweet and easy, these Mini Cheesecake Tarts deliver big on flavor and elegance without the hassle of a full cheesecake.
Ingredients You’ll Need
Gathering just a handful of simple ingredients is all it takes to create a show-stopping treat. Each element in this recipe is chosen for maximum impact, ensuring every bite of these Mini Cheesecake Tarts is bursting with flavor and irresistible texture.
- Mini tart shells (12, store-bought or homemade): The crisp, buttery base that holds all the rich, creamy filling together.
- Cream cheese (8 oz, softened): The heart of the filling, bringing that iconic tang and luscious texture.
- Granulated sugar (1/3 cup): Just enough to sweeten the filling without overpowering its delicate flavor.
- Large egg (1): Binds the filling and gives the tarts their soft, custardy set.
- Vanilla extract (1 tsp): Adds warmth and aromatic depth that balances the tang of the cream cheese.
- Lemon juice (1 tbsp): Brightens up the filling and enhances the cheesecake flavor.
- Sour cream (1/4 cup): Gives an extra creamy texture and a subtle tang.
- Fresh berries or fruit topping: Adds juicy bursts of color and flavor on top of each tart.
- Whipped cream (optional): For an extra layer of indulgence and a pretty finishing flourish.
How to Make Mini Cheesecake Tarts
Step 1: Prepare the Tart Shells
Start by preheating your oven to 350°F (175°C). Arrange your mini tart shells on a baking sheet so they’re ready to go. If you’re using store-bought shells, there’s no prep needed; if you made them from scratch, make sure they’re fully cooled before filling.
Step 2: Make the Creamy Cheesecake Filling
In a medium mixing bowl, beat the softened cream cheese with the granulated sugar until the mixture is smooth and creamy. This step is key for a silky texture—make sure there are no lumps before moving on.
Step 3: Add the Flavorings and Egg
Crack in the egg, then add the vanilla extract, lemon juice, and sour cream. Continue mixing until everything is fully combined and the batter is glossy and thick. The lemon and vanilla will make your kitchen smell incredible!
Step 4: Fill and Bake the Tarts
Spoon the cheesecake filling evenly into each tart shell, filling almost to the top. Give the tray a gentle tap to settle the filling and banish any air bubbles. Bake the Mini Cheesecake Tarts for 15–18 minutes, or until the centers are just set and slightly puffed.
Step 5: Cool and Chill
Let the tarts cool at room temperature for about 20 minutes—this helps prevent cracks. Then transfer them to the refrigerator to chill for at least 1 hour. This step is not just for texture; it also intensifies the flavor and makes them easy to top and serve.
Step 6: Add Toppings and Serve
Once thoroughly chilled, crown each tart with fresh berries, fruit topping, or a swirl of whipped cream. Serve immediately and watch them disappear!
How to Serve Mini Cheesecake Tarts
Garnishes
For a classic finish, top each Mini Cheesecake Tart with a medley of fresh berries—think strawberries, blueberries, or raspberries. A light dusting of powdered sugar, a sprig of mint, or a drizzle of fruit compote can take these tarts from simple to stunning with almost no extra effort.
Side Dishes
Pair your tarts with a refreshing fruit salad or a scoop of sorbet for an elegant dessert plate. For a more decadent spread, serve alongside chocolate-dipped strawberries or a platter of assorted cookies to add texture and variety to your dessert table.
Creative Ways to Present
Try arranging your Mini Cheesecake Tarts on a tiered cake stand for a tea party vibe, or plate individually with artistic swooshes of berry sauce. For a fun twist, set up a DIY topping bar and let guests customize their own tarts with chocolate shavings, candied nuts, or fruit preserves.
Make Ahead and Storage
Storing Leftovers
If you find yourself with leftover Mini Cheesecake Tarts (which is rare!), simply store them in an airtight container in the refrigerator. They’ll stay fresh and delicious for up to 3 days, making them a great option for prepping ahead.
Freezing
These tarts freeze beautifully! Arrange them in a single layer in a freezer-safe container, separating layers with parchment paper. Freeze for up to 1 month. Thaw in the refrigerator before serving, and add fresh toppings just before enjoying.
Reheating
Mini Cheesecake Tarts are best enjoyed cold or at room temperature, so there’s no need to reheat. Simply let them sit out for 10–15 minutes after chilling if you prefer a softer texture.
FAQs
Can I use a different type Dessert
Absolutely! Graham cracker crusts add a lovely crunch, but you can experiment with chocolate cookie crusts, shortbread bases, or even gluten-free alternatives for a personalized touch.
Are Mini Cheesecake Tarts suitable for making ahead for a party?
Yes! You can prepare them a day in advance, store them in the fridge, and add the fruit or whipped cream toppings just before serving for the freshest taste and prettiest presentation.
What fruit works best for topping?
Fresh berries are always a crowd-pleaser, but you can also use thin slices of kiwi, mango, or even a spoonful of cherry pie filling. Let your imagination (and your fruit bowl) guide you.
Can I add flavors to the cheesecake filling?
Definitely! Swirl in a spoonful of fruit preserves before baking, or try a hint of almond or citrus zest for a unique twist on the classic Mini Cheesecake Tarts flavor.
How do I prevent cracks in my cheesecake tarts?
Letting the tarts cool gradually at room temperature before chilling helps prevent cracks. Also, avoid overbaking—the centers should be just set when you take them out of the oven.
Final Thoughts
There’s just something magical about Mini Cheesecake Tarts—they’re elegant, easy, and irresistible. Whether you’re making them for a special occasion or just a weeknight treat, I hope you give this recipe a try and fall in love with these creamy, dreamy little desserts. Happy baking!
Print
Mini Cheesecake Tarts Recipe
- Total Time: 1 hour 30 minutes
- Yield: 12 mini tarts 1x
- Diet: Vegetarian
Description
These Mini Cheesecake Tarts are delightful bite-sized desserts featuring a creamy cream cheese filling nestled in crisp tart shells, topped with fresh berries or your favorite fruit. Perfect for parties or an elegant treat, they combine a smooth, tangy filling with a buttery crust for a truly irresistible dessert.
Ingredients
Tart Shells
- 12 mini tart shells (store-bought or homemade)
Filling
- 8 oz cream cheese, softened
- 1/3 cup granulated sugar
- 1 large egg
- 1 tsp vanilla extract
- 1 tbsp lemon juice
- 1/4 cup sour cream
Toppings
- Fresh berries or fruit topping of choice
- Whipped cream (optional)
Instructions
- Preheat Oven: Preheat your oven to 350°F (175°C) and arrange the mini tart shells on a baking sheet to prepare for filling.
- Make Filling: In a medium mixing bowl, beat the softened cream cheese together with granulated sugar until fully smooth and creamy, ensuring no lumps remain.
- Add Flavorings: Mix in the large egg, vanilla extract, lemon juice, and sour cream, blending thoroughly until the filling is fully combined and velvety.
- Fill Tarts: Spoon the cheesecake filling evenly into each tart shell, filling almost to the top but leaving a little space to avoid overflow while baking.
- Bake: Place the filled tarts in the oven and bake for 15–18 minutes, or until the centers are just set and slightly puffed up.
- Cool Down: Remove the tarts from the oven and allow them to cool at room temperature for about 20 minutes to set further.
- Chill: Transfer the cooled tarts to the refrigerator and chill for at least 1 hour to develop a firm texture and enhance flavors.
- Add Toppings: Just before serving, top each tart with fresh berries or your preferred fruit topping and add a dollop of whipped cream if desired for extra indulgence.
Notes
- For time-saving, use pre-made graham cracker tart shells instead of homemade.
- For a fruity twist, swirl in a teaspoon of fruit preserves into the filling before baking.
- Ensure cream cheese is softened to avoid lumps in the filling.
- Do not overbake the tarts; centers should be just set to keep a creamy texture.
- Prep Time: 10 minutes
- Cook Time: 18 minutes
- Category: Dessert
- Method: Baking
- Cuisine: American
Nutrition
- Serving Size: 1 tart
- Calories: 180
- Sugar: 11 g
- Sodium: 105 mg
- Fat: 11 g
- Saturated Fat: 6 g
- Unsaturated Fat: 4 g
- Trans Fat: 0 g
- Carbohydrates: 17 g
- Fiber: 0 g
- Protein: 3 g
- Cholesterol: 40 mg