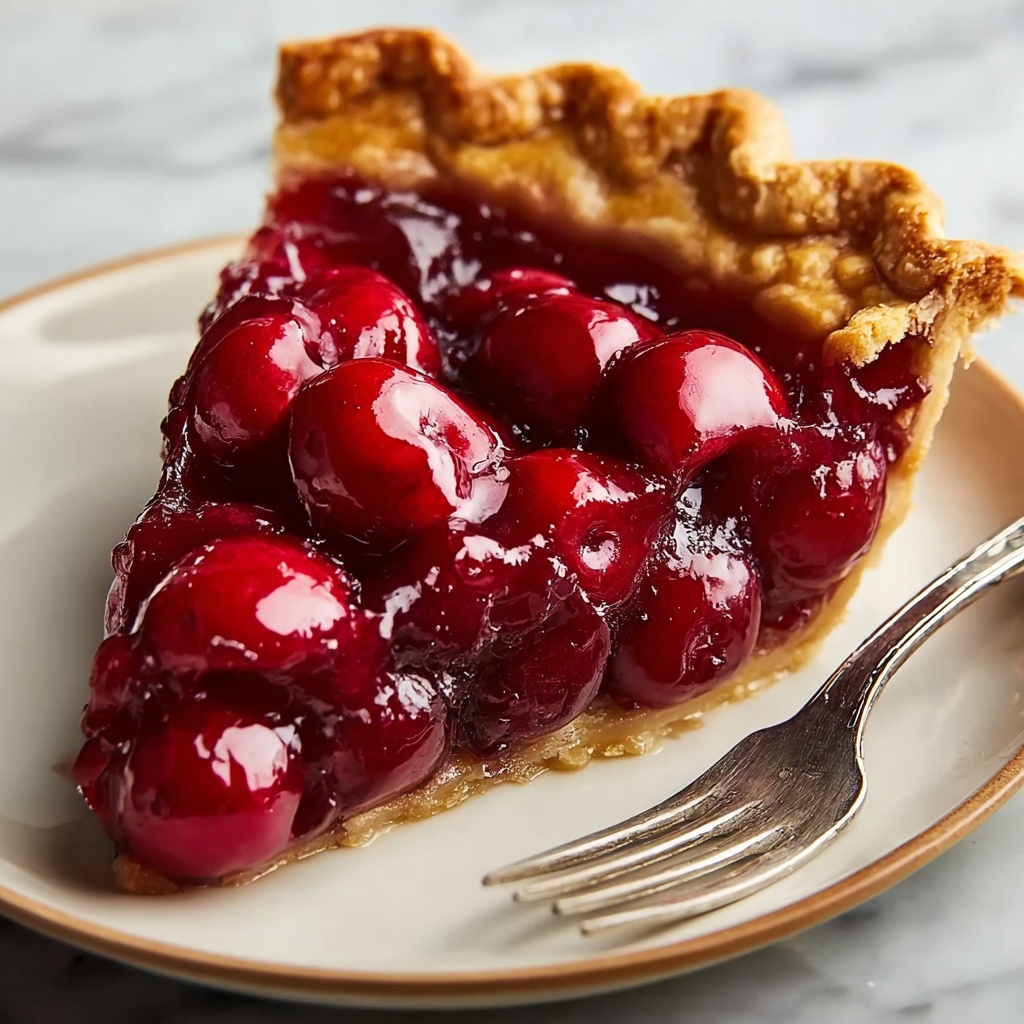
If you’re searching for a nostalgic dessert that feels like a warm hug from Grandma’s kitchen, look no further than this Old Fashioned Canned Cherry Pie Recipe. It’s a timeless classic that combines the simplicity of canned cherry pie filling with a flaky, buttery crust, resulting in a pie that’s bursting with sweet-tart cherries and golden, tender pastry. Whether you’re an experienced baker or trying your hand at pie-making for the first time, this recipe is straightforward, comforting, and always a crowd-pleaser at any table.
Ingredients You’ll Need
This Old Fashioned Canned Cherry Pie Recipe uses a handful of simple ingredients that each play a vital role in creating the perfect balance of flavor and texture. Every item, from the canned cherries to the egg wash, is key to achieving that classic homemade pie experience.
- 2 cans (21 oz each) of cherry pie filling: The star of the show, providing that sweet and slightly tart cherry flavor.
- 1 tablespoon lemon juice: Adds brightness to balance the sweetness and enhances the cherries’ natural tang.
- 1 teaspoon vanilla extract: Brings a warm, aromatic note that deepens the overall flavor.
- 2 tablespoons cornstarch (optional): Helps thicken the filling for a luscious, spoonable consistency.
- 1 tablespoon butter (cut into small pieces): Melts into the filling, enriching it with a silky texture.
- 1 package of refrigerated pie crusts: Saves time and ensures a flaky, golden crust without the fuss of making dough from scratch.
- 1 egg (for egg wash): Creates that irresistible golden sheen on the crust.
- 1 tablespoon sugar (for sprinkling on top): Adds a subtle crunch and a touch of sparkle to the pie’s surface.
How to Make Old Fashioned Canned Cherry Pie Recipe
Step 1: Preheat the Oven
Kick off this baking adventure by preheating your oven to 375°F (190°C). This temperature is perfect to ensure your pie crust turns crisp and beautifully browned while your cherry filling gently bubbles to perfection.
Step 2: Prepare the Pie Crust
Take one of the refrigerated pie crusts, unroll it carefully, and place it into a 9-inch pie pan. Press it lightly along the edges and trim away any excess dough. Chilling the crust in the fridge while you prepare the filling is a clever trick to keep the dough firm and prevent shrinkage during baking.
Step 3: Prepare the Cherry Filling
In a large bowl, combine the canned cherry pie filling with lemon juice, vanilla extract, and cornstarch if you want a thicker filling. Stir gently so the ingredients marry without breaking up the cherries—this mix ensures each slice bursts with vibrant, rich cherry flavor and the perfect texture.
Step 4: Fill the Pie
Pour your luscious cherry mixture into the chilled pie crust, spreading it out evenly. Dot the top of the filling with the small pieces of butter—it sounds simple, but this little addition adds an irresistible creaminess and depth to each bite once baked.
Step 5: Add the Top Crust
Unroll the second pie crust and lay it carefully over the filling. Trim about an inch of dough from the edges and press the top and bottom crusts together to seal the pie—and don’t forget to crimp decoratively with a fork! A few slits cut into the top crust are important to let steam escape and keep your pie from getting soggy inside.
Step 6: Brush with Egg Wash
Beat your egg and brush it generously over the pie’s surface. This simple step gives your pie that gorgeous golden finish, making it look like it just came from a bakery. Then sprinkle the top with sugar for an extra crunch and sparkle that’s as delightful to see as it is to taste.
Step 7: Bake the Pie
Pop the pie into the oven, set on the middle rack, and bake for 45 to 50 minutes. Watch for a beautifully browned crust and bubbling filling—that’s your sign the pie is ready and the kitchen will smell like pure heaven.
Step 8: Cool and Serve
Patience pays off! Let the pie cool on a wire rack for at least one hour to let the filling set perfectly. Serve it warm or at room temperature, and if you’re feeling fancy, add a scoop of vanilla ice cream or a classy dollop of whipped cream. It’s the perfect way to end this delicious journey.
How to Serve Old Fashioned Canned Cherry Pie Recipe
Garnishes
A sprinkle of powdered sugar, a few fresh cherries, or a light drizzle of chocolate sauce can elevate your pie’s presentation and add a little flair. These simple touches make every slice feel extra special.
Side Dishes
Pairing this cherry pie with a scoop of creamy vanilla ice cream or a dollop of freshly whipped cream is a classic combo that never fails. For a more decadent touch, serve alongside a cup of rich coffee or a sweet dessert wine.
Creative Ways to Present
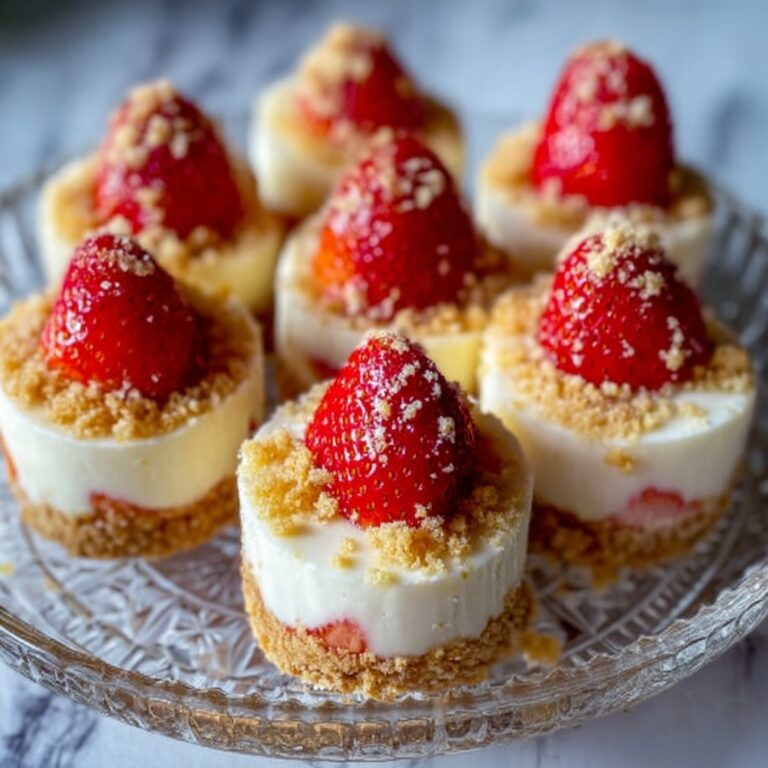
Think beyond the classic wedge! Serve mini cherry pies in ramekins or turn leftovers into cherry pie parfaits layered with whipped cream and crunchy granola. These fun twists make your Old Fashioned Canned Cherry Pie Recipe even more irresistible, especially for gatherings.
Make Ahead and Storage
Storing Leftovers
Once cooled, cover your pie loosely with foil or plastic wrap and store it in the refrigerator. Leftover cherry pie tastes even better the next day as the flavors meld, and it’ll keep well for 3 to 4 days.
Freezing
If you want to save pie for later, wrap it tightly in plastic wrap and then foil before freezing. Your Old Fashioned Canned Cherry Pie Recipe freezes beautifully and can last up to two months – just thaw it overnight in the fridge when you’re ready to indulge again.
Reheating
To bring your pie back to life, warm slices in the oven at 350°F (175°C) for about 15 minutes. This method keeps the crust crisp and the filling warm without drying it out, ensuring every bite tastes freshly baked.
FAQs
Can I use fresh cherries instead of canned pie filling?
Absolutely! Fresh cherries bring a different, more natural flavor, but you’ll need to add your own thickener and sweetener, and adjust baking times accordingly. Canned filling is easier and ensures consistent results for this Old Fashioned Canned Cherry Pie Recipe.
What if I don’t have refrigerated pie crusts?
You can make your own pie dough from scratch or use frozen pie crusts—just thaw them before using. The key is to handle the dough gently to keep it flaky and prevent shrinkage during baking.
Is cornstarch necessary in this recipe?
Cornstarch helps thicken the filling and prevent it from being runny. If you prefer a looser filling, you can skip it, but it’s a small step that really improves the texture of the pie.
How can I prevent the crust from getting soggy?
Chilling the crust before filling and adding small pieces of butter on top of the filling help keep the crust crisp. Also, making sure to cut steam vents in the top crust allows moisture to escape while baking.
Can I make this pie ahead of time?
Yes! You can assemble the pie a day ahead, keep it covered in the refrigerator, and bake it just before serving to enjoy fresh, warm pie anytime.
Final Thoughts
There’s something so comforting and satisfying about an Old Fashioned Canned Cherry Pie Recipe that never goes out of style. It’s a dessert that brings people together, brings smiles to the table, and reminds us that sometimes the simplest recipes are the best. I can’t wait for you to try it and make it your own cherished classic. Happy baking!
Print
Old Fashioned Canned Cherry Pie Recipe
- Prep Time: 15 minutes
- Cook Time: 50 minutes
- Total Time: 1 hour 10 minutes
- Yield: 8 servings
- Category: Dessert
- Method: Baking
- Cuisine: American
Description
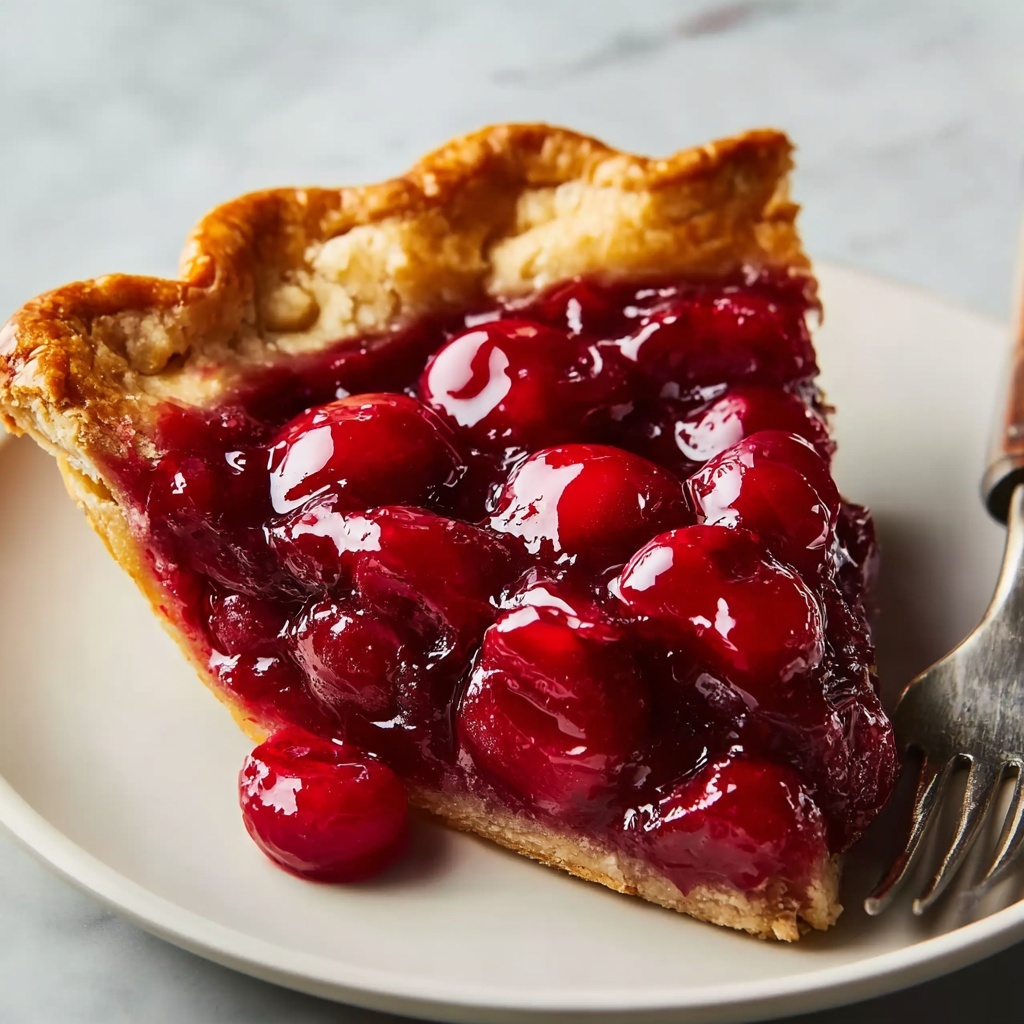
This Old Fashioned Canned Cherry Pie is a classic, easy-to-make dessert that combines the convenience of canned cherry pie filling with a flaky, golden homemade crust. Perfect for any occasion, this pie bakes to a beautiful golden brown with a luscious, bubbling cherry filling and a buttery finish.
Ingredients
Filling
- 2 cans (21 oz each) of cherry pie filling
- 1 tablespoon lemon juice
- 1 teaspoon vanilla extract
- 2 tablespoons cornstarch (optional, for thickening)
- 1 tablespoon butter, cut into small pieces
Pie Crust and Topping
- 1 package of refrigerated pie crusts (usually contains 2 crusts)
- 1 egg (for egg wash)
- 1 tablespoon sugar (for sprinkling on top)
Instructions
- Preheat the Oven: Preheat your oven to 375°F (190°C) to ensure the pie bakes evenly and the crust becomes crispy and golden.
- Prepare the Pie Crust: Unroll one refrigerated pie crust and gently fit it into a 9-inch pie pan, pressing the dough along the edges and trimming any excess. Place the crust in the refrigerator to keep it cold and prevent shrinking during baking.
- Prepare the Cherry Filling: In a large bowl, combine the canned cherry pie filling, lemon juice, vanilla extract, and if using, cornstarch. Stir gently until mixed well to thicken the filling while baking.
- Fill the Pie: Pour the cherry filling evenly into the prepared crust and dot the filling with small pieces of butter for richness.
- Add the Top Crust: Unroll the second pie crust and place it over the cherry filling. Trim excess dough leaving about 1 inch around the edges. Seal the two crusts by pinching and crimping the edges with a fork. Cut a few slits in the top crust to vent steam.
- Brush with Egg Wash: Beat the egg and brush it over the top crust for a shiny golden finish. Sprinkle the sugar evenly over the crust for added sweetness and crunch.
- Bake the Pie: Place the pie on the oven’s middle rack and bake for 45-50 minutes until the crust is golden and the filling bubbles around the edges.
- Cool and Serve: Remove the pie from the oven and cool on a wire rack for at least 1 hour to let the filling set. Serve warm or at room temperature, optionally topped with vanilla ice cream or whipped cream.
Notes
- For a thicker filling, use the optional cornstarch; omit if you prefer a looser filling.
- Keep the pie crust cold before baking to prevent shrinking and ensure flakiness.
- Use a fork to crimp edges for a decorative finish and to seal the crusts properly.
- Cutting slits in the top crust is essential to allow steam to escape and prevent sogginess.
- Allow the pie to cool fully so the filling can set, making it easier to slice.
- Serve with a scoop of vanilla ice cream or whipped cream for an extra special dessert.
