Red Velvet Cookie Cups with Cream Cheese Frosting Recipe
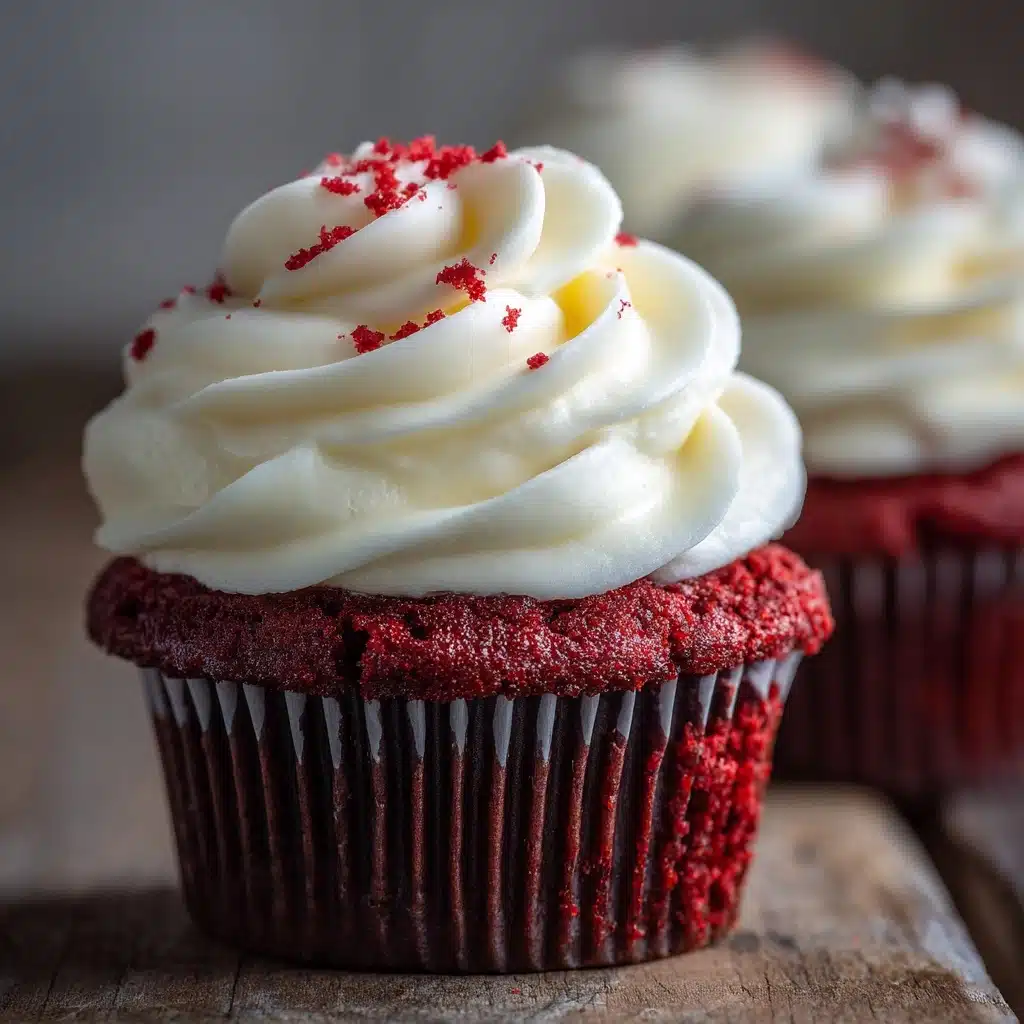
If you’ve been searching for the ultimate showstopper treat, Red Velvet Cookie Cups with Cream Cheese Frosting are pure bliss in bite-sized form! These irresistible gems take everything we love about classic red velvet cake—a hint of cocoa, a pop of vibrant color, that melt-in-your-mouth texture—and wrap it all up in a buttery cookie. Topped with a swirl of tangy cream cheese frosting, every miniature cup is a party for your senses. They’re as gorgeous as they are decadent, making them perfect for Valentine’s Day, holiday gatherings, or any time you want to make someone feel truly special.
Ingredients You’ll Need
This recipe comes together with just a handful of familiar baking staples, each playing a starring role. From the signature cocoa and velvety butter to tangy cream cheese, every ingredient helps create the unique magic and unforgettable flavor of Red Velvet Cookie Cups with Cream Cheese Frosting.
- All-purpose flour: Forms the base structure for the cookies, making them sturdy enough to hold that luscious frosting.
- Unsweetened cocoa powder: Adds the subtle chocolatey richness that red velvet desserts are famous for—don’t skip this!
- Baking soda: Gives a gentle lift, ensuring the cookie cups puff up just right.
- Salt: Balances the sweetness and enhances all the flavors.
- Unsalted butter (softened): Guarantees that melt-in-your-mouth texture and beautiful buttery undertones.
- Granulated sugar: Sweetens the dough evenly and helps the cookies bake up crisp on the edges.
- Brown sugar (packed): Adds a hint of caramel flavor and extra moisture for a chewy bite.
- Large egg: Binds the dough, enriching the cookies and helping them rise a bit.
- Milk: Gives the dough just enough moisture for soft centers and easy mixing.
- Vanilla extract: Infuses both the dough and frosting with sweet aromatic depth.
- Red food coloring: The secret to that classic, vibrant red hue—use gel color for the brightest results!
- Cream cheese (softened): The star of the frosting, for that luscious tang we all crave in red velvet desserts.
- Powdered sugar: Whips up into a smooth, dreamy frosting without any grittiness.
How to Make Red Velvet Cookie Cups with Cream Cheese Frosting
Step 1: Prepare Your Muffin Pan and Preheat the Oven
Start by preheating your oven to 350°F (175°C). Lightly grease a standard 12-cup muffin tin or line with paper liners for easy removal later. This simple step guarantees your cookie cups will pop out without sticking or breaking.
Step 2: Whisk the Dry Ingredients
In a medium bowl, whisk together the flour, unsweetened cocoa powder, baking soda, and salt. This helps distribute the baking soda and cocoa evenly, ensuring a perfectly tender crumb and rich flavor in every bite.
Step 3: Cream the Butter and Sugars
In a large bowl, beat together the softened butter, granulated sugar, and brown sugar. Mix until the blend becomes light, fluffy, and a bit creamy—this sets the foundation for that soft, chewy cookie cup texture.
Step 4: Add Egg, Milk, Vanilla, and Food Coloring
Once your mixture is fluffy, beat in the egg, milk, vanilla extract, and glorious red food coloring. This is where the dough takes on its signature color and those fragrant vanilla notes begin to shine through.
Step 5: Combine the Wet and Dry Mixtures
Gradually add the dry ingredients to your wet mixture, stirring just until a soft, slightly sticky dough forms. Take care not to overmix—this preserves the tender texture of your finished cookie cups.
Step 6: Shape and Bake the Cookie Cups
Scoop about 1½ tablespoons of dough into each muffin cup. Press gently in the center to create a shallow well—this will hold plenty of cream cheese frosting later! Bake for 10 to 12 minutes, just until the edges are set and centers are slightly puffed.
Step 7: Form the Cup Shape and Cool
As soon as the cookie cups come out of the oven, use the back of a spoon to press down the centers again, deepening each well to make the classic cup shape. Let them cool completely in the pan before removing—you’ll end up with perfect little “bowls” for the creamy topping.
Step 8: Make the Cream Cheese Frosting
In a separate bowl, beat together the softened cream cheese and butter until smooth and combined. Add powdered sugar and vanilla extract, mixing until your frosting is luscious, creamy, and perfectly sweet with just the right amount of tang.
Step 9: Frost and Serve
Spoon or pipe the cream cheese frosting generously into the cooled cookie cups. Each Red Velvet Cookie Cup with Cream Cheese Frosting is now ready for its debut—enjoy immediately or chill for extra decadence!
How to Serve Red Velvet Cookie Cups with Cream Cheese Frosting

Garnishes
Give your Red Velvet Cookie Cups with Cream Cheese Frosting a festive finish by topping each one with colorful sprinkles, a sprinkle of mini chocolate chips, or a dusting of cocoa powder. These little touches add personality and a pop of texture to every bite.
Side Dishes
Pair these beauties with a scoop of vanilla ice cream, a fresh fruit salad, or even a creamy latte. Their richness plays beautifully next to something cool and light, making dessert feel balanced and extra-special.
Creative Ways to Present
Transform your platter into a celebration! Arrange Red Velvet Cookie Cups with Cream Cheese Frosting on a tiered dessert stand, tuck them into mini cupcake liners for party favors, or customize each with edible glitter or themed toppers for birthdays, holidays, or bridal showers.
Make Ahead and Storage
Storing Leftovers
Once assembled, keep Red Velvet Cookie Cups with Cream Cheese Frosting in an airtight container in the refrigerator. They’ll stay moist, flavorful, and party-ready for up to three days—just let them sit out for a few minutes to soften before serving.
Freezing
If you want to get ahead, freeze the unfrosted cookie cups in a single layer until solid, then transfer to a freezer bag for up to one month. Wait to frost until after you thaw, so the cream cheese topping stays ultra-creamy and fresh.
Reheating
To bring them back to that just-baked tenderness, set unfrosted cookie cups out at room temperature or give them a quick 10-second zap in the microwave. Frost after reheating so the topping is silky and picture-perfect.
FAQs
Do I need to use gel or liquid food coloring?
Either will work, but gel food coloring often gives a bolder, more vibrant red. If you use liquid, you may need a little more to achieve that signature hue in your Red Velvet Cookie Cups with Cream Cheese Frosting.
Can I make these gluten-free?
Absolutely! Substitute a 1:1 gluten-free baking blend for the all-purpose flour and double-check your other ingredients for gluten to safely enjoy these cookie cups gluten-free.
Can I prepare the cookie dough in advance?
Yes, you can chill the dough for up to 24 hours before baking. Just let it soften a bit at room temperature if it’s too firm to scoop, then proceed with shaping and baking your Red Velvet Cookie Cups with Cream Cheese Frosting.
Why did my cookie cups lose their shape?
If you forget to press the centers again right after baking, the cups may not be deep enough after they’ve cooled. Be sure to use the back of a spoon to form the well as soon as they come out of the oven for optimal shape.
Can I make mini-sized cookie cups?
Definitely! Use a mini muffin tin and reduce the baking time to about 8-9 minutes. You’ll get bite-sized Red Velvet Cookie Cups with Cream Cheese Frosting, perfect for parties and dessert tables.
Final Thoughts
There’s just something magical about homemade Red Velvet Cookie Cups with Cream Cheese Frosting—they’re playful, eye-catching, and absolutely delicious. Whether you’re treating yourself or sharing with someone you love, these little beauties deliver big on flavor and fun. Give them a try and get ready to watch them disappear!
Print
Red Velvet Cookie Cups with Cream Cheese Frosting Recipe
- Total Time: 32 minutes
- Yield: 12 cookie cups 1x
- Diet: Vegetarian
Description
These Red Velvet Cookie Cups with Cream Cheese Frosting are a delightful treat that combines the rich flavors of red velvet with a creamy, tangy frosting. Perfect for any occasion, these mini cookie cups are sure to impress your guests!
Ingredients
Cookies:
- 1 ¼ cups all-purpose flour
- ¼ cup unsweetened cocoa powder
- ½ teaspoon baking soda
- ¼ teaspoon salt
- ½ cup unsalted butter (softened)
- ½ cup granulated sugar
- ½ cup brown sugar (packed)
- 1 large egg
- 1 tablespoon milk
- 1 ½ teaspoons vanilla extract
- 1 tablespoon red food coloring
Cream Cheese Frosting:
- 4 oz cream cheese (softened)
- 2 tablespoons unsalted butter (softened)
- 1 ½ cups powdered sugar
- ½ teaspoon vanilla extract
Instructions
- Preheat the oven: Preheat the oven to 350°F (175°C) and prepare a muffin pan.
- Prepare the dry ingredients: In a medium bowl, whisk together flour, cocoa powder, baking soda, and salt.
- Cream the butter and sugars: In a large bowl, cream together the softened butter, granulated sugar, and brown sugar until light and fluffy.
- Mix wet ingredients: Beat in the egg, milk, vanilla extract, and red food coloring until well combined.
- Combine dry and wet ingredients: Gradually mix in the dry ingredients until a soft dough forms.
- Bake the cookie cups: Scoop dough into muffin cups, bake for 10–12 minutes, reshape the cups, and cool.
- Make the frosting: Beat cream cheese and butter, add powdered sugar and vanilla extract, mix until creamy.
- Fill the cookie cups: Pipe or spoon the frosting into the cooled cookie cups.
Notes
- You can garnish with sprinkles, mini chocolate chips, or a dusting of cocoa powder.
- Store refrigerated in an airtight container for up to 3 days.
- Prep Time: 20 minutes
- Cook Time: 12 minutes
- Category: Dessert
- Method: Baking
- Cuisine: American
Nutrition
- Serving Size: 1 cookie cup
- Calories: 240
- Sugar: 22g
- Sodium: 120mg
- Fat: 12g
- Saturated Fat: 7g
- Unsaturated Fat: 4g
- Trans Fat: 0g
- Carbohydrates: 32g
- Fiber: 1g
- Protein: 2g
- Cholesterol: 40mg