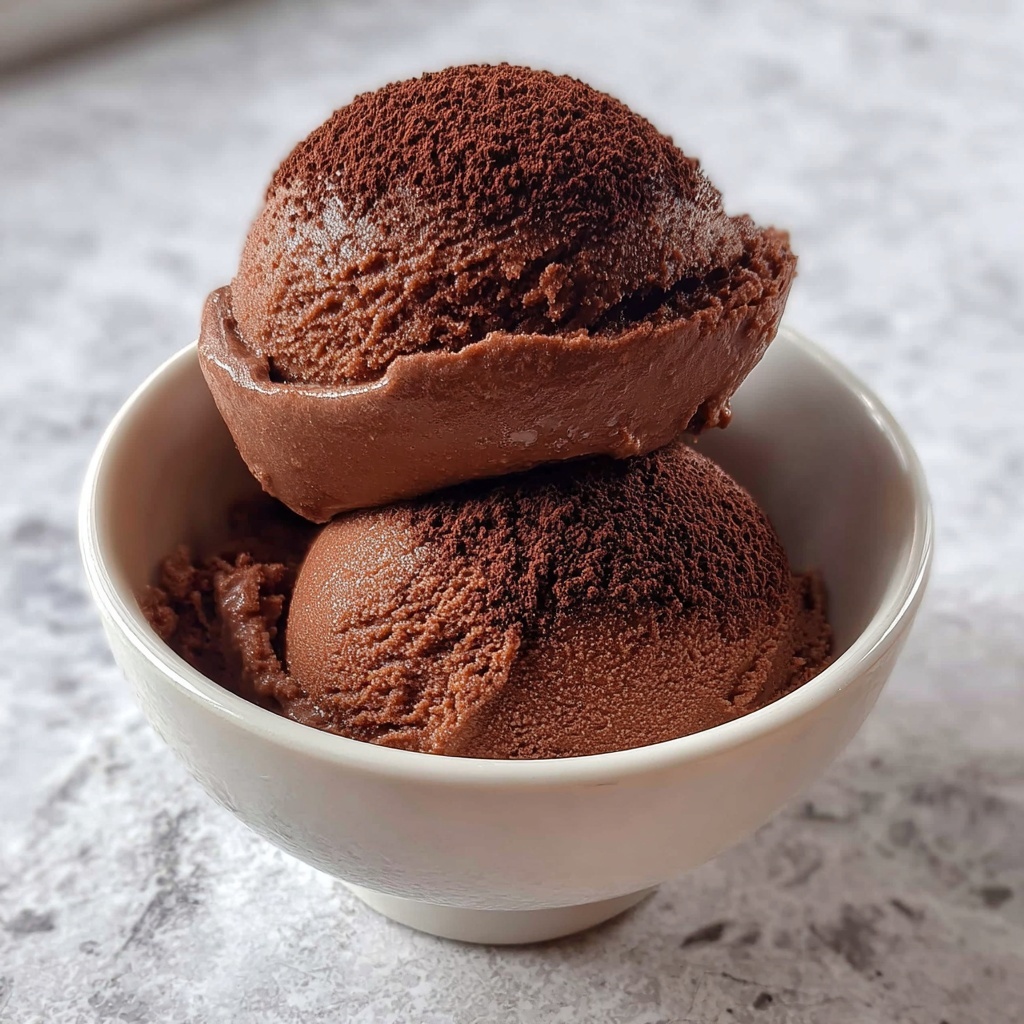
If you have a soft spot for rich, creamy desserts but want to keep things plant-based, this Vegan Chocolate Ice Cream: 5 Steps to Pure Bliss Recipe is absolutely made for you. Silky smooth, deeply chocolatey, and naturally sweetened, this ice cream comes together with just a handful of simple ingredients that pack a powerful punch of flavor and texture. Trust me, once you taste this, you’ll wonder why you ever needed dairy to get that perfect scoop of chocolatey heaven.
Ingredients You’ll Need
These ingredients are incredibly straightforward, yet each one plays an essential role in crafting the luscious texture and rich chocolate flavor that make this Vegan Chocolate Ice Cream: 5 Steps to Pure Bliss Recipe such a standout. From creamy coconut milk to sweet maple syrup, every component works in harmony to create the perfect frozen treat.
- 1 can coconut milk: Provides a creamy, dairy-free base full of natural richness and body.
- 1/2 cup cocoa powder: Brings that deep, indulgent chocolate flavor with a pleasantly bitter edge.
- 1/2 cup maple syrup: Adds natural sweetness and a subtle caramel undertone.
- 1 teaspoon vanilla extract: Enhances and rounds out the chocolate flavor with warm, aromatic notes.
- 1/4 cup almond milk: Lightens the mixture just enough for a smooth consistency without overpowering.
- Pinch of salt: A small touch to really bring out the chocolate and balance the sweetness.
How to Make Vegan Chocolate Ice Cream: 5 Steps to Pure Bliss Recipe
Step 1: Combine Your Ingredients
Start by mixing together the coconut milk, cocoa powder, maple syrup, vanilla extract, almond milk, and a pinch of salt in a large bowl. This step is all about bringing your flavors together in one smooth, chocolaty base. Using a good whisk or mixer helps dissolve any lumps and ensures everything is perfectly blended for that velvety texture.
Step 2: Whisk Until Smooth
Take a bit of time here to really whisk the mixture until it’s silky and homogenous. This is what gives your ice cream that irresistible creaminess without any gritty bits. The cocoa powder especially needs a good blend to release its full flavor and color evenly throughout the mixture.
Step 3: Pour Into Your Ice Cream Maker
Once your base is luxuriously smooth, transfer it to your ice cream maker. This machine works magic by gradually freezing the mix while churning it to incorporate air. The result? A perfectly churned base that’s fluffy, creamy, and just waiting to firm up in the freezer.
Step 4: Churn to Soft-Serve Consistency
Follow your ice cream maker’s instructions for timing, usually around 20 to 30 minutes. When the mixture reaches a soft-serve texture, it’s time to move on. At this point, the ice cream is luscious but still soft enough to scoop right away if you’re feeling impatient, though a bit more freezing helps it hold its shape better.
Step 5: Freeze for Four Hours
Transfer the soft ice cream into a freezer-safe container and let it chill for at least four hours. This step firms up the texture into that classic scoopable ice cream you crave. This resting time lets the flavors meld and the texture set, making every bite a dream.
How to Serve Vegan Chocolate Ice Cream: 5 Steps to Pure Bliss Recipe
Garnishes
Think fresh and vibrant to contrast the deep chocolate flavor. A sprinkle of toasted coconut flakes, a few fresh raspberries, or some chopped nuts add wonderful texture and bursts of flavor. Even a drizzle of melted vegan chocolate or homemade caramel sauce can elevate your ice cream presentation to a decadent delight.
Side Dishes
This Vegan Chocolate Ice Cream: 5 Steps to Pure Bliss Recipe pairs beautifully with warm, fruity desserts like baked berries, grilled peaches, or even a cozy slice of vegan banana bread. The cold creaminess balances the warmth and brings a fun contrast that’s sure to impress your friends and family.
Creative Ways to Present
Get playful by serving scoops in waffle cones or homemade cookie sandwiches. You could also create layered parfaits with the ice cream, vegan brownie chunks, and a sprinkle of crushed nuts or vegan sprinkles. Presentation is half the fun, and it makes this already exciting recipe even more of a crowd-pleaser.
Make Ahead and Storage
Storing Leftovers
Store any leftover vegan chocolate ice cream in an airtight container in the coldest part of your freezer. Keeping it sealed tightly prevents ice crystals from forming, so the texture stays smooth and delicious when you’re ready to enjoy it again.
Freezing
If you want to prepare ahead, you can make the whole recipe up to the churning step, then freeze for up to two weeks. Just be sure to give it a good stir a few times in the first couple hours of freezing to keep the creaminess intact.
Reheating
No reheating needed here, but if your vegan chocolate ice cream turns out too firm after freezing, let it sit at room temperature for about 10 minutes before scooping. This softens it just enough to scoop easily without losing that creamy texture and pure bliss.
FAQs
Can I use a different milk instead of coconut and almond?
Absolutely! You can experiment with other plant-based milks like cashew, oat, or soy. Keep in mind that coconut milk adds a unique creaminess that others may not fully replicate, so the texture might be slightly different.
Does this recipe require an ice cream maker?
While an ice cream maker gives you the best texture, you can make this recipe without one by freezing the mixture in a container and stirring it vigorously every 30 minutes until it’s firm. This breaks up ice crystals and keeps the ice cream creamy.
Is the maple syrup necessary, or can I use another sweetener?
Maple syrup adds both sweetness and a subtle richness, but you can substitute it with agave nectar, coconut sugar syrup, or even brown rice syrup. Just adjust to taste, as some sweeteners are stronger or milder.
Can I add mix-ins to this Vegan Chocolate Ice Cream: 5 Steps to Pure Bliss Recipe?
Definitely! Chopped nuts, vegan chocolate chips, or shredded coconut make fantastic additions to fold in during the last few minutes of churning or just before freezing.
How long can I store this ice cream in the freezer?
For the best flavor and texture, enjoy your vegan chocolate ice cream within 2 weeks. Beyond that, it may develop freezer burn or become icy.
Final Thoughts
This Vegan Chocolate Ice Cream: 5 Steps to Pure Bliss Recipe is a total game-changer for anyone craving a luscious, dairy-free dessert that doesn’t compromise on flavor or creaminess. It’s simple, satisfying, and a joy to share with loved ones. Give it a try and watch it become your new go-to treat for every season.
Print
Vegan Chocolate Ice Cream: 5 Steps to Pure Bliss Recipe
- Prep Time: 10 minutes
- Cook Time: 0 minutes
- Total Time: 4 hours 10 minutes
- Yield: 4 servings
- Category: Dessert
- Method: Churning
- Cuisine: Vegan
- Diet: Vegan
Description
This vegan chocolate ice cream is a creamy, rich, and dairy-free treat made with coconut milk and natural sweeteners. Perfect for those seeking a delicious plant-based dessert, it combines cocoa powder with maple syrup and vanilla for a deeply satisfying chocolate flavor without any dairy or artificial ingredients.
Ingredients
Ice Cream Base
- 1 can (13.5 oz) coconut milk
- 1/2 cup cocoa powder
- 1/2 cup maple syrup
- 1 teaspoon vanilla extract
- 1/4 cup almond milk
- Pinch of salt
Instructions
- Combine Ingredients: In a mixing bowl, add the coconut milk, cocoa powder, maple syrup, vanilla extract, almond milk, and a pinch of salt. This forms the base of your vegan chocolate ice cream.
- Whisk Smoothly: Whisk the mixture thoroughly until all the ingredients are well combined and the texture is smooth, ensuring there are no lumps.
- Pour into Ice Cream Maker: Transfer the smooth mixture into your ice cream maker, preparing it for churning.
- Churn the Ice Cream: Churn according to the manufacturer’s instructions, typically around 20-30 minutes, until the ice cream reaches a soft-serve consistency.
- Freeze to Set: Transfer the churned ice cream to a container and freeze it for at least 4 hours to firm up to a scoopable consistency.
- Serve and Enjoy: Once frozen solid, scoop the vegan chocolate ice cream into bowls or cones and enjoy a creamy, guilt-free dessert.
Notes
- Use full-fat coconut milk for the creamiest texture.
- If you don’t have an ice cream maker, pour the mixture into a shallow dish and freeze, stirring every 30 minutes until firm.
- Adjust maple syrup amount for preferred sweetness.
- Add a pinch of salt to enhance the chocolate flavor.
- For a nut-free version, substitute almond milk with oat or soy milk.

