Water Pie Recipe
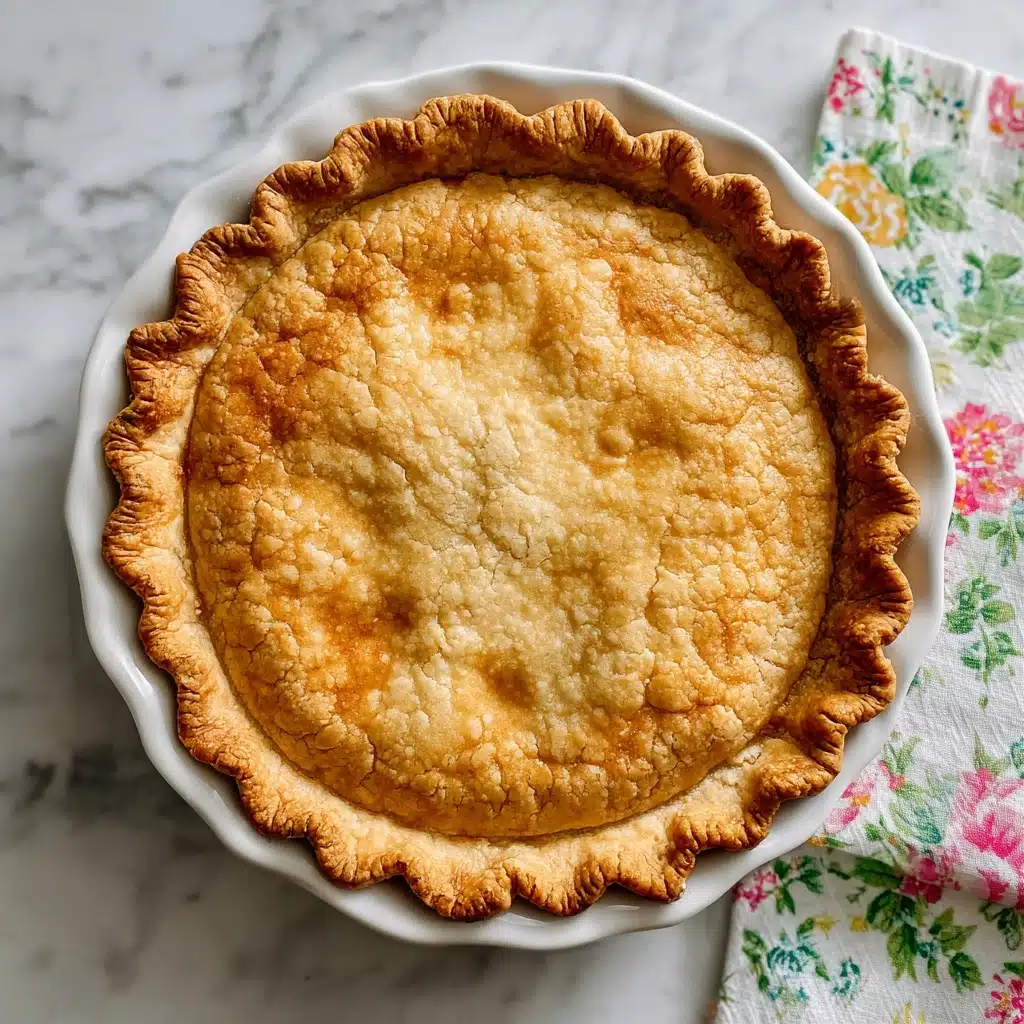
If you love a good story behind your dessert, you’re going to fall head over heels for this Water Pie Recipe. Born out of necessity during the Great Depression, this humble pie transforms the simplest pantry staples into a silky, custardy treat that’s far more delicious than its name suggests! With its sweet, buttery flavor and surprisingly creamy texture, Water Pie Recipe is proof that magic can happen with just a handful of basic ingredients. Whether you’re a vintage recipe enthusiast or just looking to whip up something impressively easy, this pie deserves a spot in your baking repertoire.
Ingredients You’ll Need
One of the most charming things about the Water Pie Recipe is how it relies on just a few everyday ingredients—each one playing a key role in building flavor and texture. These humble staples come together to create a dessert that feels both nostalgic and uniquely satisfying.
- Unbaked 9-inch pie crust: The base that holds everything together, providing a tender, flaky bite with every forkful.
- 1 ½ cups water: The star ingredient! It hydrates the other components and creates the pie’s signature custard-like filling.
- 4 tablespoons all-purpose flour: Essential for thickening the filling and giving it that creamy, sliceable texture.
- 1 cup granulated sugar: Brings just the right amount of sweetness to balance the subtle flavors.
- 5 tablespoons unsalted butter (cut into small pieces): Adds richness, a silky mouthfeel, and that irresistible golden top.
- 1 teaspoon vanilla extract: Provides warmth and depth, making the simple ingredients taste special.
- Pinch of salt: Enhances all the other flavors and keeps the sweetness in check.
How to Make Water Pie Recipe
Step 1: Prepare the Pie Crust
Start by preheating your oven to 400°F (200°C). Gently place the unbaked pie crust into a 9-inch pie dish, pressing it into the sides and crimping the edges as you like. The crust is the sturdy foundation for your Water Pie Recipe, so take a moment to make it look lovely!
Step 2: Add the Water
Pour 1 ½ cups of water directly into the prepared pie crust. It might feel a little odd at first, but trust the process—this is where the magic begins!
Step 3: Mix the Dry Ingredients
In a small bowl, combine the flour, granulated sugar, and a pinch of salt. Mix them together until fully blended. This mixture will help thicken and sweeten the filling for your Water Pie Recipe.
Step 4: Sprinkle the Dry Mixture Over the Water
Evenly sprinkle the flour-sugar mixture over the water in the pie crust. Resist the urge to stir! Keeping the layers separate helps create the pie’s unique texture.
Step 5: Add Butter and Vanilla
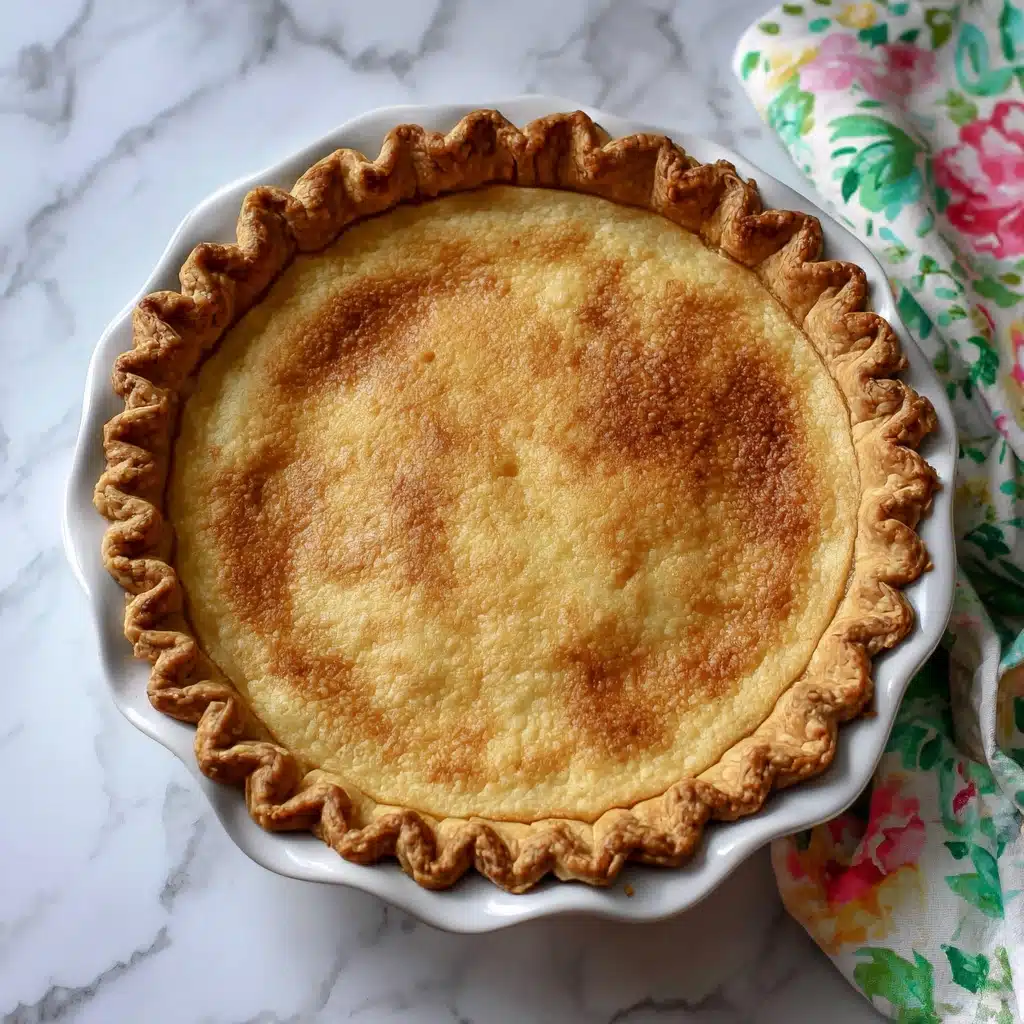
Scatter the pieces of butter evenly over the top, then drizzle the vanilla extract over everything. The butter will melt and rise, giving the pie its classic golden, slightly crackled finish.
Step 6: Bake the Pie
Carefully transfer the pie to your oven and bake for 30 minutes at 400°F (200°C). Then, reduce the oven temperature to 375°F (190°C) and bake for another 30 minutes. The pie is done when the edges are set but the center is still just a bit wobbly.
Step 7: Cool and Chill
Let the Water Pie Recipe cool at room temperature, then pop it into the refrigerator for at least 4 hours—or overnight—until fully chilled and set. This waiting time is key for perfect slices!
How to Serve Water Pie Recipe
Garnishes
A simple dusting of powdered sugar, a sprinkle of cinnamon or nutmeg, or even a dollop of whipped cream can take your Water Pie Recipe to the next level. These little touches add both beauty and a hint of extra flavor.
Side Dishes
Pair this pie with fresh berries, a scoop of vanilla ice cream, or a mug of strong coffee. The pie’s delicate sweetness makes it the perfect companion for fruit or something a bit creamy on the side.
Creative Ways to Present
Try serving slices on vintage china for a nostalgic vibe, or cut the pie into small squares and arrange them on a dessert platter for a party. You can even offer a build-your-own pie bar with assorted toppings for guests to personalize their piece.
Make Ahead and Storage
Storing Leftovers
Keep any leftover Water Pie Recipe covered in the refrigerator. It stays fresh and tasty for up to 4 days—just be sure to store it in an airtight container or tightly wrapped with plastic wrap to prevent it from absorbing any fridge flavors.
Freezing
Water Pie Recipe can be frozen, though the texture may become slightly softer upon thawing. Wrap individual slices tightly in plastic wrap and foil, then freeze for up to one month. Thaw overnight in the fridge before serving.
Reheating
While Water Pie Recipe is best enjoyed chilled, if you’d like to take the chill off, let a slice sit at room temperature for 15–20 minutes before serving. Avoid microwaving, as it can alter the texture.
FAQs
Can I use a homemade pie crust instead of store-bought?
Absolutely! A homemade pie crust adds a lovely, buttery flavor that complements the simplicity of the Water Pie Recipe. Just make sure to use an unbaked crust and follow the instructions as written.
Why can’t I stir the ingredients after adding them to the crust?
Resisting the urge to stir is crucial for the Water Pie Recipe. Layering the flour-sugar mixture and butter allows the filling to set with its signature custardy texture and prevents the pie from becoming gluey.
How do I know the pie is set?
The edges of the Water Pie Recipe should look firm and lightly browned, while the center will still jiggle slightly when gently shaken. It will continue to set as it cools and chills in the refrigerator.
Can I add any flavors or spices to the pie?
Definitely! Feel free to sprinkle a little cinnamon or nutmeg on top before baking, or even add a splash of almond extract along with the vanilla for a different twist on the Water Pie Recipe.
Is Water Pie Recipe suitable for vegetarians?
Yes, this recipe is naturally vegetarian, as it contains no meat or gelatin. Just ensure you use a vegetarian-friendly pie crust if you’re buying pre-made.
Final Thoughts
This Water Pie Recipe is a sweet lesson in resourcefulness and a delightful nod to simpler times. Give it a try, and you’ll be amazed at how something so simple can taste so comforting and special. Happy baking!
Print
Water Pie Recipe
- Total Time: 1 hour 10 minutes (plus at least 4 hours chilling)
- Yield: 8 slices 1x
- Diet: Vegetarian
Description
Water Pie is a nostalgic Depression-era dessert that transforms simple pantry staples like water, flour, sugar, and butter into a surprisingly rich, custard-like treat. This easy-to-make pie boasts a creamy filling with a delicate vanilla flavor, baked in a flaky crust and best served chilled. Perfect for those seeking a vintage, budget-friendly dessert.
Ingredients
Pie Crust
- 1 unbaked 9-inch pie crust
Filling
- 1 ½ cups water
- 4 tablespoons all-purpose flour
- 1 cup granulated sugar
- 5 tablespoons unsalted butter, cut into small pieces
- 1 teaspoon vanilla extract
- Pinch of salt
Instructions
- Prepare the crust: Preheat the oven to 400°F (200°C). Place the unbaked pie crust into a 9-inch pie dish and crimp the edges as desired to create an attractive border.
- Add water to crust: Pour the measured 1 ½ cups water directly into the pie crust, ensuring even distribution but do not mix with the crust.
- Mix dry ingredients: In a small bowl, combine the flour, granulated sugar, and a pinch of salt, mixing thoroughly until evenly blended.
- Sprinkle dry mixture: Evenly sprinkle the flour and sugar mixture over the water in the crust without stirring, allowing the layers to remain separate.
- Add butter and vanilla: Distribute the cut pieces of unsalted butter evenly over the top of the dry mixture. Then drizzle the teaspoon of vanilla extract evenly over all the ingredients in the pie.
- Bake at high temperature: Carefully place the pie into the preheated oven and bake at 400°F (200°C) for 30 minutes. This helps the crust set and starts cooking the filling.
- Reduce temperature and continue baking: Lower the oven temperature to 375°F (190°C) and bake for an additional 30 minutes or until the edges of the filling are set but the center remains slightly jiggly.
- Cool and chill: Remove the pie from the oven and let it cool to room temperature. Then refrigerate for at least 4 hours or until the filling is fully set and chilled through.
- Serve: Once completely chilled and set, slice into 8 pieces and serve cold for best flavor and texture.
Notes
- Water pie is a classic Depression-era dessert that turns simple pantry staples into a custard-like treat.
- Best served cold to enhance the creamy texture.
- For added warmth, sprinkle cinnamon or nutmeg over the top of the pie before baking.
- Use a pie crust you prefer—homemade or store-bought crust both work well.
- Ensure you chill the pie thoroughly for the best consistency when serving.
- Prep Time: 10 minutes
- Cook Time: 1 hour
- Category: Dessert
- Method: Baking
- Cuisine: American – Southern
Nutrition
- Serving Size: 1 slice
- Calories: 280
- Sugar: 22g
- Sodium: 130mg
- Fat: 14g
- Saturated Fat: 8g
- Unsaturated Fat: 5g
- Trans Fat: 0g
- Carbohydrates: 38g
- Fiber: 1g
- Protein: 2g
- Cholesterol: 30mg