
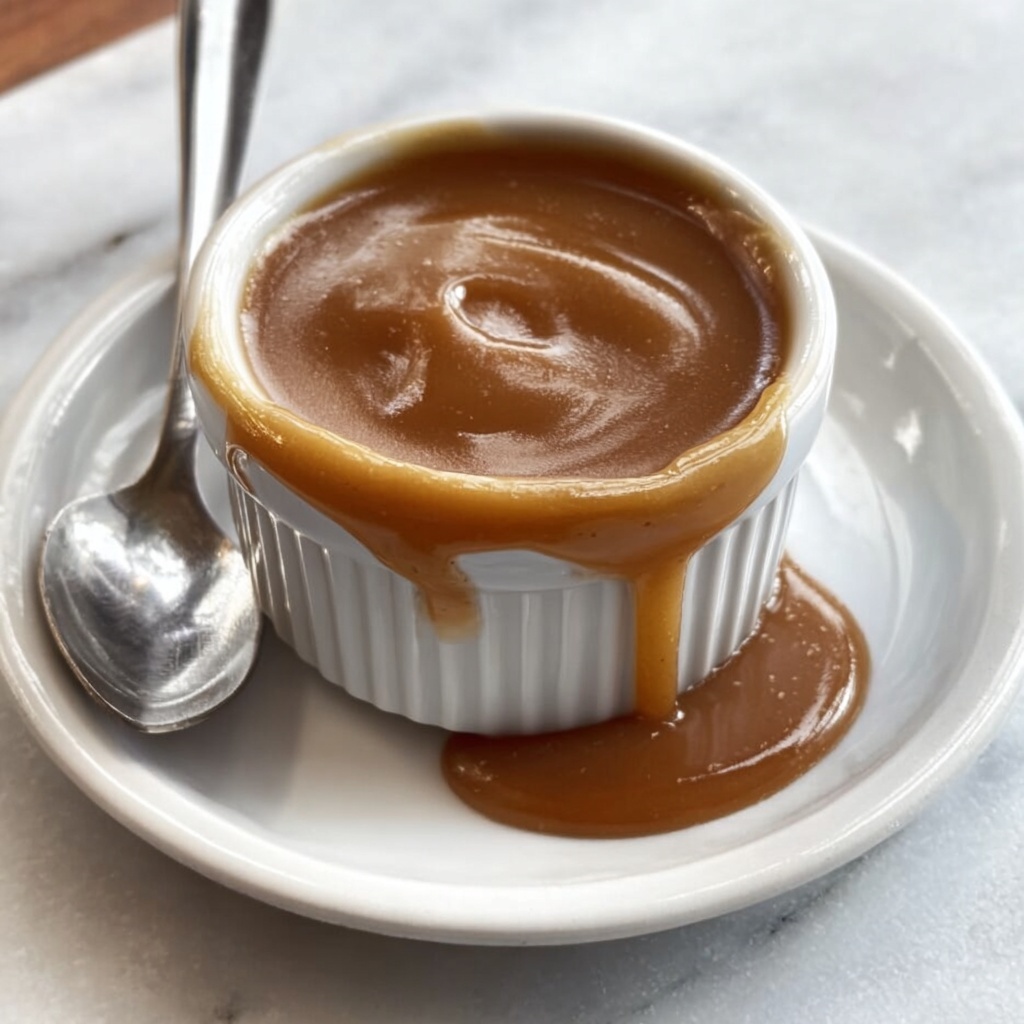
If you’ve ever yearned for that perfect, velvety gravy that wraps around every bite like a warm hug, then this is your moment to shine in the kitchen. Our 5 Simple Steps to Create Comfort Food Bliss Gravy Recipe takes the guesswork out of making homemade gravy that’s rich, smooth, and utterly irresistible. This recipe transforms just a handful of humble ingredients into a luscious sauce that elevates any meal, from roasted chicken to mashed potatoes, giving that classic comfort food vibe we all crave.
Ingredients You’ll Need
Gathering your ingredients for this gravy is as straightforward as it gets, yet each plays a crucial role in delivering that perfect texture and deep, savory flavor. These pantry staples come together effortlessly to create a sauce that is thick, creamy, and bursting with homemade goodness.
- 2 tablespoons of butter: Provides rich, creamy fat to build your roux and adds depth to the gravy’s flavor.
- 2 tablespoons of all-purpose flour: This is the thickening agent that turns your broth into a smooth, luscious sauce.
- 2 cups of chicken or beef broth: The flavorful liquid base, choose broth type based on your main dish for best pairing.
- Salt to taste: Enhances all the natural flavors, so add gradually and taste as you go.
- Pepper to taste: Adds a subtle kick and balances the richness of the gravy.
How to Make 5 Simple Steps to Create Comfort Food Bliss Gravy Recipe
Step 1: Melt the Butter
Begin by melting your butter slowly over medium heat in a saucepan. This gentle warming releases the butter’s nutty aroma, setting a flavorful foundation for the gravy ahead. Using the right heat here is key—too hot and the butter browns too quickly.
Step 2: Whisk in the Flour
Once the butter is melted, sprinkle in the all-purpose flour and whisk continuously. This step is where the magic of your roux starts to form—it should come together into a smooth paste without clumps. Stirring constantly ensures even cooking and prevents the flour from burning.
Step 3: Gradually Add the Broth
Next, start slowly pouring in your chosen broth while whisking vigorously. This gradual mixing helps avoid lumps and creates a silky texture. Whether you opt for chicken or beef broth, the liquid infuses the roux with deep, comforting flavor that forms the heart of your gravy.
Step 4: Cook Until Thickened
Keep the heat at medium while you continue stirring as your gravy gently simmers. In just a few minutes, it will thicken noticeably, turning silky and smooth. This step requires a bit of patience, but it’s worth it to get that perfect consistency.
Step 5: Season to Perfection
The final step is all about tailoring your gravy to your taste. Add salt and pepper little by little, tasting as you go. The seasoning lifts the richness and ensures your gravy is exactly balanced, transforming this simple sauce into comfort food bliss.
How to Serve 5 Simple Steps to Create Comfort Food Bliss Gravy Recipe
Garnishes
While the gravy itself is a star, a sprinkle of freshly chopped herbs like parsley or thyme can brighten it up and add a fresh aroma. A small pat of butter melted on top right before serving also adds a glossy, luscious finish that’s hard to resist.
Side Dishes
This gravy shines alongside classic comfort foods such as creamy mashed potatoes, roasted vegetables, or even biscuits. It’s also perfect poured over turkey, chicken, or a juicy meatloaf, creating that satisfying, stick-to-your-ribs meal everyone loves.
Creative Ways to Present
Take your presentation up a notch by serving the gravy in a warm gravy boat for a cozy, inviting look. For a rustic touch, drizzle it artistically over your plate before layering on the main dish and sides, making every bite look as good as it tastes.
Make Ahead and Storage
Storing Leftovers
If you have leftover gravy, let it cool to room temperature before transferring it to an airtight container. Properly stored in the refrigerator, it will keep well for up to 3 days, ready to add comforting goodness to your next meal.
Freezing
Gravy freezes beautifully. Pour it into a freezer-safe jar or bag, leaving some space for expansion. It can be stored in the freezer for up to 2 months. Just be sure to thaw it gently in the fridge overnight before reheating.
Reheating
Reheat your gravy gently on the stove over low heat, stirring frequently. If it has thickened too much, add a splash of broth or water to bring it back to the perfect pourable consistency without losing any of that rich flavor.
FAQs
Can I use vegetable broth instead of chicken or beef broth?
Absolutely! Vegetable broth works well for a lighter, vegetarian-friendly gravy. Just keep in mind it may have a different flavor profile, so seasoning adjustments might be needed to suit your taste.
What if my gravy is lumpy? How can I fix it?
If lumps sneak in, whisk the gravy vigorously over heat or pass it through a fine mesh strainer to smooth it out. Adding broth gradually while whisking also helps prevent lumps from forming in the first place.
Can I make this gravy without butter?
Butter is traditionally important for the roux, but you can substitute it with oils like olive or vegetable oil. The flavor will be slightly different, and the texture may vary, but it can still make a tasty gravy.
How do I make this gravy thicker or thinner?
To thicken, continue cooking it longer to reduce the liquid, or add a little more flour mixed with butter to your roux. To thin it out, whisk in extra broth or a bit of water until you reach your desired consistency.
Can I prepare this gravy in advance for a big family dinner?
Yes! This recipe is perfect for making ahead. Prepare it fully, refrigerate or freeze it, and then reheat gently on the day of your gathering to free up time and still serve that classic comfort food bliss your guests will adore.
Final Thoughts
There’s something incredibly satisfying about mastering a homemade gravy that hits all the right notes of comfort and flavor. With these 5 Simple Steps to Create Comfort Food Bliss Gravy Recipe, you can whip up a classic sauce that elevates any meal with ease and confidence. Trust me, once you make this gravy, it’ll become your go-to secret for turning everyday dishes into unforgettable feasts. So, grab your butter and whisk, and let the comforting magic begin!
Print
5 Simple Steps to Create Comfort Food Bliss Gravy Recipe
- Prep Time: 5 minutes
- Cook Time: 10 minutes
- Total Time: 15 minutes
- Yield: 2 servings
- Category: Sauce/Gravy
- Method: Stovetop
- Cuisine: American
Description
This classic gravy recipe delivers rich, creamy comfort in just five simple steps. Made with butter, all-purpose flour, and broth, it’s perfect for enhancing your favorite meats, mashed potatoes, and more.
Ingredients
Gravy Ingredients
- 2 tablespoons of butter
- 2 tablespoons of all-purpose flour
- 2 cups of chicken or beef broth
- Salt to taste
- Pepper to taste
Instructions
- Melt Butter: In a medium saucepan over medium heat, melt 2 tablespoons of butter until fully liquefied but not browned.
- Make Roux: Add 2 tablespoons of all-purpose flour to the melted butter, whisking continuously to combine and form a smooth paste without lumps.
- Add Broth Gradually: Slowly pour in 2 cups of chicken or beef broth while continuously whisking to avoid forming lumps, ensuring a smooth mixture.
- Cook Until Thickened: Continue to cook the mixture over medium heat, whisking occasionally, until the gravy thickens to your desired consistency, about 3-5 minutes.
- Season: Season the gravy with salt and pepper to taste, stirring well to incorporate the seasonings evenly.
Notes
- For a richer flavor, use homemade broth instead of store-bought.
- Adjust the thickness by varying the cooking time – cook longer for thicker gravy.
- Whisking continuously is key to preventing lumps.
- Can be made gluten-free by substituting all-purpose flour with a gluten-free flour blend.
- Store leftover gravy in the refrigerator for up to 3 days.


